Creative Moves: Creations
  • Home
  • Shop
  • Blog
  • Gallery
  • Make Messes
Picture

Groovy Flower Packing Tape Bookmark

7/6/2021

 
A bookmark with a flower made out of different colored paper dots rests on top of a book
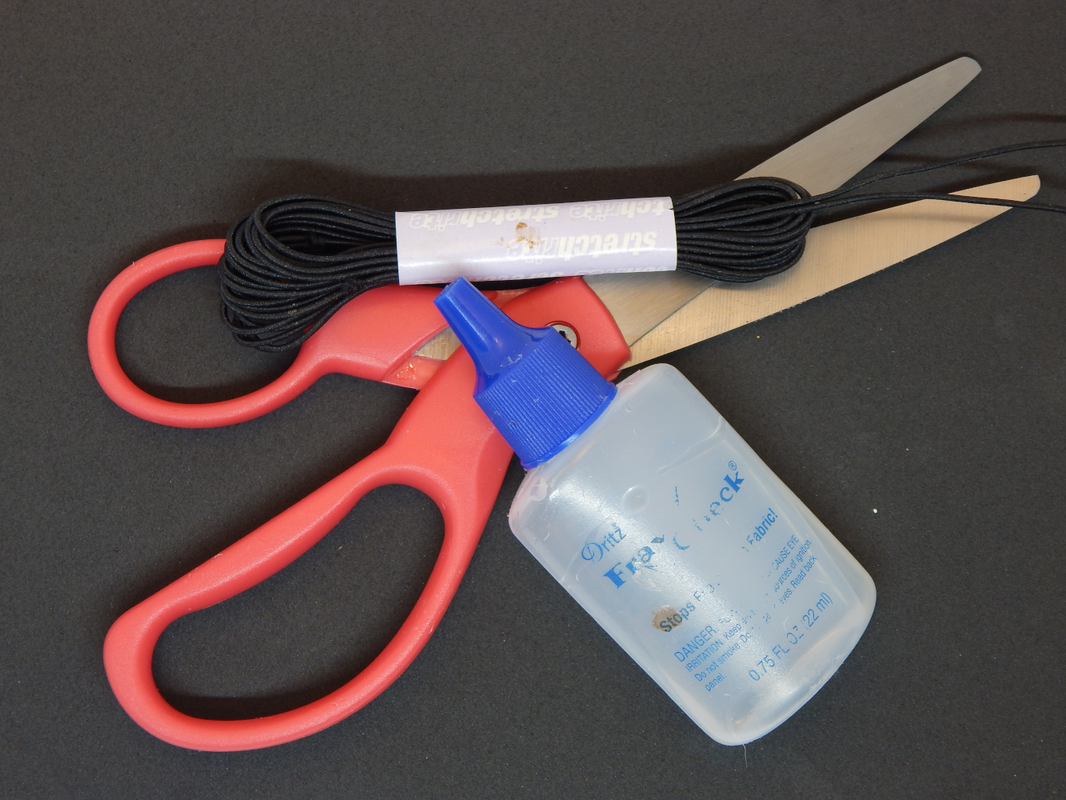
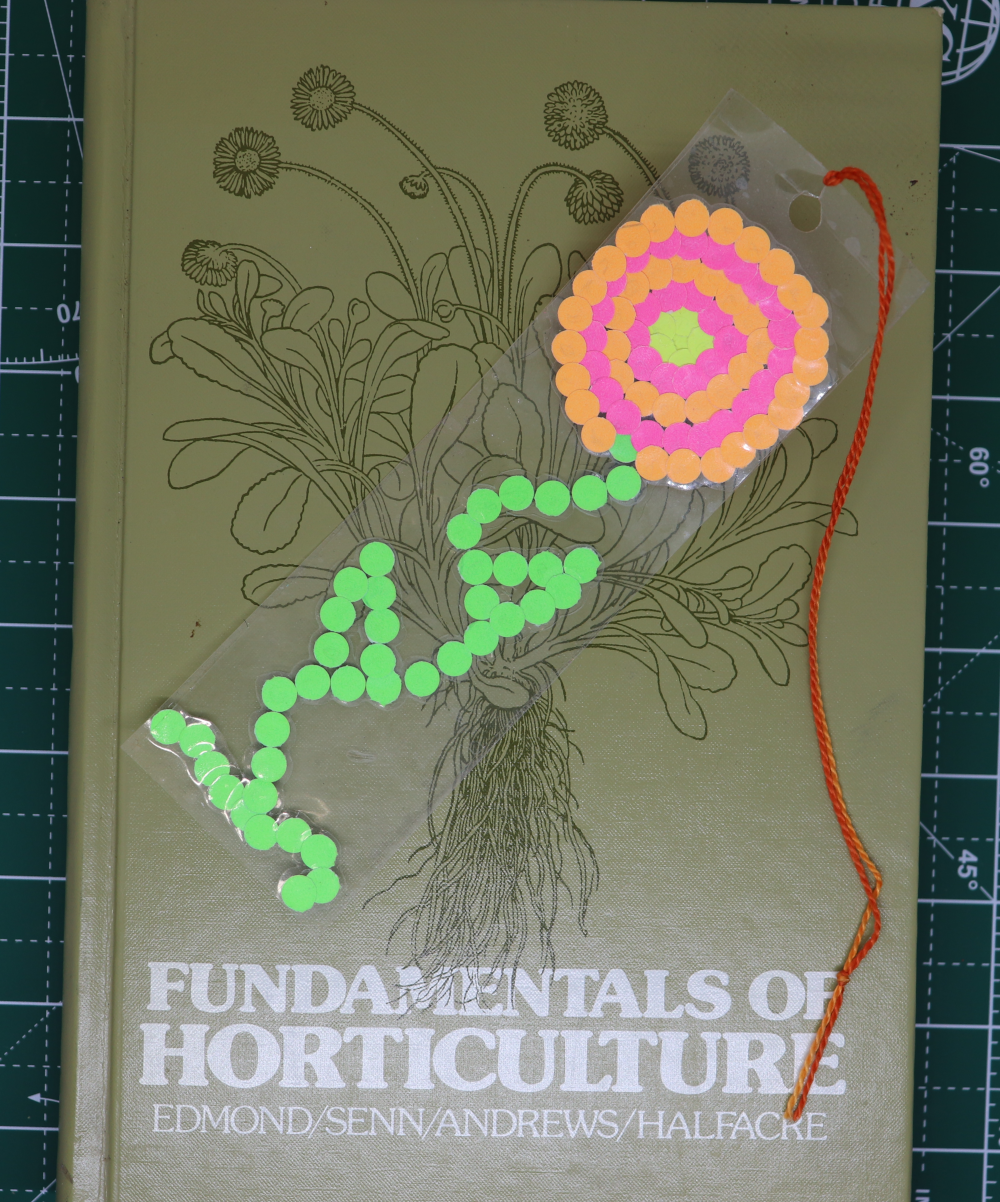
​A cute little bookmark for you to make! The materials are mostly just office supplies, and the most important skill is a bit of patience! First the video version, or scroll down a bit for the still pictures and words version. Have fun!

Supplies

A picture of supplies: a fan of colored index cards, packing tape, a hole punch, scissors, tweezers, and embroidery thread
You will need:
Card stock weight colored paper (I just used index cards)
Packing Tape
Hole Punch
Scissors
Tweezers
Embroidery floss or ribbon (if desired)

How-To

A few different pieces of paper in different colors with many punch holes in them, a small silver tin with many different colored paper dots, and a silver hole punch
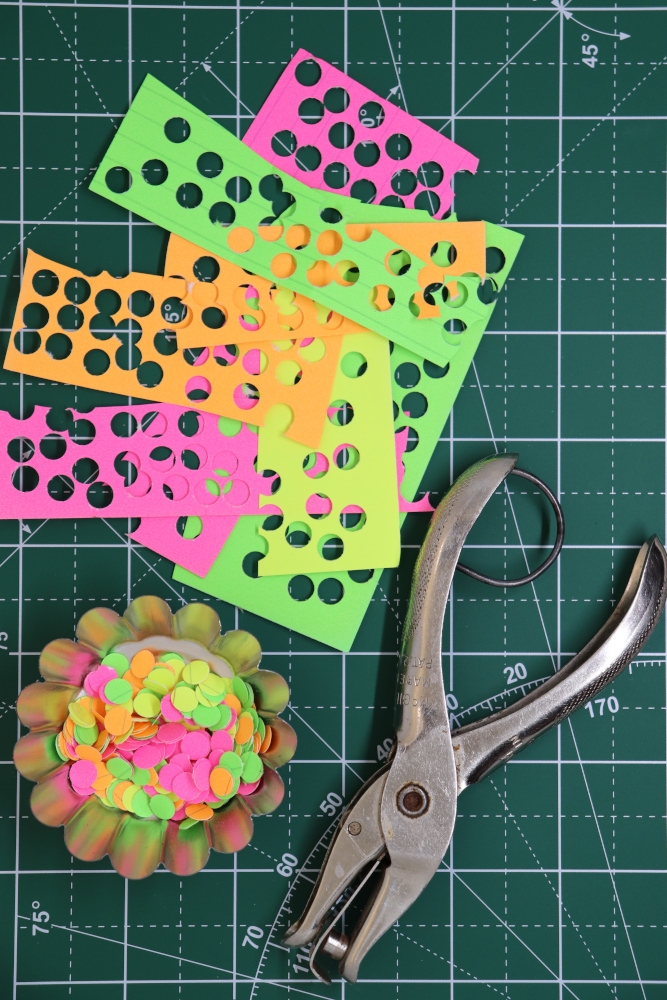
​Grab your paper and punch a bunch of holes! It's easiest if you have a little container to catch the dots.
A roll of packing tape, a piece of the packing tape on the work surface, and a container of colorful paper dots
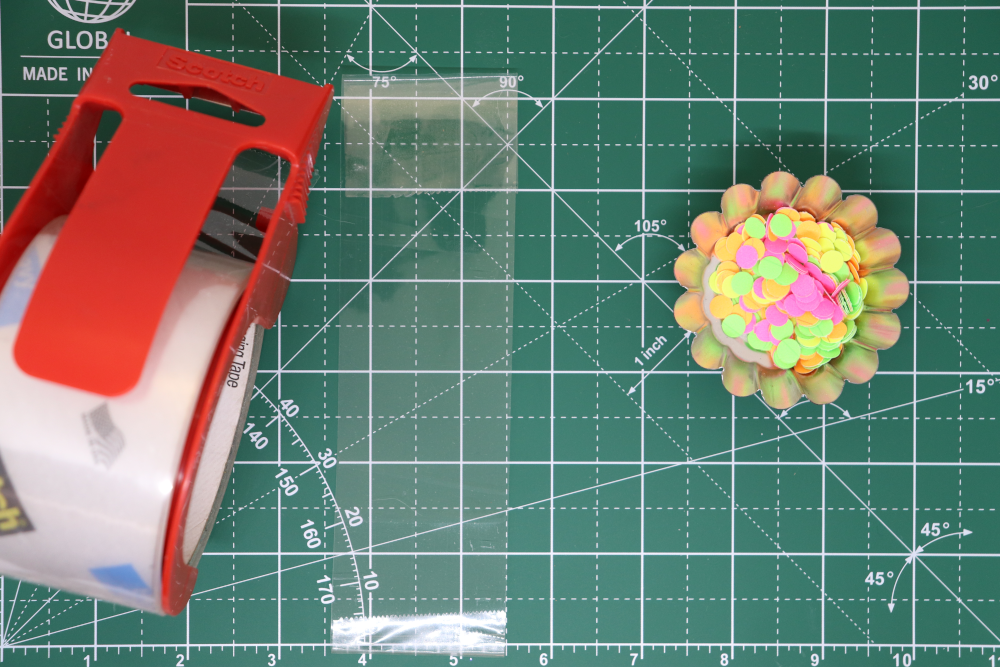
Tear or cut a piece of packing tape, a little longer than about six inches. Or so. It's your bookmark, you can make it as long or short as you want! Place it on your work surface, sticky side up. Fold a bit of the sticky side down to secure it.
A pair of tweezers and container of colorful paper dots on both sides. In the center on the tape, a wavy line of green dots is placed on tape.
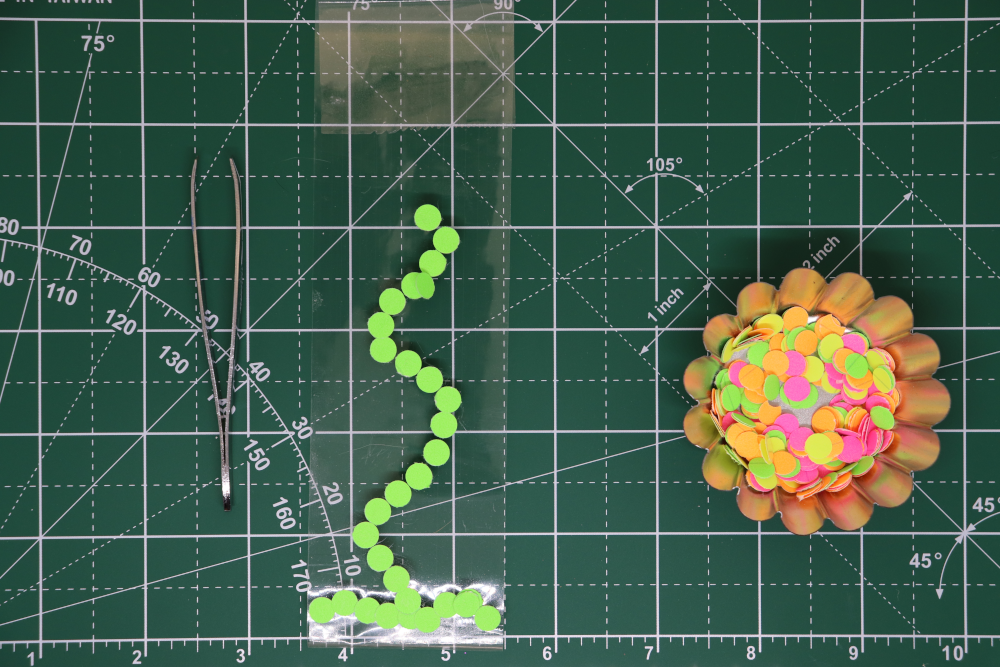
Using the tweezers, place the paper dots on the tape to make the grass and stem.
A container of colorful paper dots, by packing tape with a green paper dot stem and yellow, pink, and orange paper dots in concentric circles making the beginning of a flower
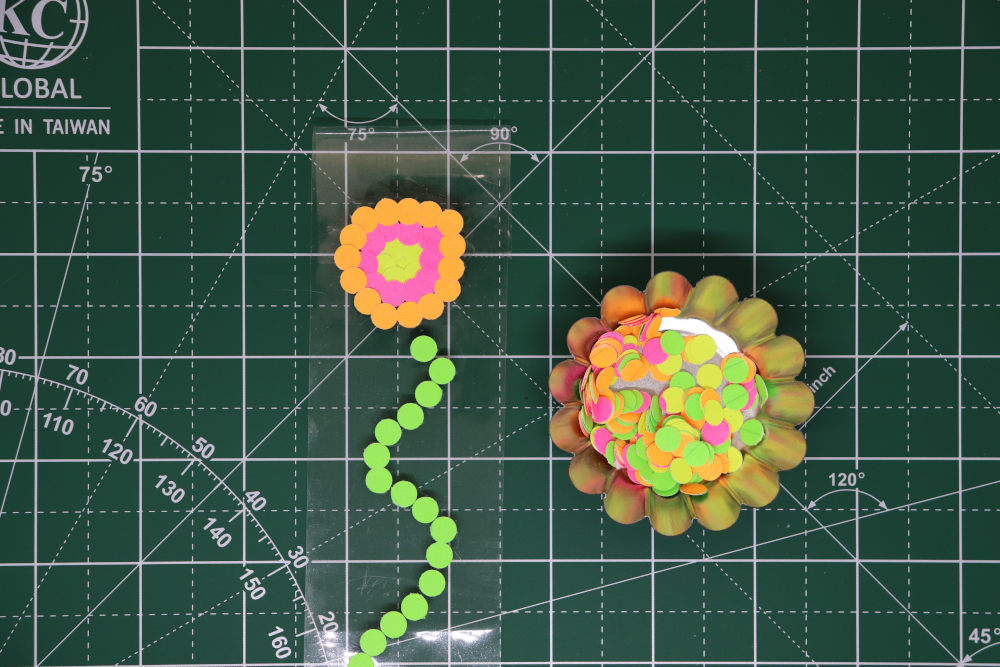
Now start making the flower! Start with the center, and then place the dots in circles around it
Same as last picture, but more dots have been added around the flower
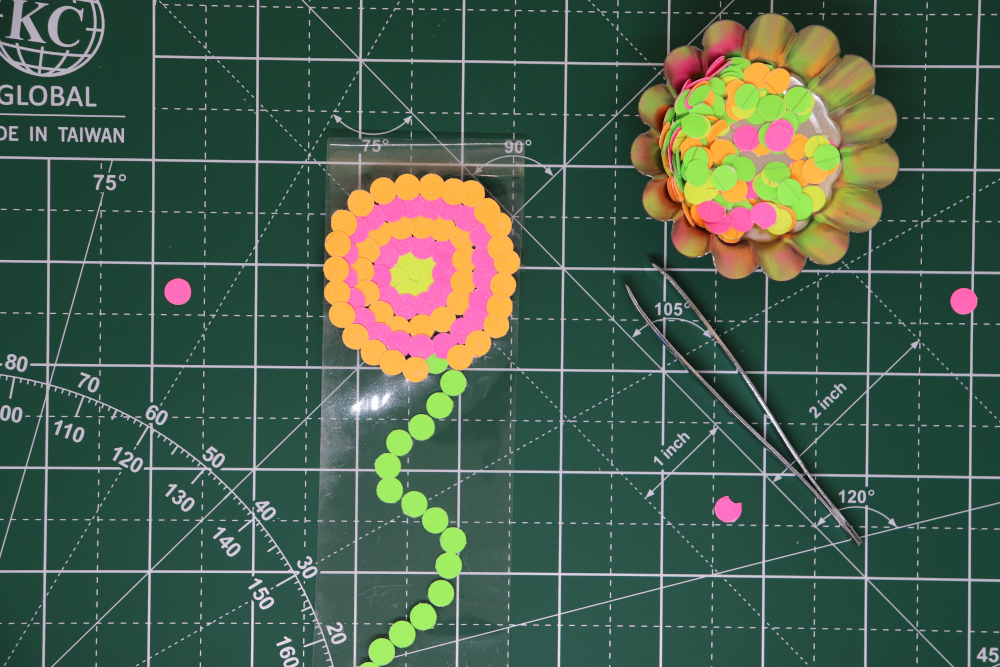
​Continue adding dots in alternating colors. 
The flower bookmark now with leaves on the stem, it has been finished with another piece of packing tape and trimmed. There are nonstick scissors in the picture as well.
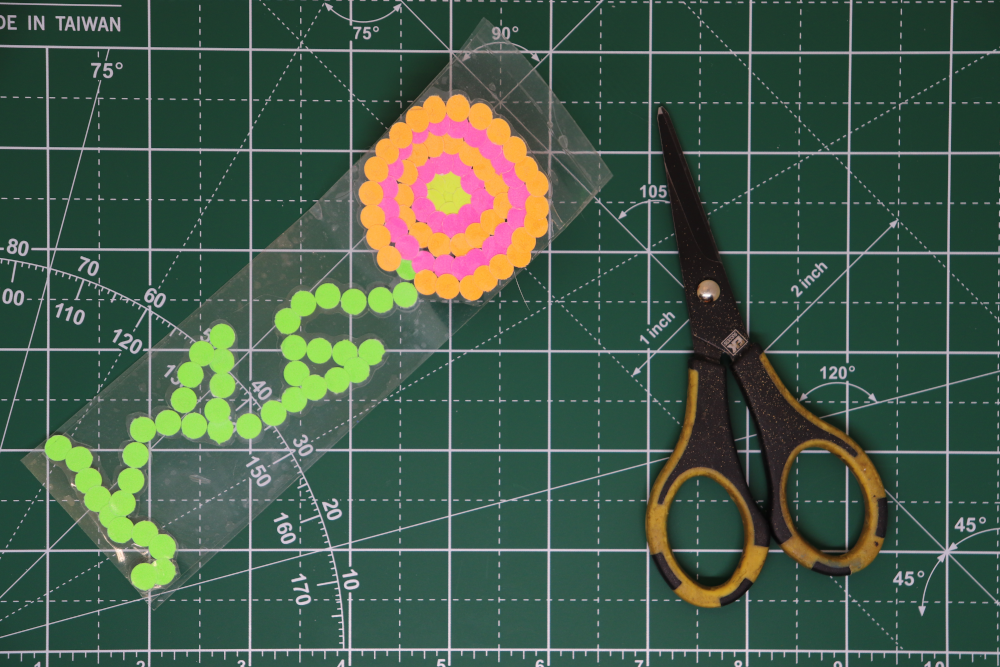
​Use green dots to add leaves. Cut another piece of packing tape and press it down on your flower and smooth it out. (I find it works best if you cut it a little bit longer than your base piece, and then try to match up the sides as close as you can manage. Pull up from your work surface and trim the top and bottom.
A bookmark with a yellow and orange flower on a clear background with an orange ribbon
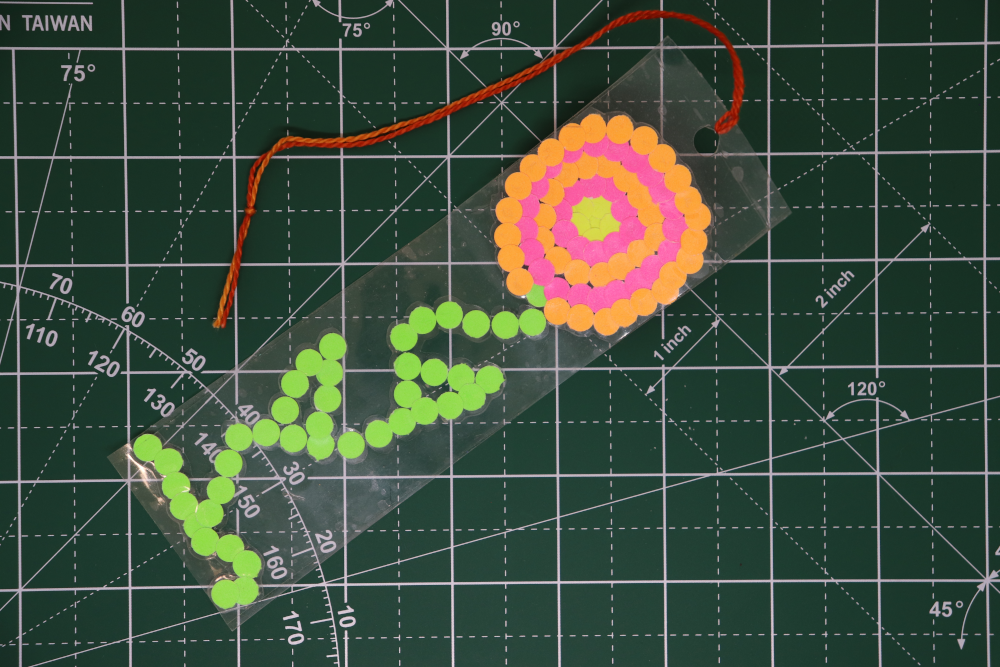
Punch a hole in the top and add a ribbon or other cord with a lark's head knot. All finished! Now go find a good book to read so you can use your new bookmark! My current favorites are the Newsflesh Trilogy by Mira Grant, The Hollow Ones and A Wizard's Guide to Defensive Baking by T. Kingfisher, Space Opera by Cat Valente, and the Brothers Sinister series by Courtney Milan. I've also revisited Mind of my Mind by Octavia Butler recently, and am planning to start in on Parable of the Sower soon!

Toss a coin to your crafter!
Venmo: @CreativeMoves
Paypal.me/CreativeMovesUS

No-Sew Fashion Doll Tutu

7/5/2021

 
A Picture of a green skinned fashion doll with pink and green hair. she is holding her arms in a ballet like pose and wearing a tutu made of white tulle. Text across the tutu reads
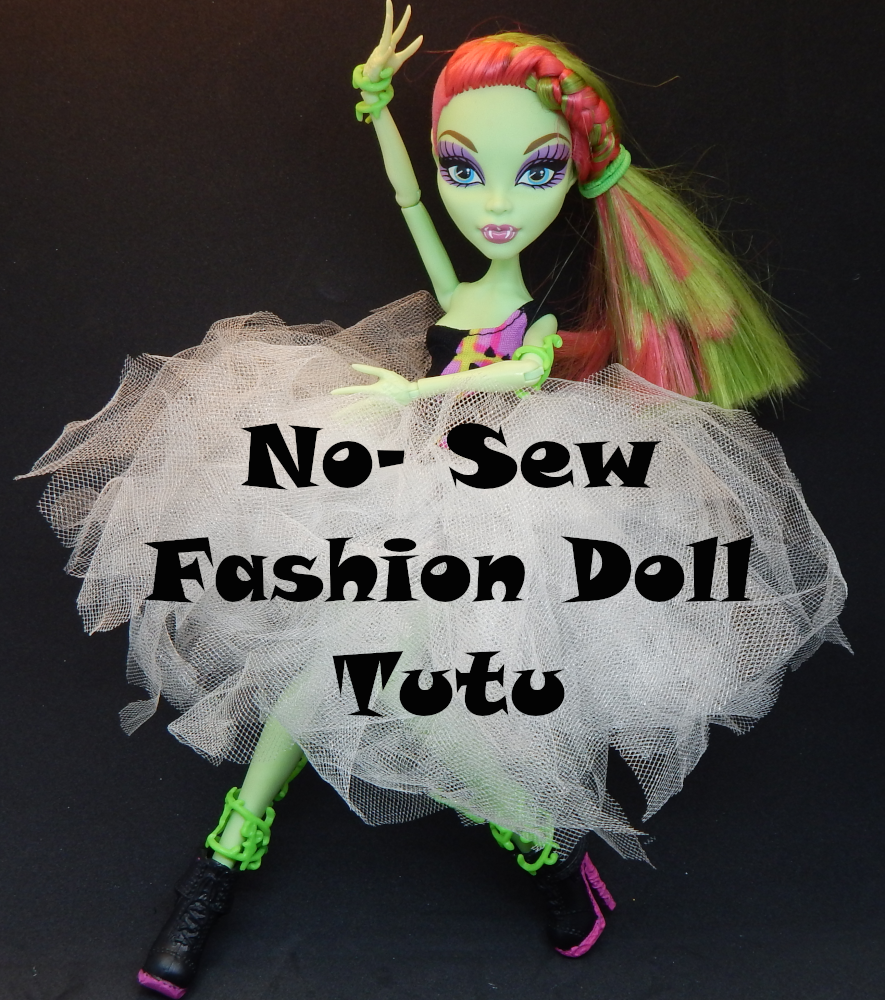
​How to make a fun tutu for your fashion dolls! You can easily adjust it to the doll, so this will work for different types and sizes! Video tutorial first, or scroll down for the still pictures with words version. 

Supplies
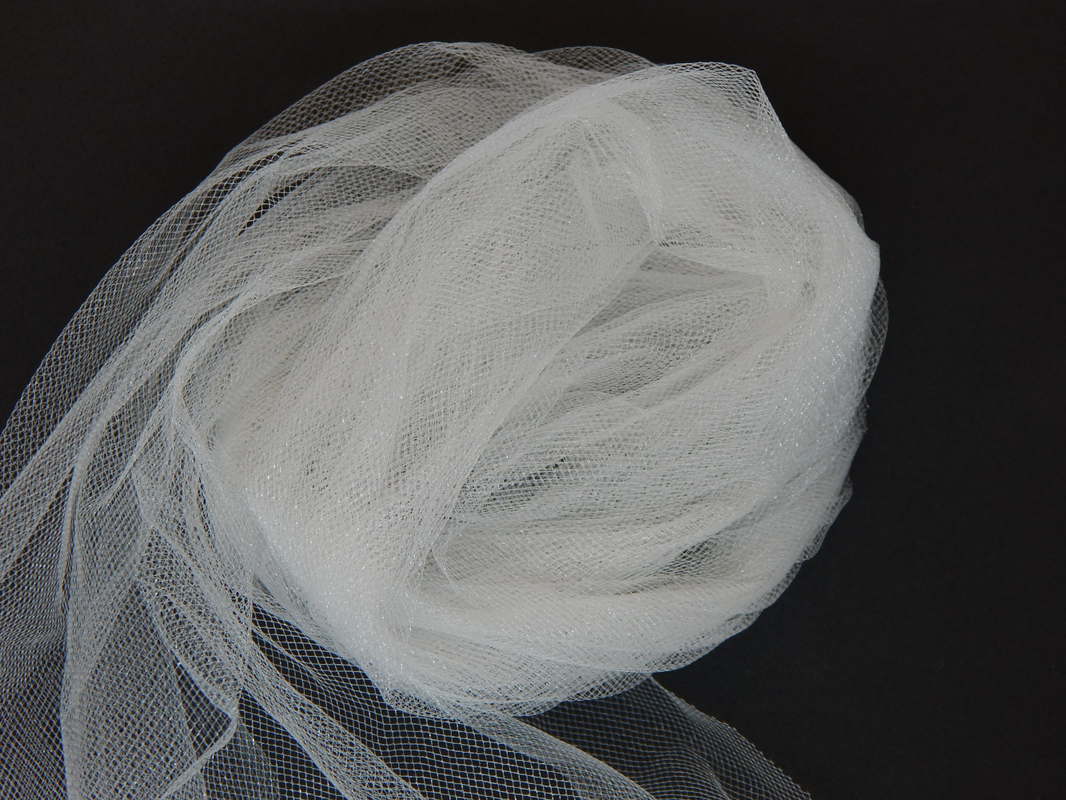
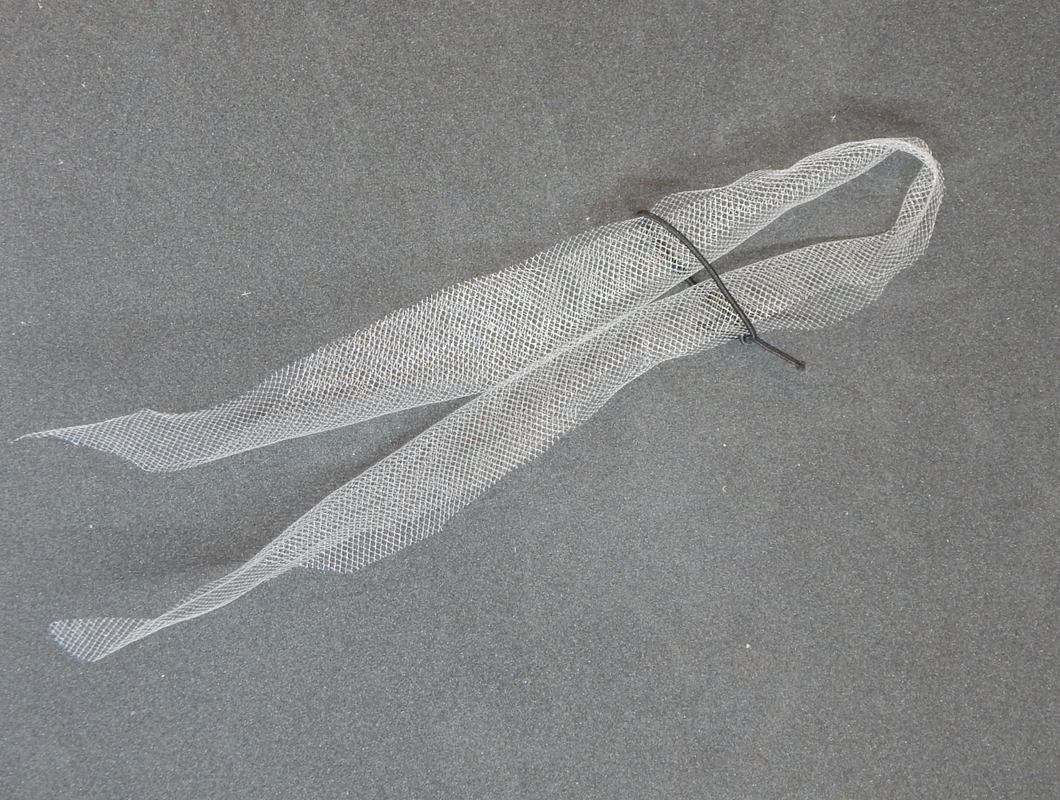
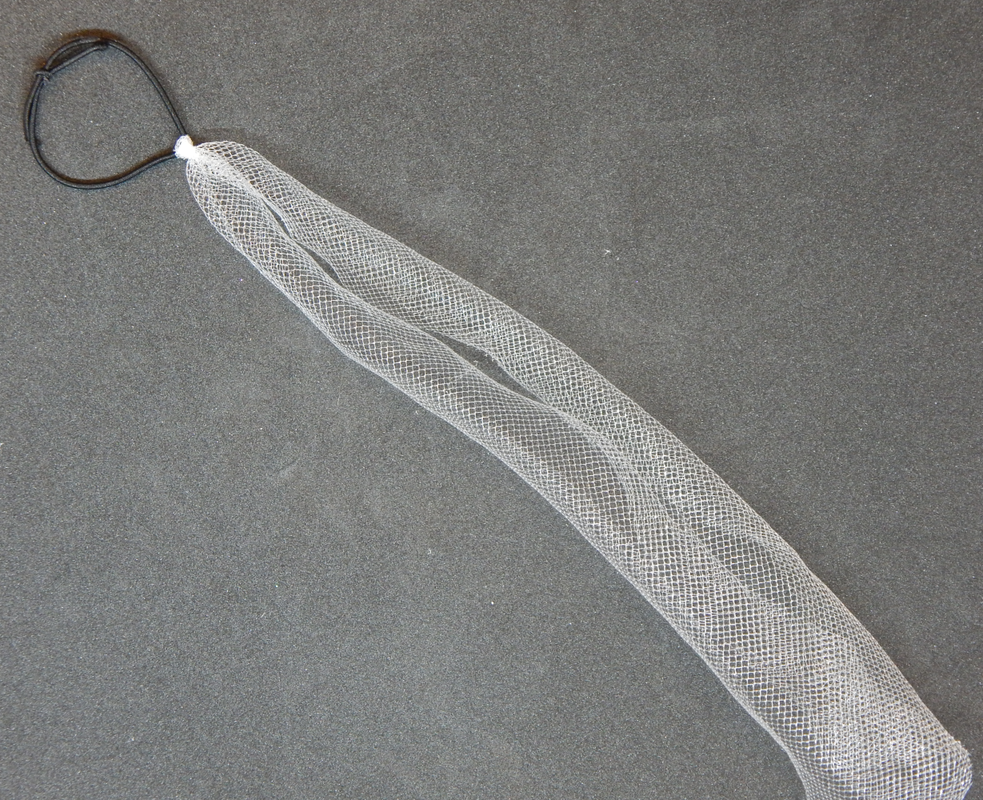
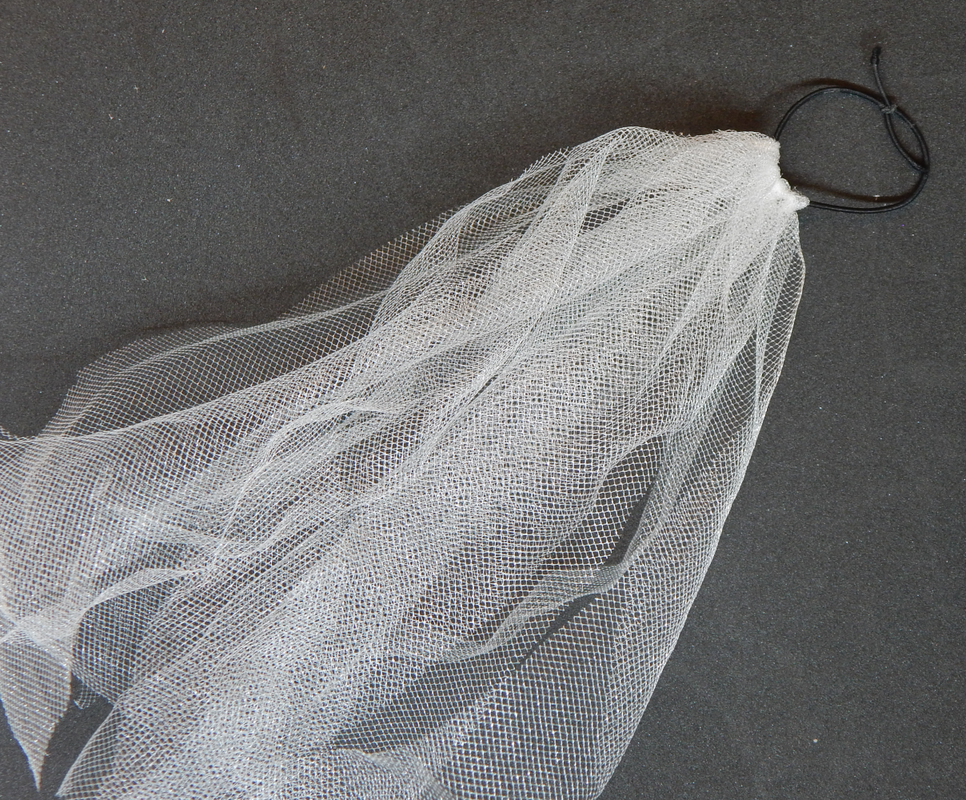
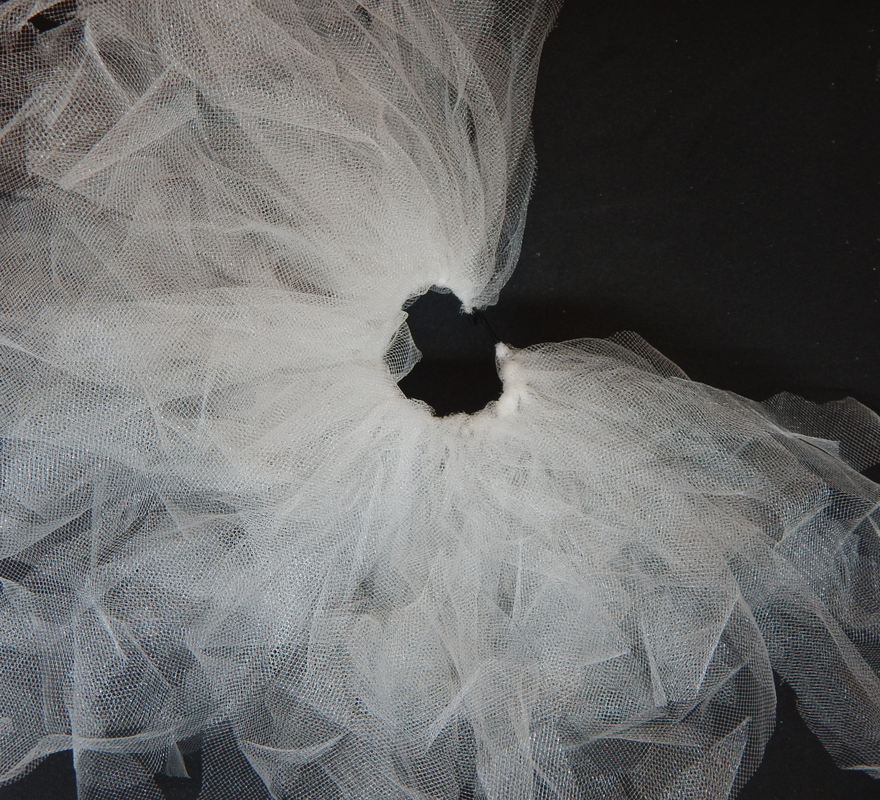

A pile of white tulle in a kind of spiral shape on a black background
Tulle! Exactly how much will depend on the size of the doll you are making a tutu for, and how floofy you want it to be.
A green skinned fashion doll with pink and green hair on a white background. Her hands are on her hips and she is wearing chunky black boots.
A doll! You will be tying the elastic around the waist to get the sizing right and trim it to the right length.
A picture of pink handled scissors, with a bottle of fray check and a bundle of black elastic cord on top on a black background
​Scissors, thin elastic cord (I use beading cord) and Fray Check. (The Fray Check is for dotting on the elastic knot to secure it, so you could also use clear nail polish if that's what you've got on hand!)

How-To


​Step One: Cut a piece of elastic and tie it around the doll's waist in a loop with a square knot. Make sure it fits the doll snugly, but you can still take it off and put it on the doll. Put a dot of Fray Check or clear nail polish on the knot to secure it.

Step Two: Cut a bunch of strips of the tulle, about one inch wide. The length will depend on the length of the tutu you want and also the height of the doll. You want them about the right length for the tutu when folded in half. The amount of strips you need will also depend on the size of the doll, and how floofy you want the tutu to be! These do not have to be uniform in size, making them a bit different adds interest and texture to the tutu! (And you will be trimming them up in the last step, so it's better to make them a bit too long and then cut them shorter.)
A picture of three strips of white tulle on a black background. Two of them are folded in half
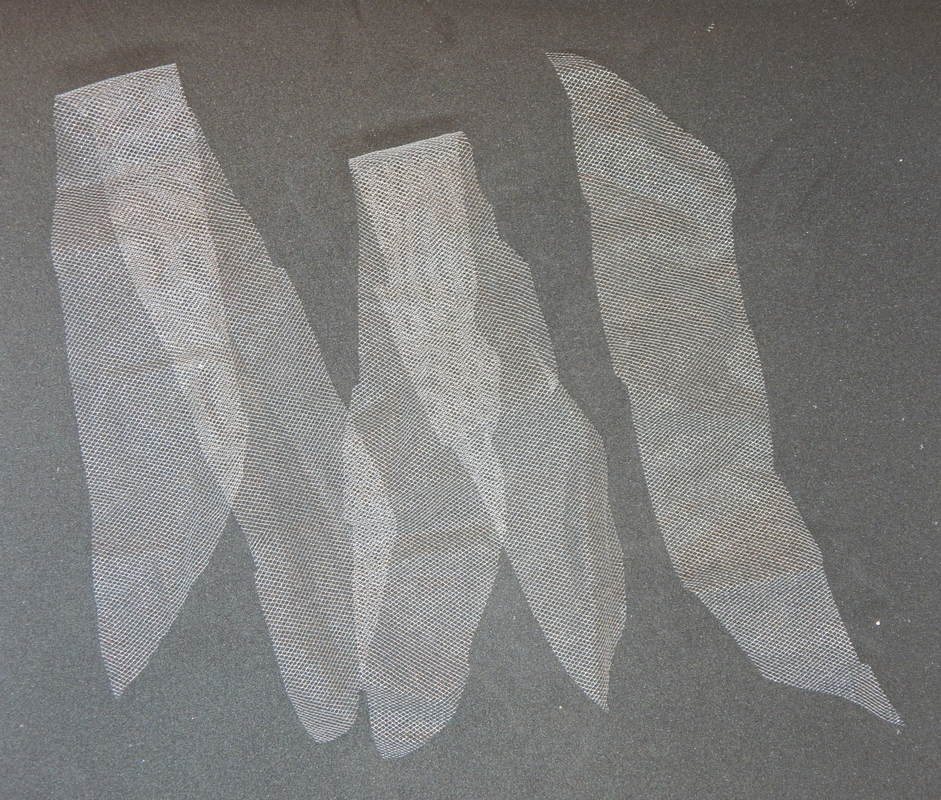
Step Three: Tie the tulle strips to the elastic waist band using a lark's head knot.
A piece of white tulle is folded in half with a black elastic band encircling it a few inches down.
​Fold tulle strip in half, and push it partway through elastic band.
A piece of white till wrapped around a black elastic band, partway through the process of tying a lark's head knot. The two loose ends of the tulle are pulled through the loop made by folding the strip in half.
​Take ends of strip, pulling them around elastic and pull them through loop that folded end of the tulle strip has made.
A piece of white tulle attached to a black elastic band rests diagonally on a black background
​Gently finish pulling  them through and tighten, pushing the knot secure against the elastic.
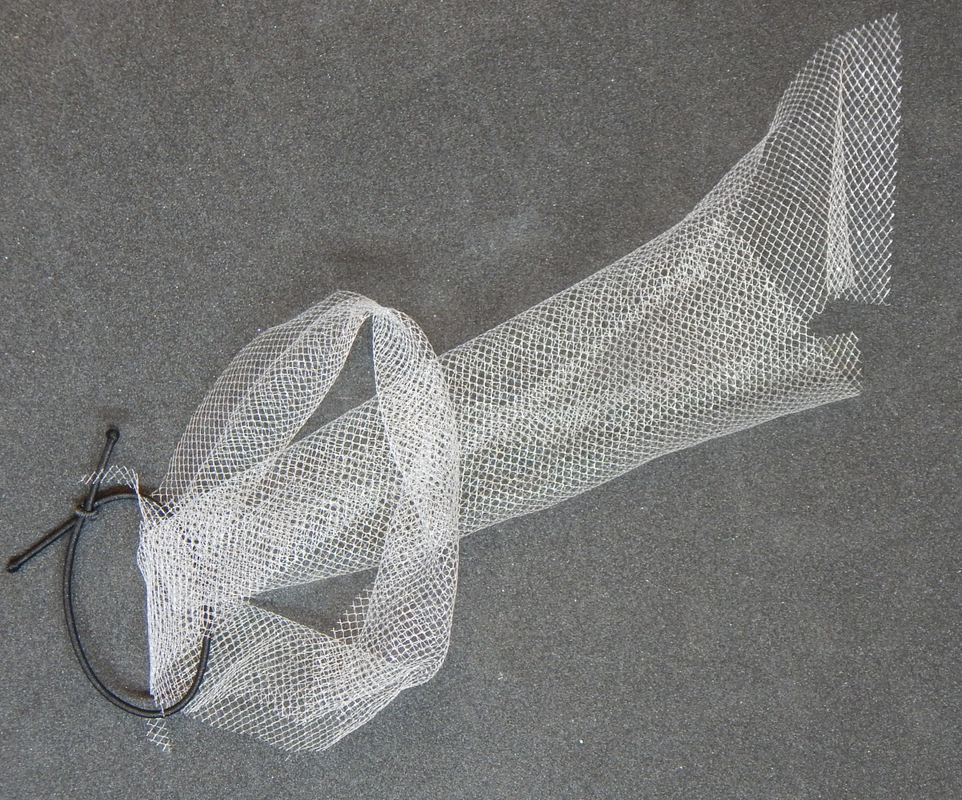
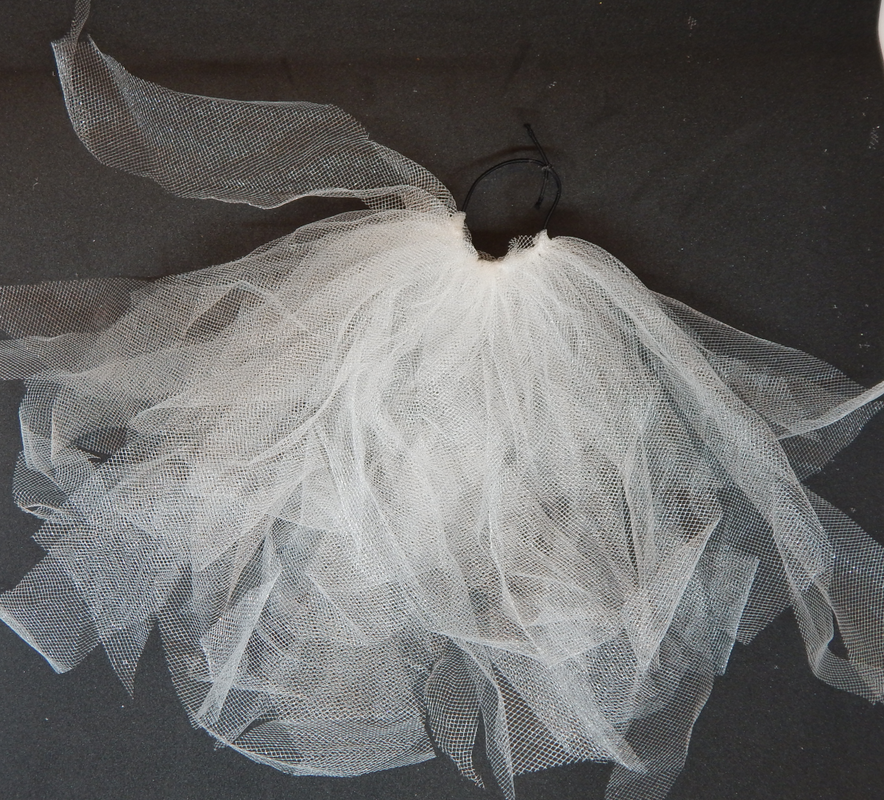
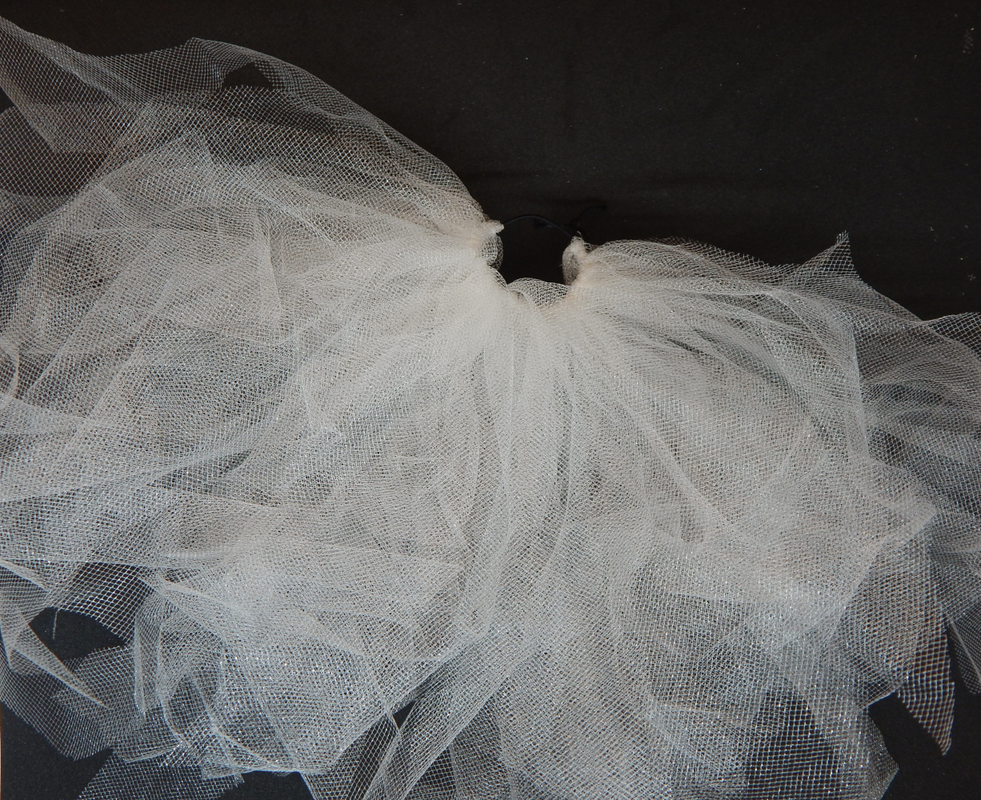
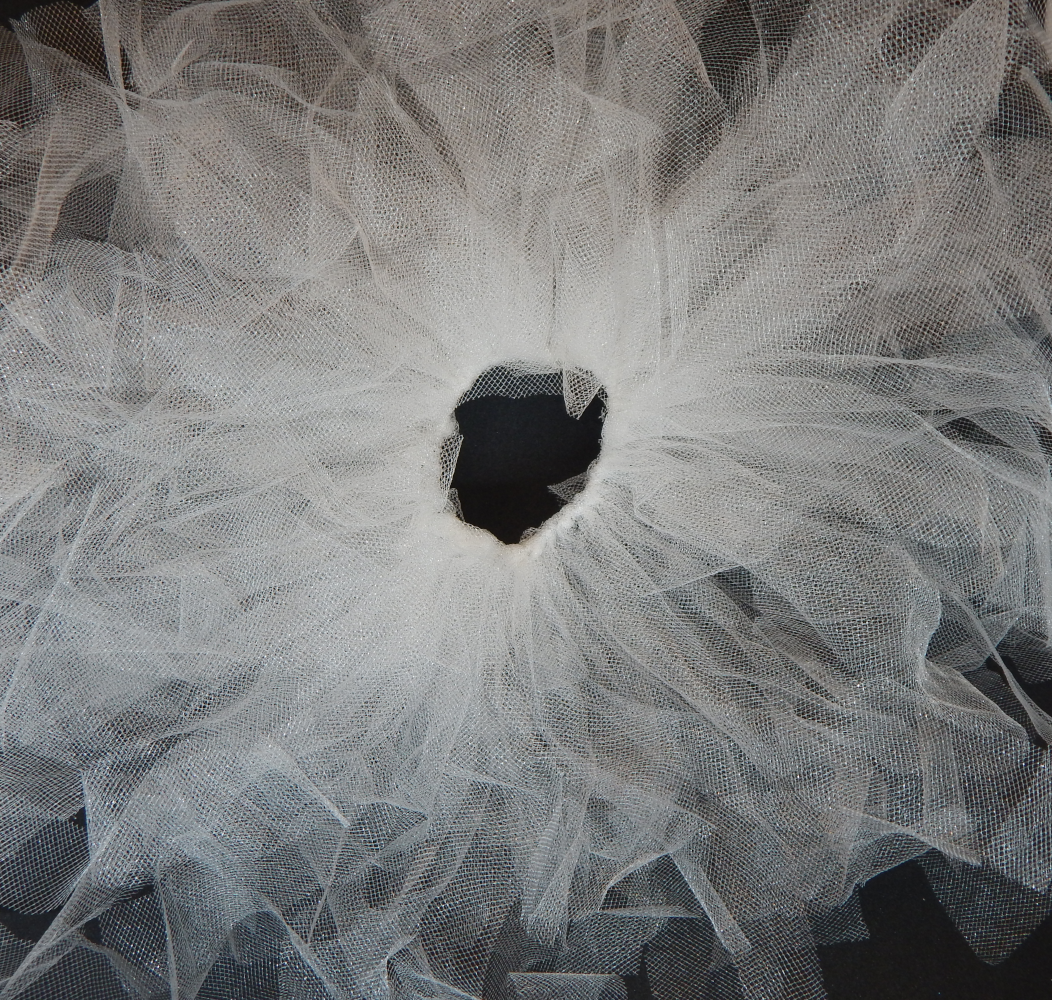
​Step Four: Continue tying tulle strips around elastic band until it is covered.
Multiple pieces of tulle attached to a black elastic band
Multiple pieces of white tulle attached to a black elastic band. About 1/3 the band is covered.
Multiple pieces of white tulle are attached to a black elastic band. It is about halfway covered.
Multiple pieces of white tulle are attached to a black elastic band. The band is covered about seventy five percent.
A picture of multiple tulle pieces attached to a black elastic band, covering the band completely leaving a circle of black and fanning out from it
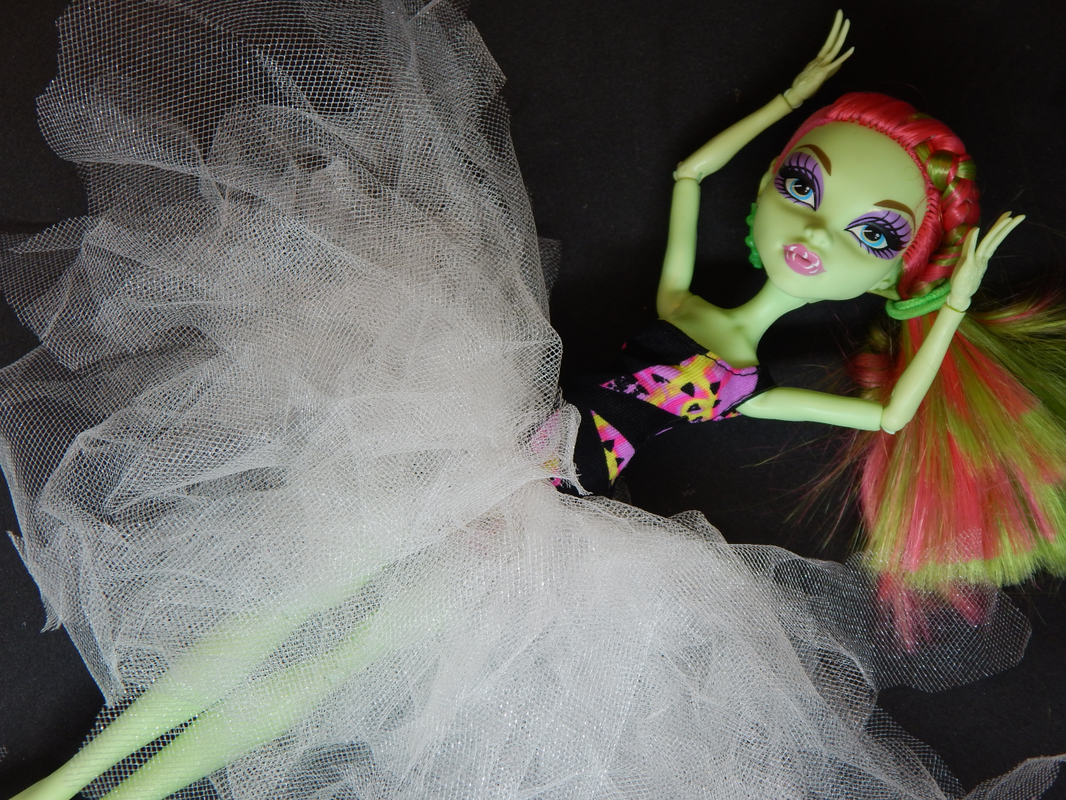
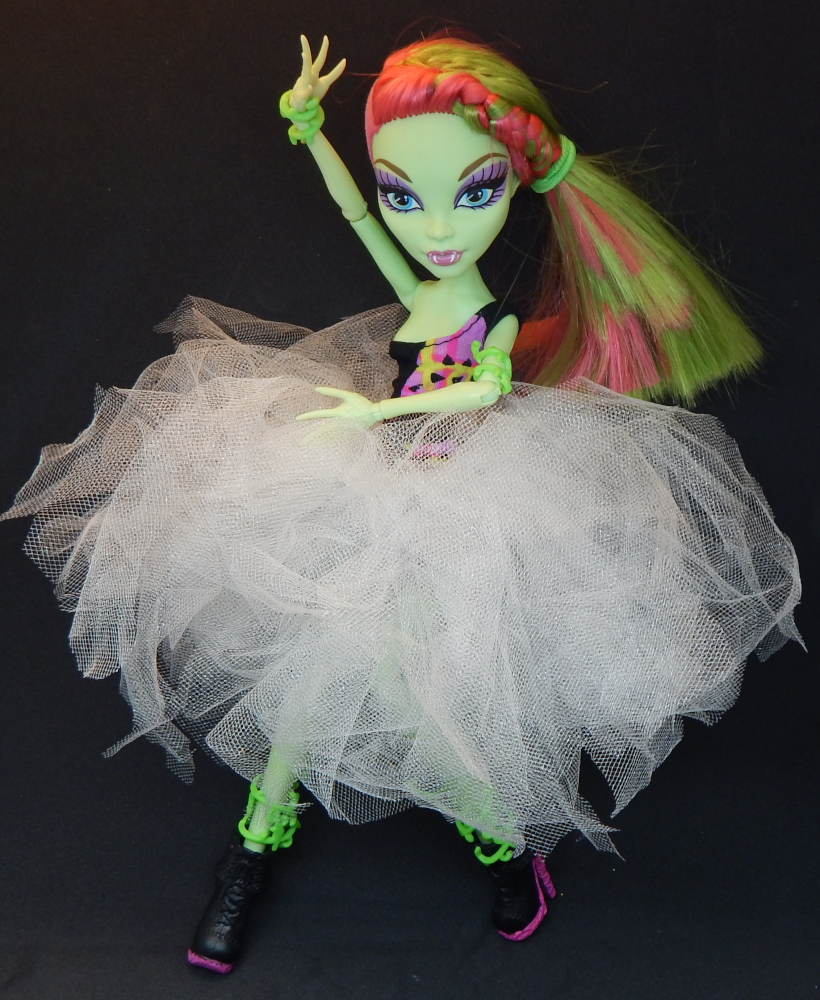
Step Five: Put tutu on the doll, trim and scrunch it until you are happy with the shape!
A green skinned fashion doll with pink and green hair lies on a black background with her arms reaching towards her head. She is wearing a black and pink one armed dress and a white tutu at her waist.
A green skinned fashion doll with pink and one curving in front of her torso. She wears a pink, green, and black one shouldered dress and a fluffy white tutu with chunky black boots with pink soles.

Toss a coin to your crafter:
​Venmo: @CreativeMoves
Paypal.me/CreativeMovesUS

Squishy Sand

7/2/2021

 
A dark pink star made up of granular sand like material, tilted slightly to the left on a white background.
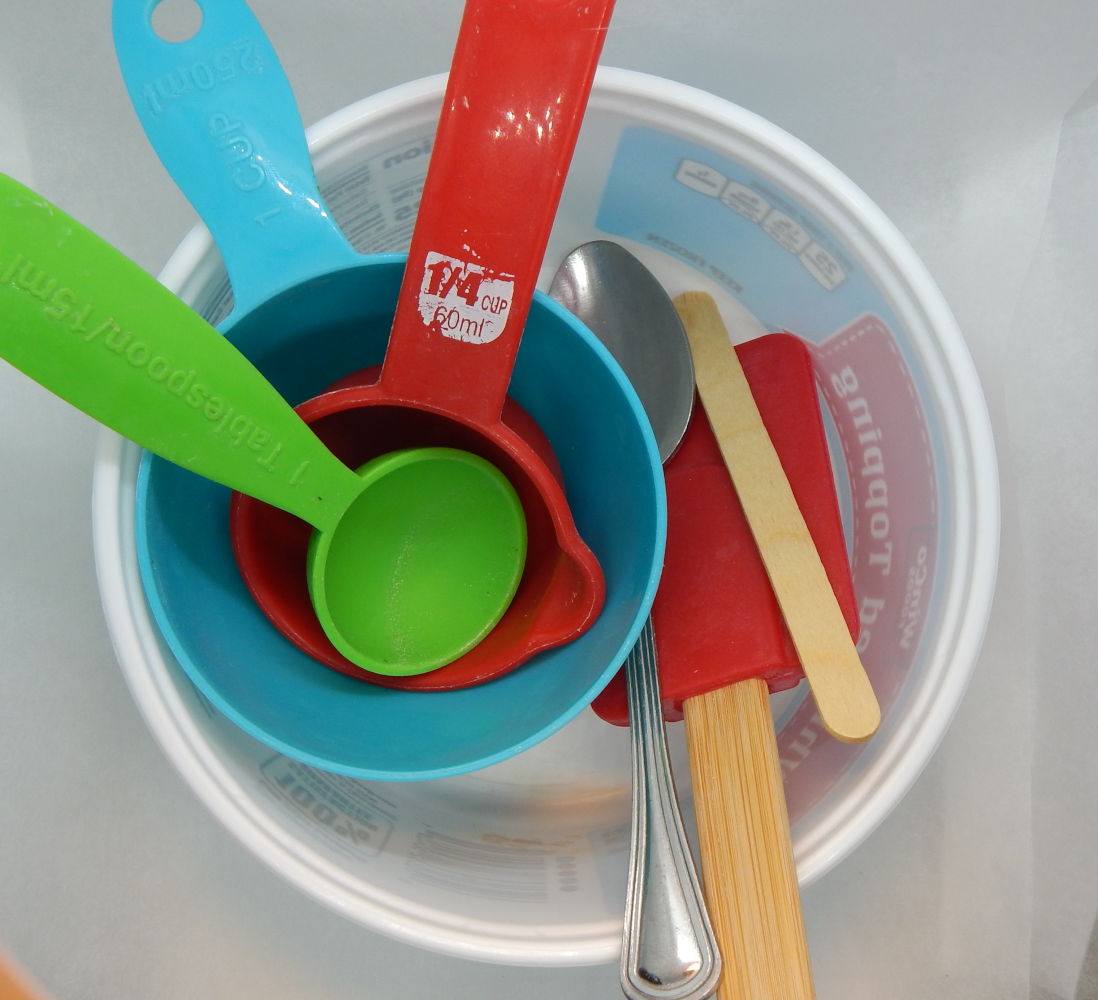
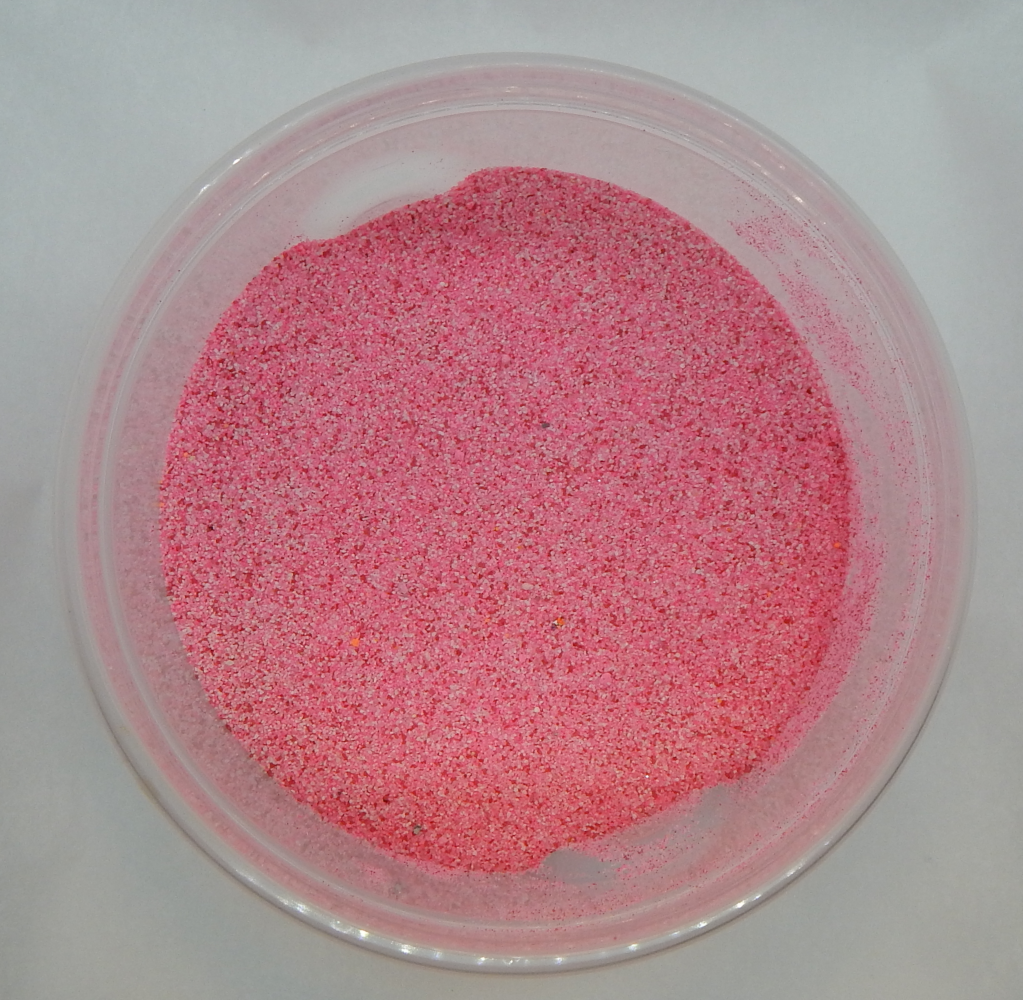
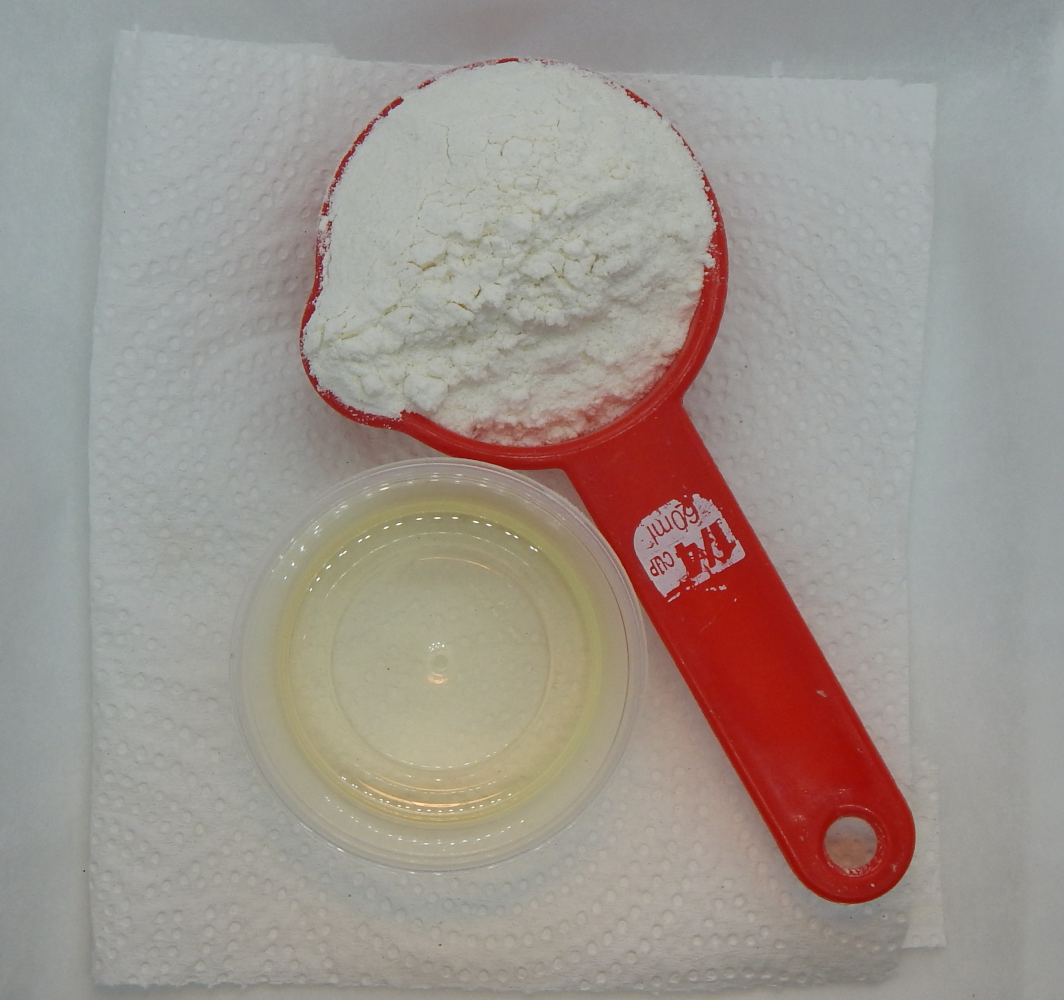
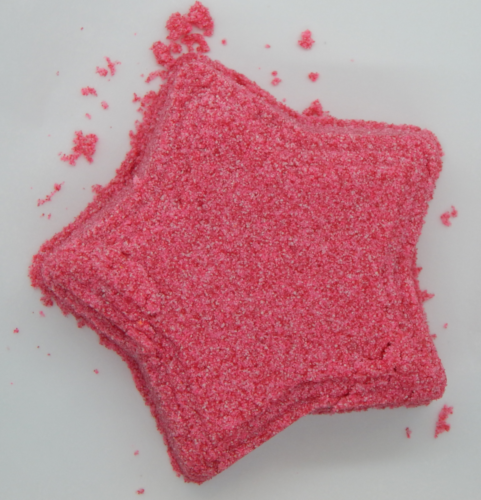
Squish and squoosh and squeeze! Make some fun homemade kinetic sand! Video tutorial first, scroll down for the still pictures and words version.

Supplies

A white bowl filled with teal and red measuring cups, a green tablespoon, and a silver spoon, a popsickle stick, and a red spatula.
​Tools: Bowl, measuring cups and spoon, spoon or something to stir with.
a translucent plastic bowl holding dark pink granular sand
​1 Cup Sand
(this was craft sand that came in pretty colors, play sand should also work, you could experiment with food coloring to make it colorful.)
a red measuring cup holding a mound of flour, a small plastic cup holding cooking oil.
​1/4 Cup flour
3 Tablespoons oil
(I used vegetable oil from the kitchen, but you could experiment with different kinds.)

How-To

​Dump ingredients in bowl, stir until well mixed. Add more oil a little bit at a time if needed. This recipe can easily scaled up or down if you want more or less, it's basically one part flour to four parts sand,  add oil a little at a time until you are happy with the texture and how much it holds together. Happy squishing!

Toss a coin to your crafter:
Venmo: @CreativeMoves
Paypal.me/CreativeMovesUS

    Projects

    All
    Bullseye Cane
    Checkerboard Cane
    Craft Foam Printing
    Fashion Doll Tutu
    IttyBitty Bunting Beads
    Jellyroll Cane
    Packing Tape Bookmark
    Picture Frame Pendant
    Polymer Clay Canes
    Snow People Ornaments
    Squishy Sand
    Teapot Bead Tutorial


    Looking for old projects?
    I will be slowly improving/updating and adding them here, but until then you can find them here:
    http://makemesses.
    ​weebly.com/projects

    Archives

    December 2022
    October 2022
    November 2021
    October 2021
    July 2021
    June 2021


    Tip Jar

    Venmo: @CreativeMoves
    Paypal.me/CreativeMovesUS

  • Home
  • Shop
  • Blog
  • Gallery
  • Make Messes