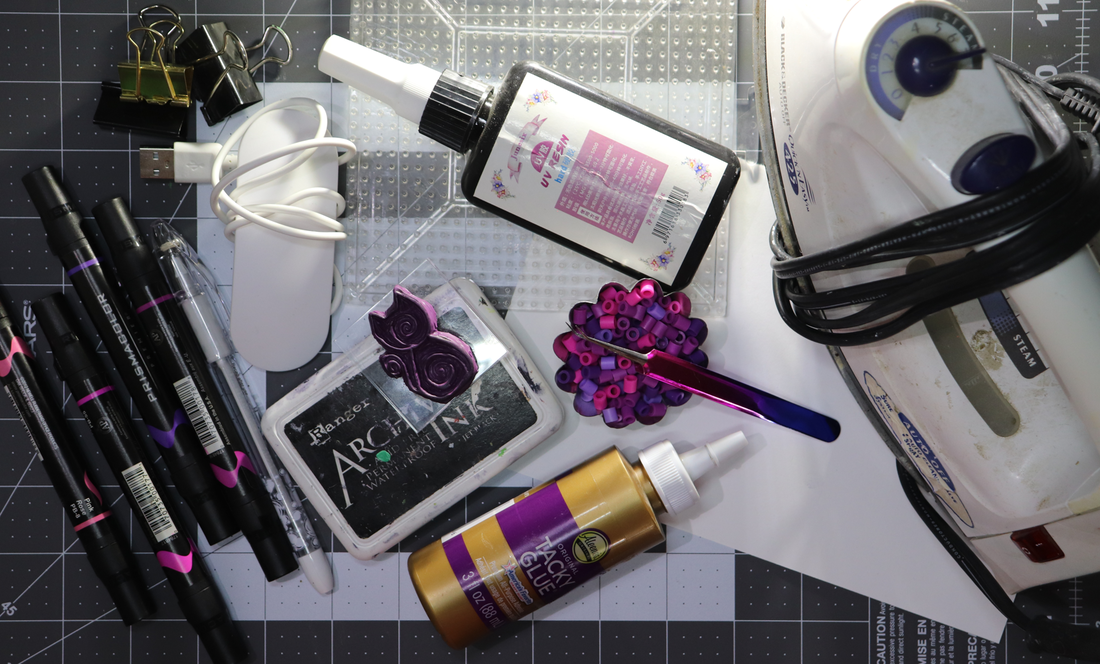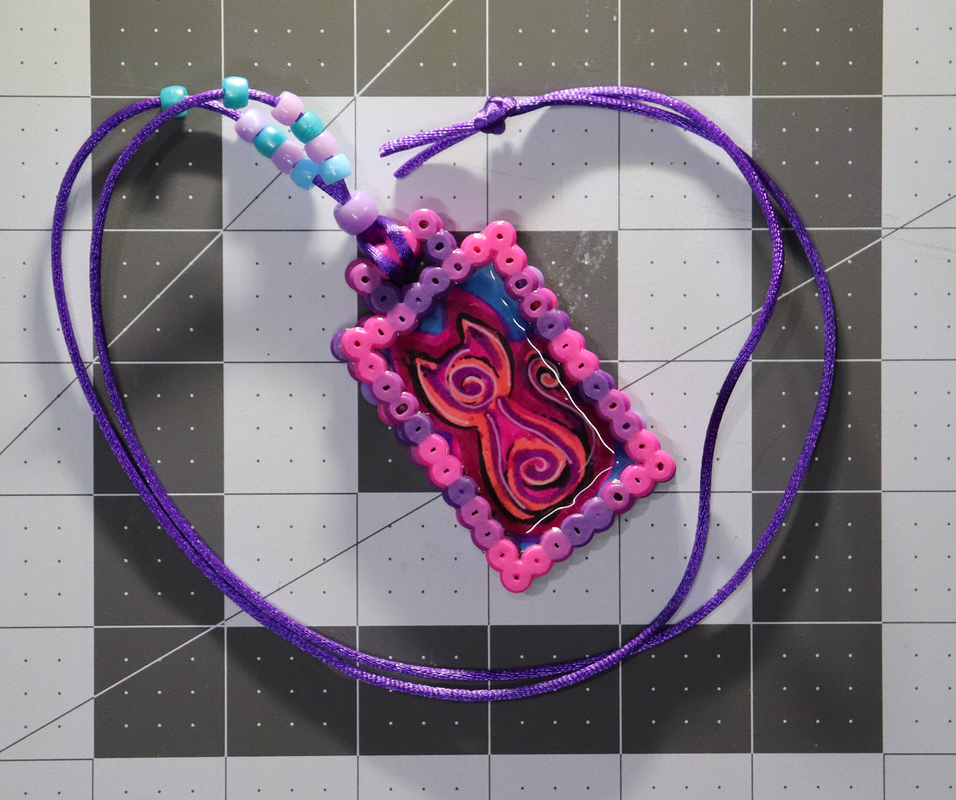
 A cute little picture frame pendant made out of Perler beads! Video version is first, scroll down for the words and pictures version. Video Materials
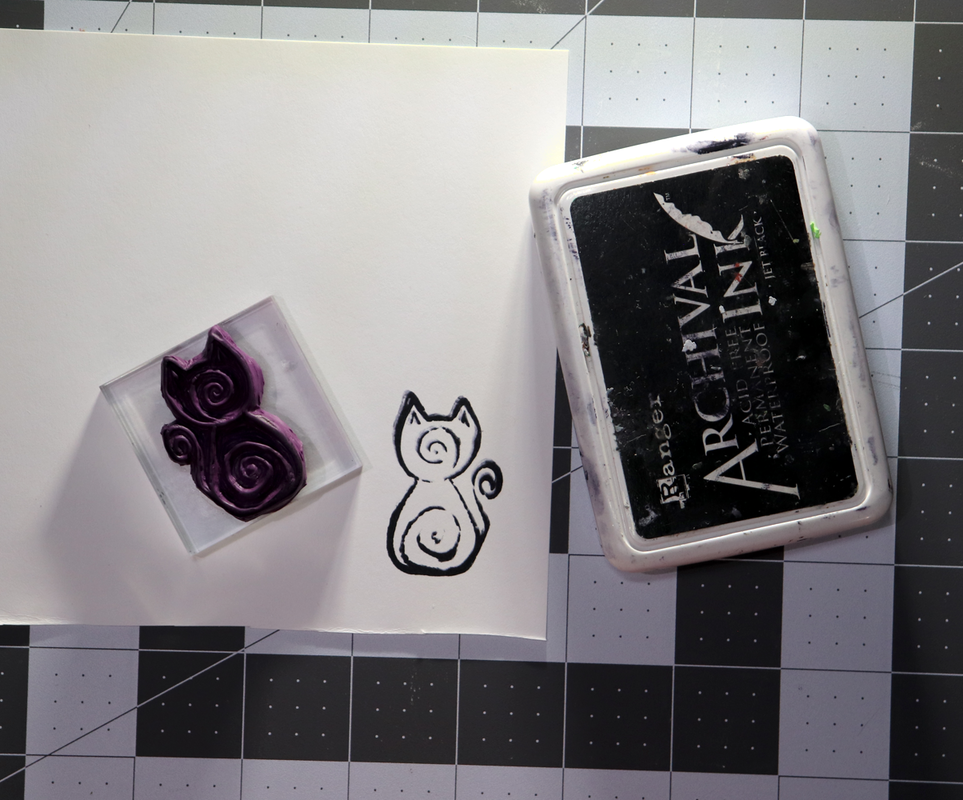
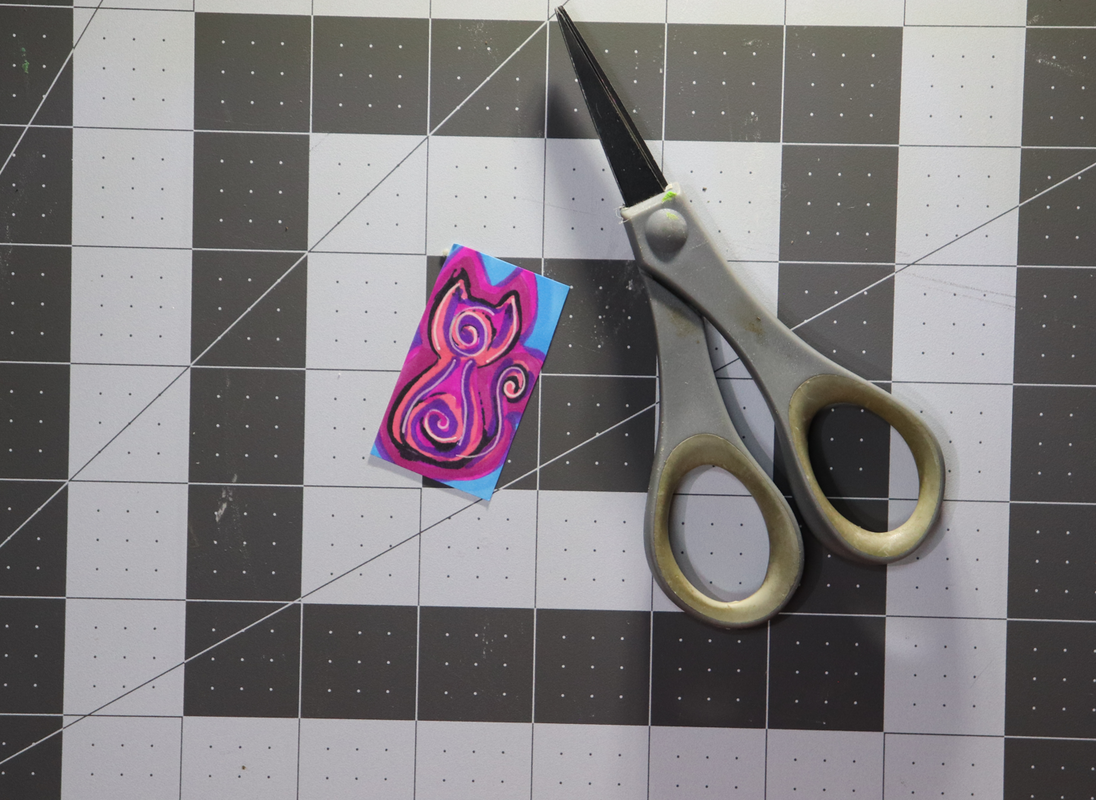
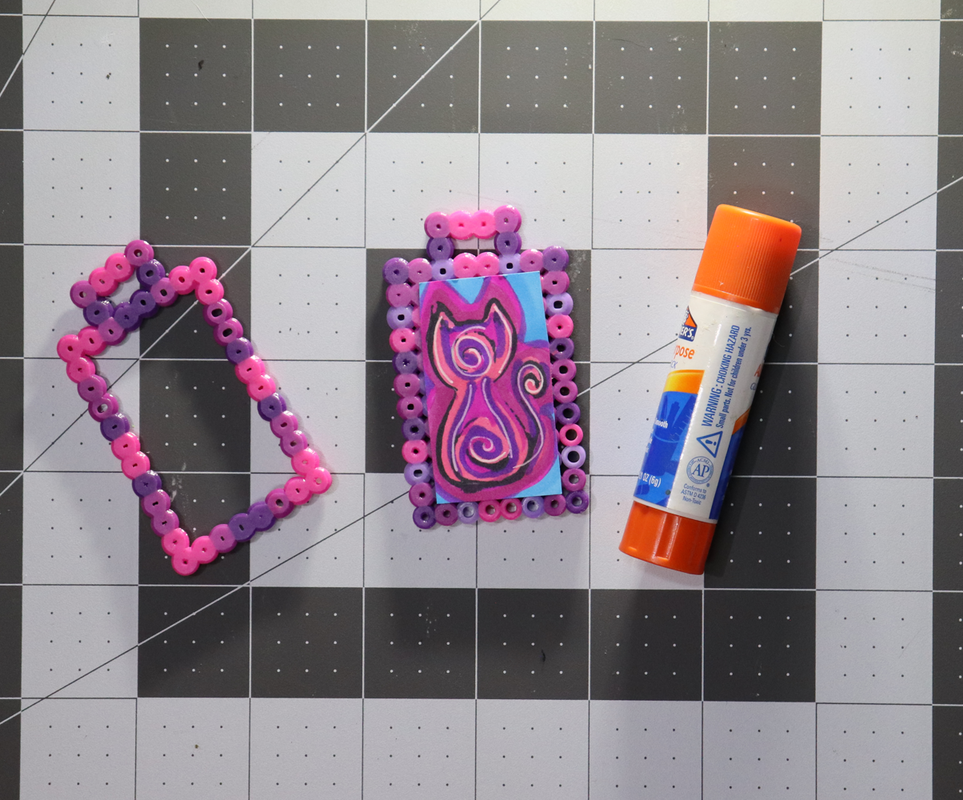
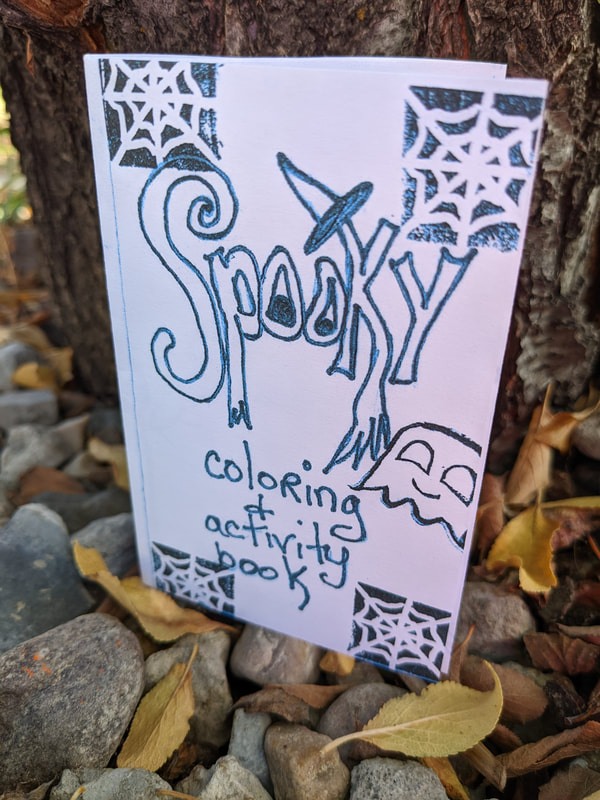
Instructions Stamp and color your picture. You could also cut a picture from a magazine, print out a picture, etc.
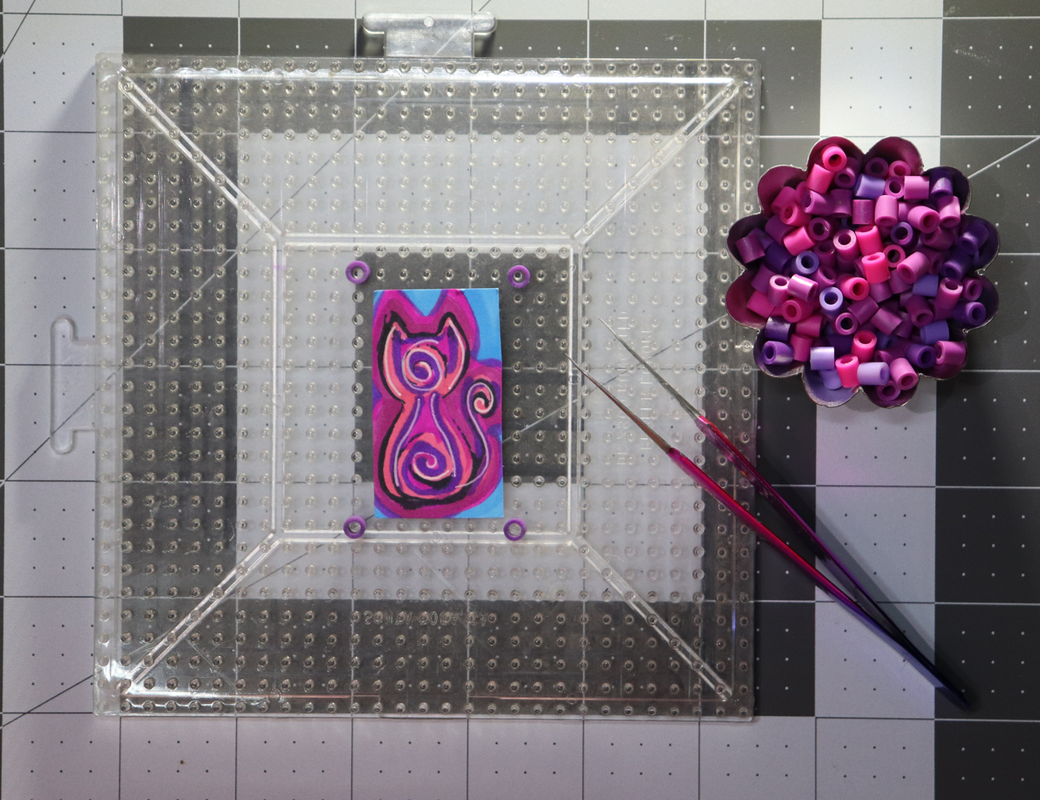
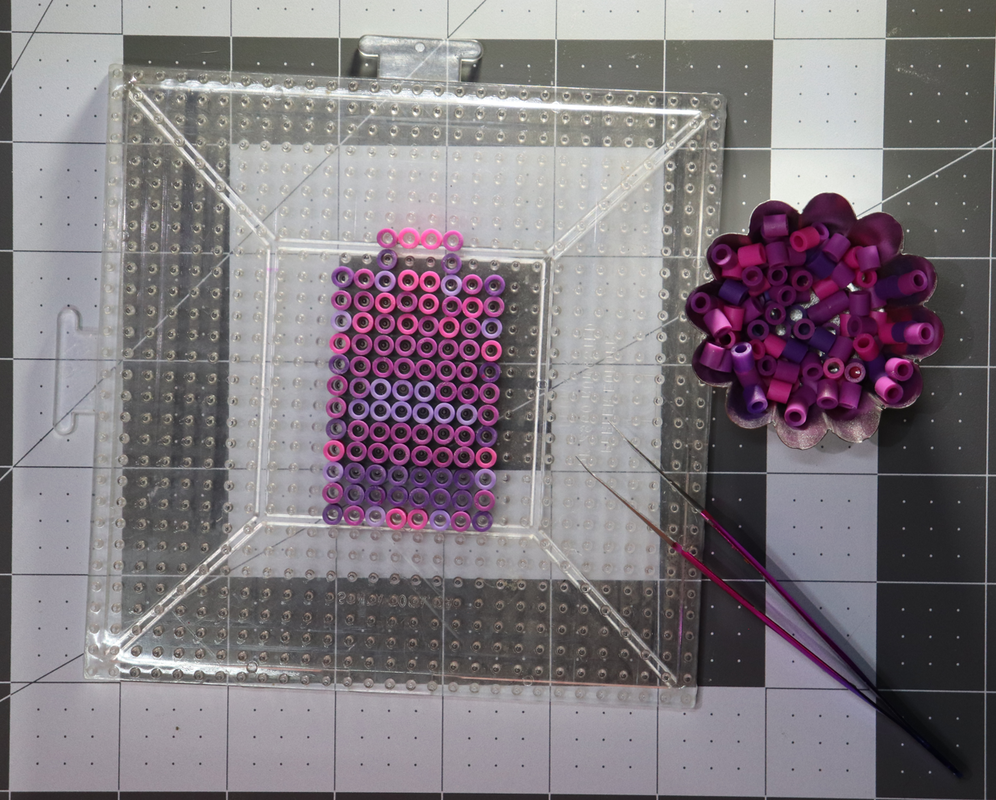
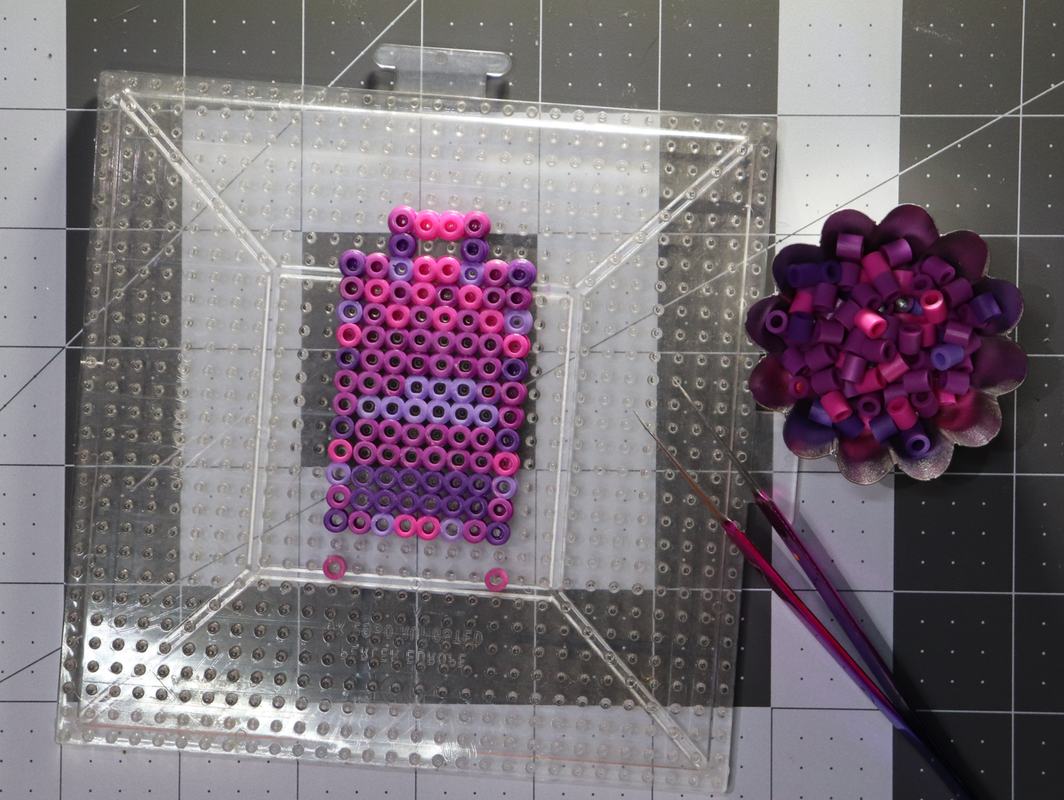
Using your picture as a guide, put Perler beads on the design board at the four corners. Then take the picture away and fill up the rectangle with beads. Add a loop at the top. Cover with parchment paper and gently iron to melt the beads together. Take it off the board and do the back side.
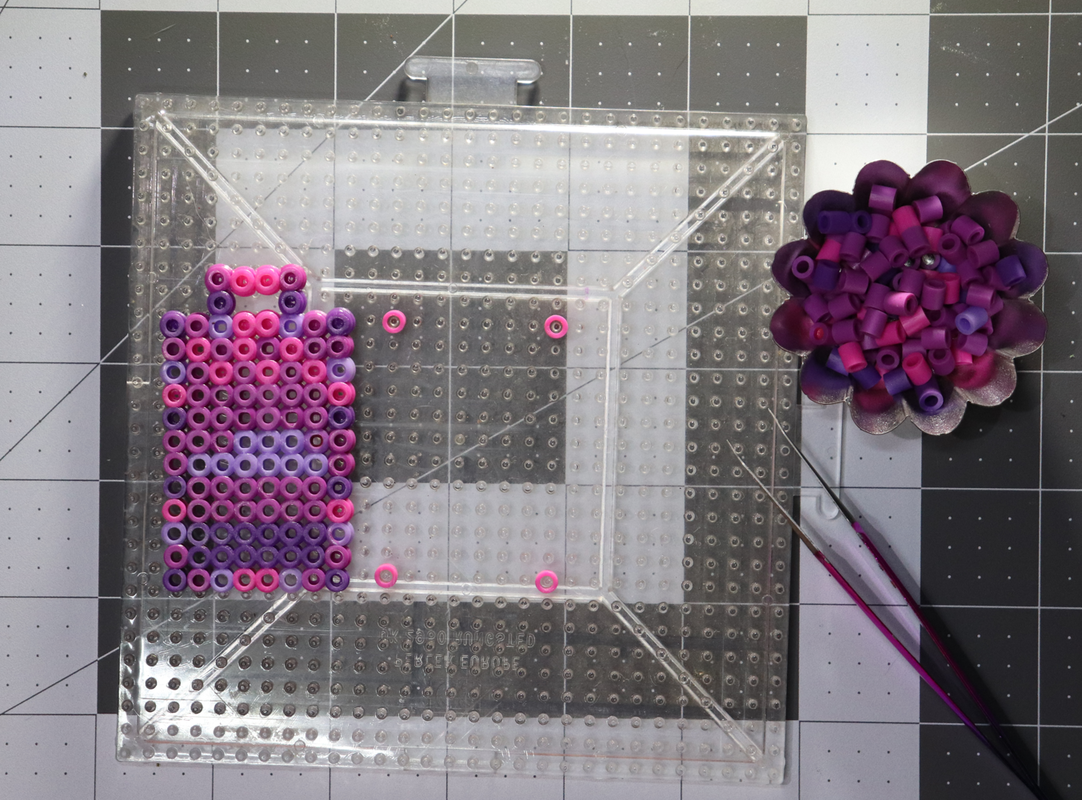
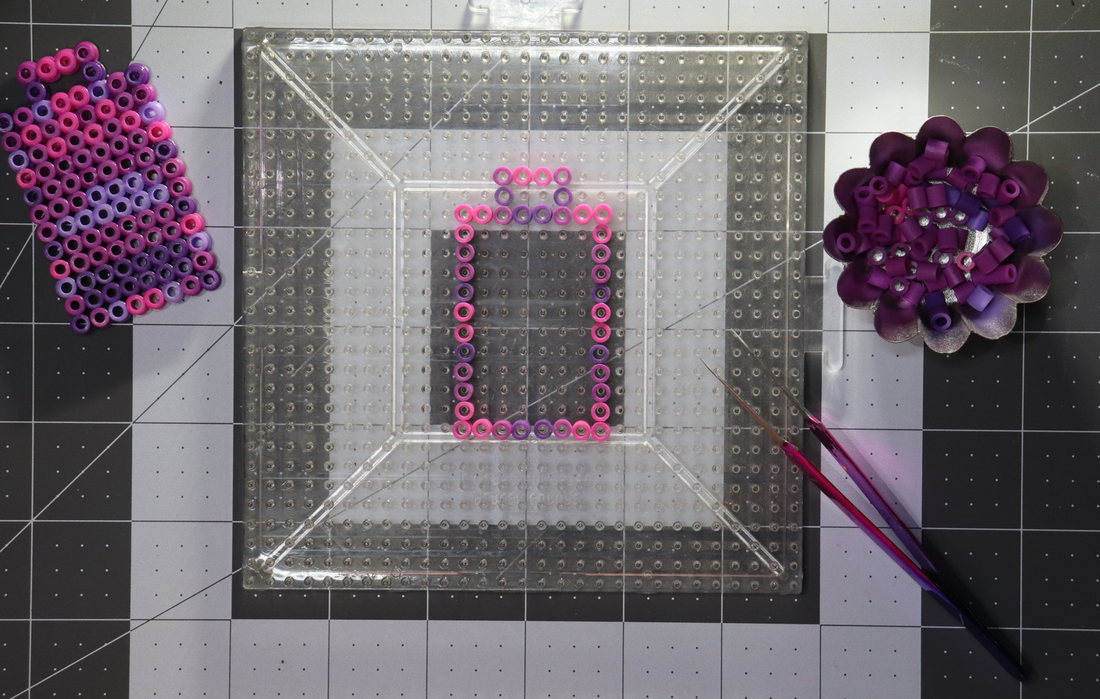
Using the backing as a guide, put four corners on design board.
Put beads on design board between corners to form frame, and include loop. Use glue stick to attach picture to back piece.
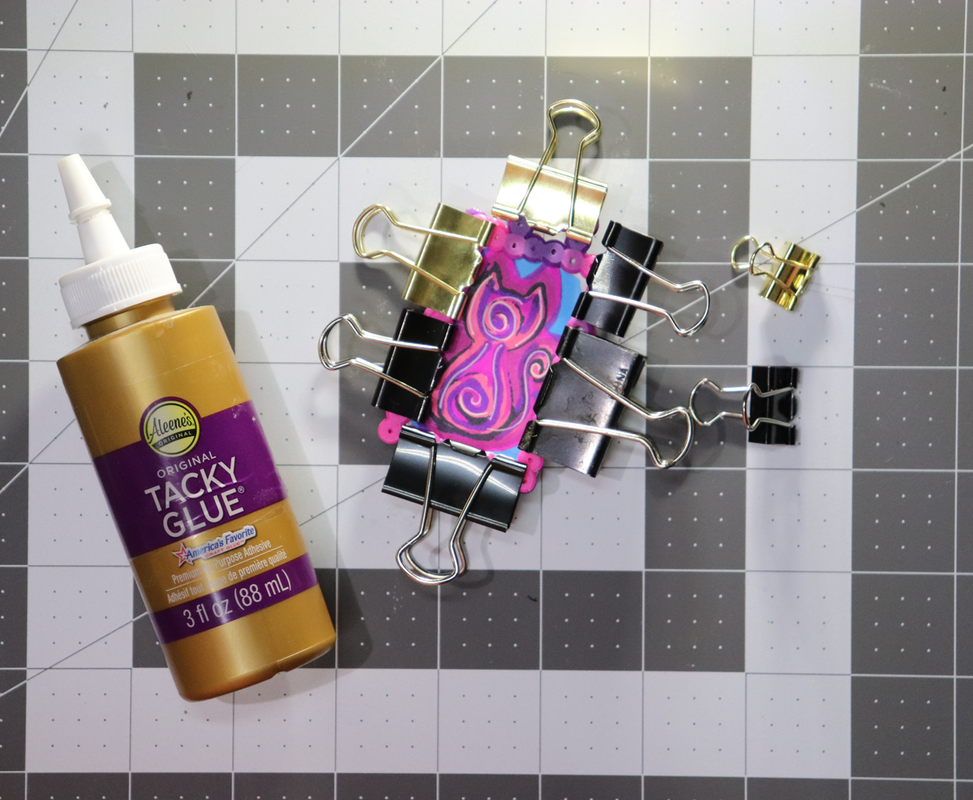
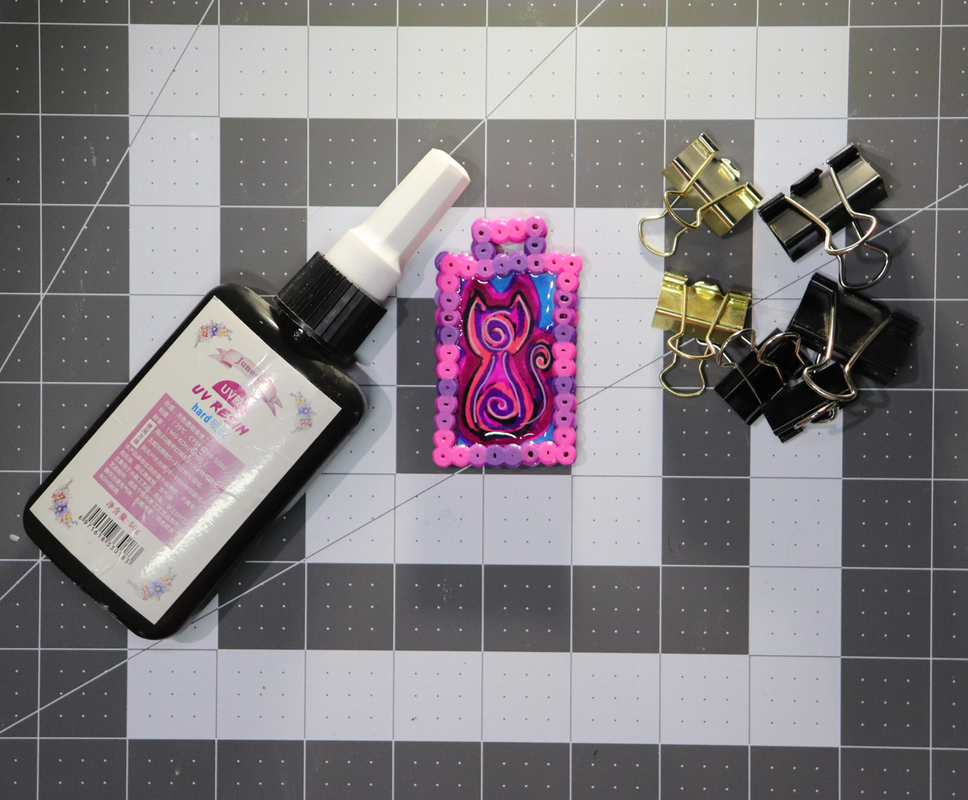
Glue the front frame onto the backing piece, clamp with the binder clips and let dry thoroughly. (I let it sit overnight) Once dry, un-clamp and fill the center with UV resin. (You could also use extra thick embossing powder or any thick glaze or varnish.)
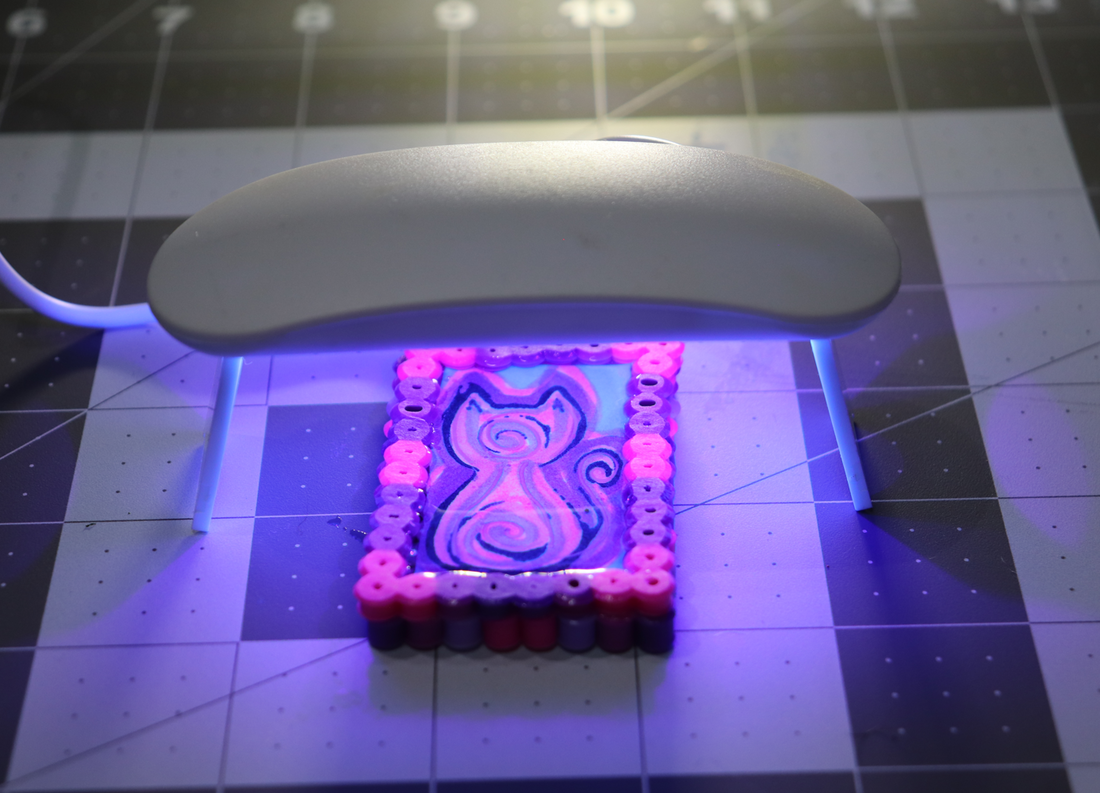
Cure resin under UV light, string on cord with accent beads. (Or add a zipper pull, key ring, etc.)
Did you enjoy this project? Tips are always appreciated!
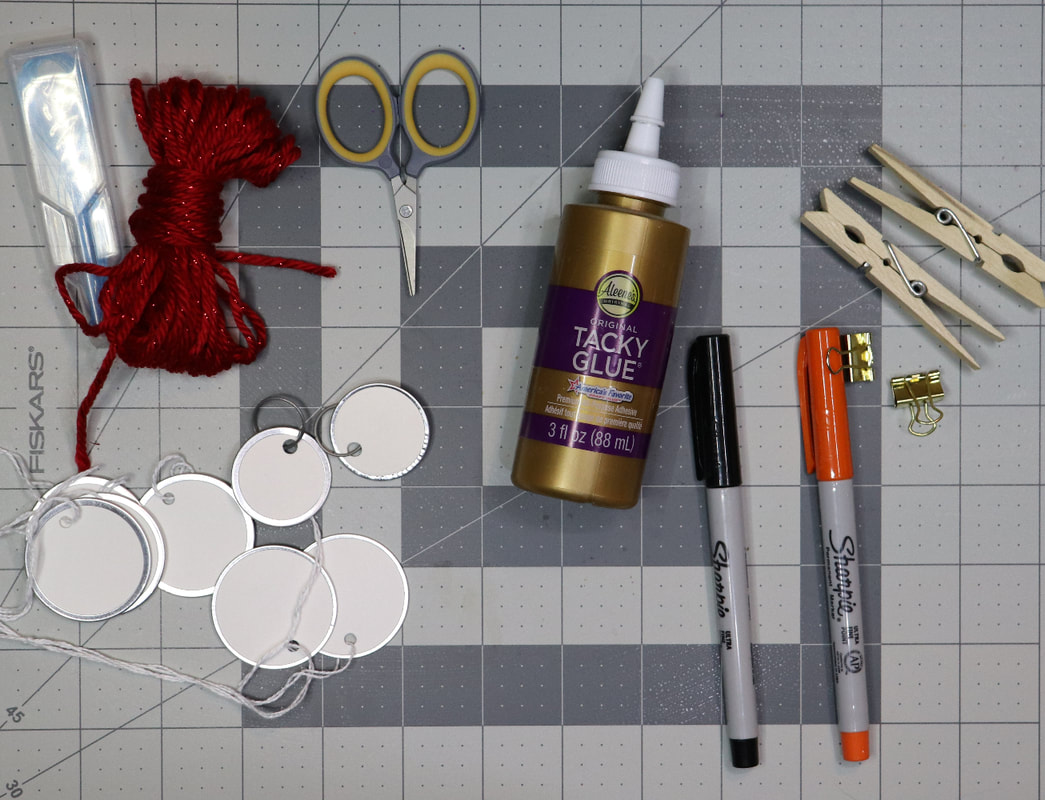
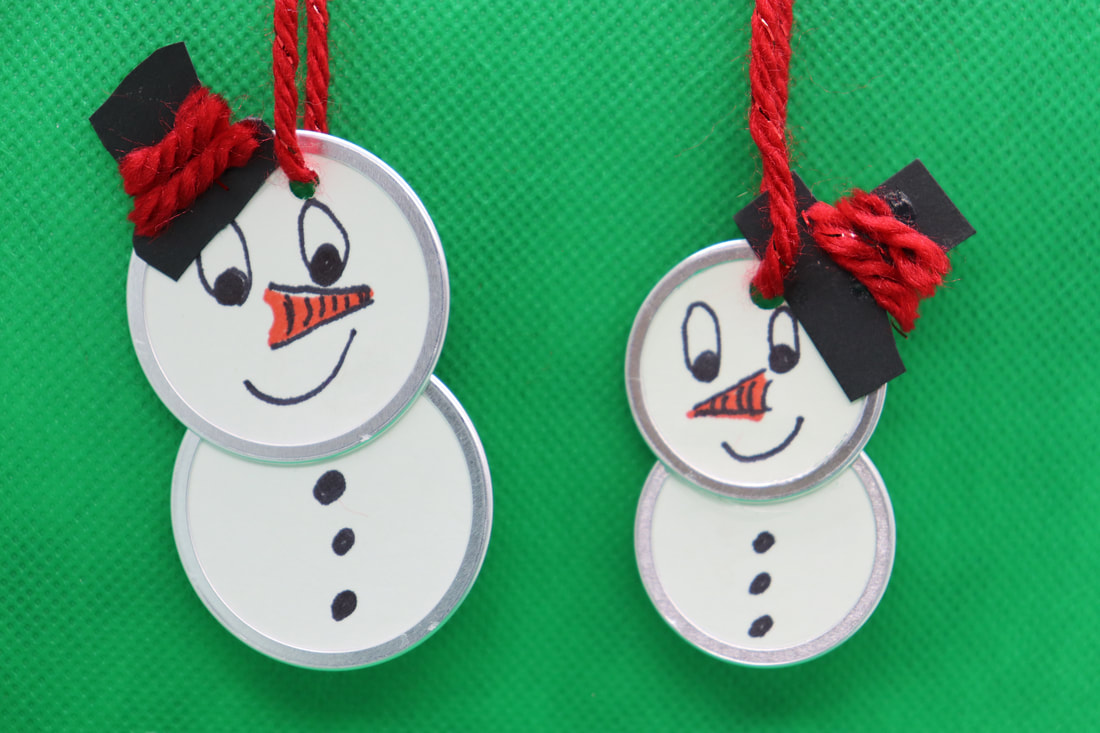
How to fold mini coloring books Cute little snow people to help make your season bright! Video tutorial first, or scroll down for words and pictures. VIDEOHow-To!
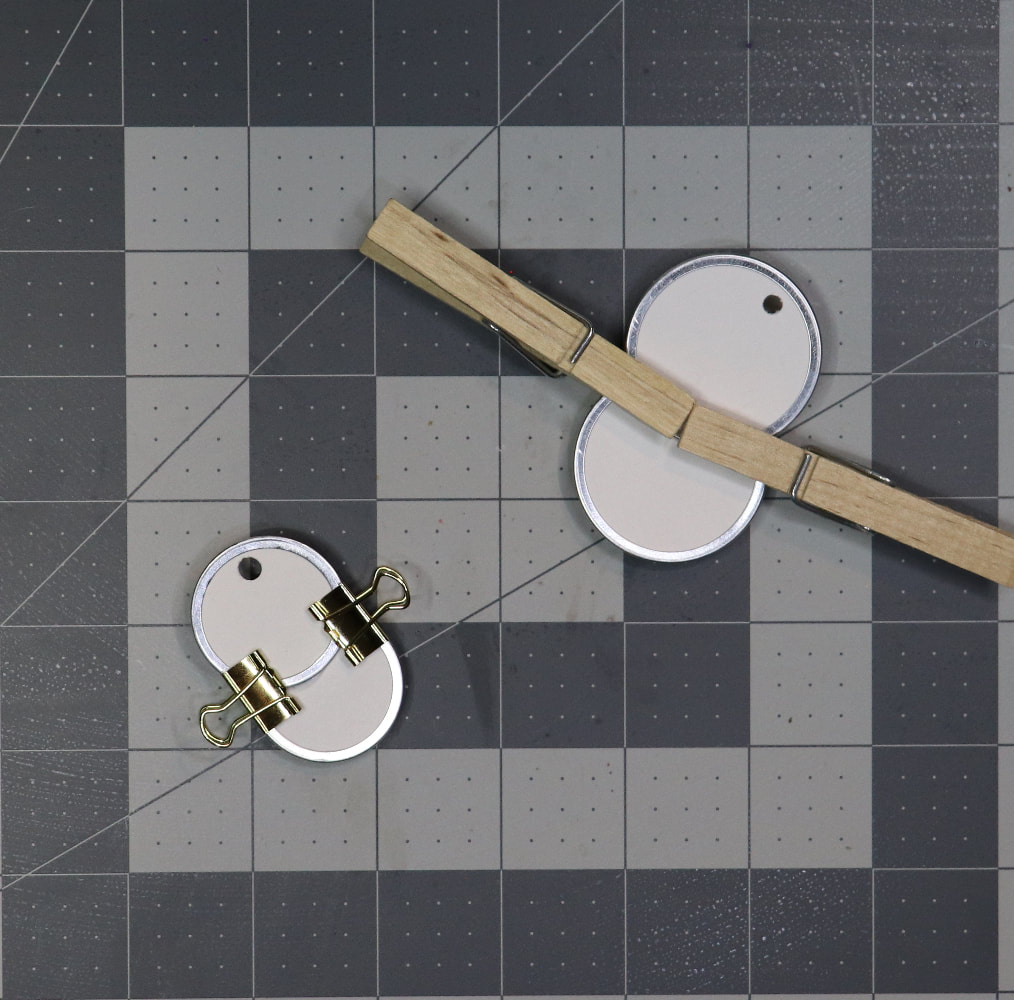
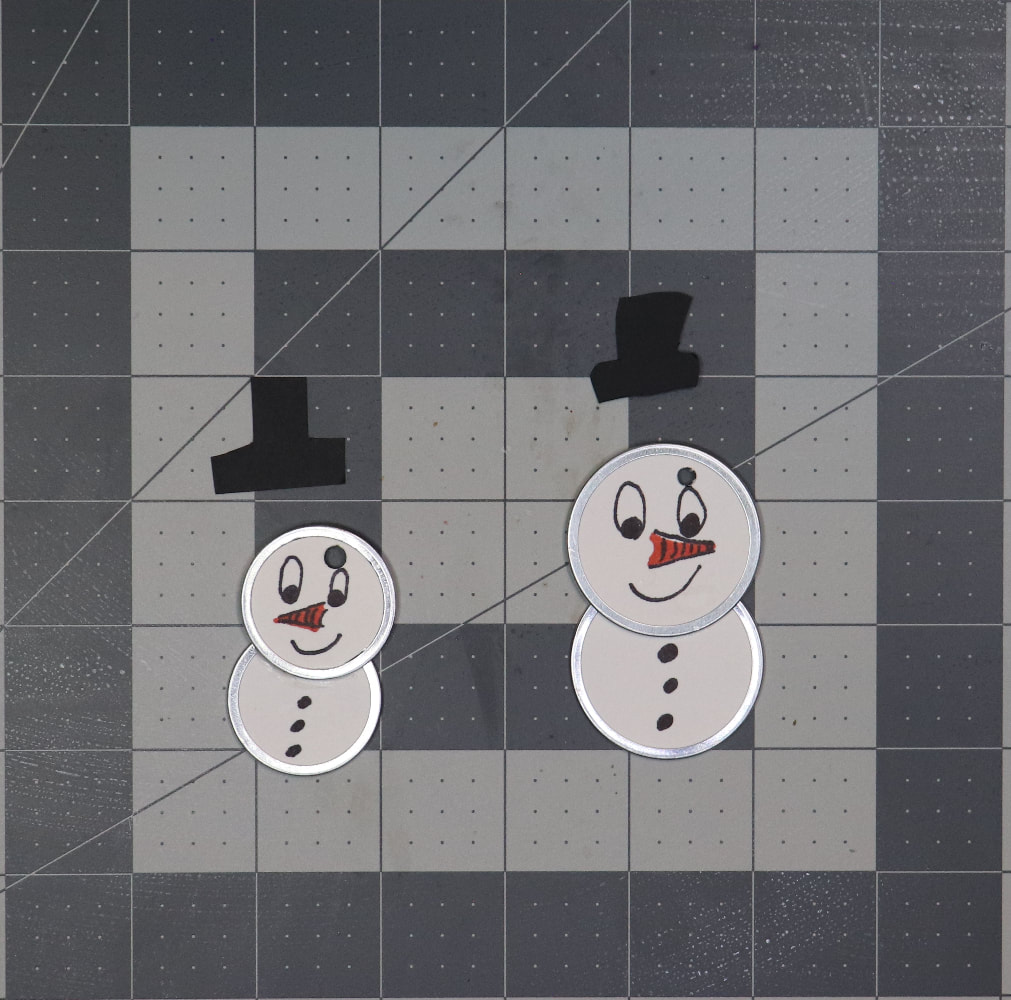
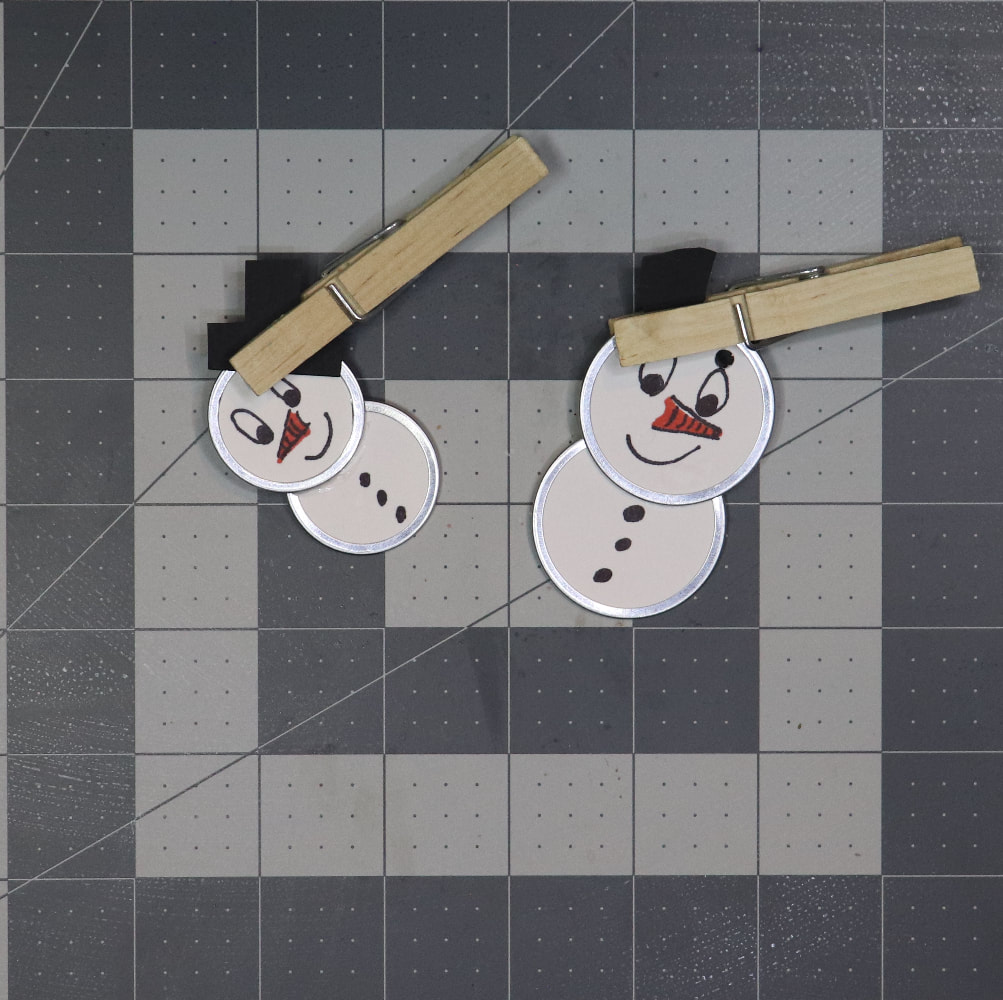
Glue two of the tags together. Layer the bottom one underneath so the hole is hidden. Clamp together with clothes pins or binder clamps and let glue dry. Draw a face and buttons on with a marker. Cut a hat shape out of the black paper.
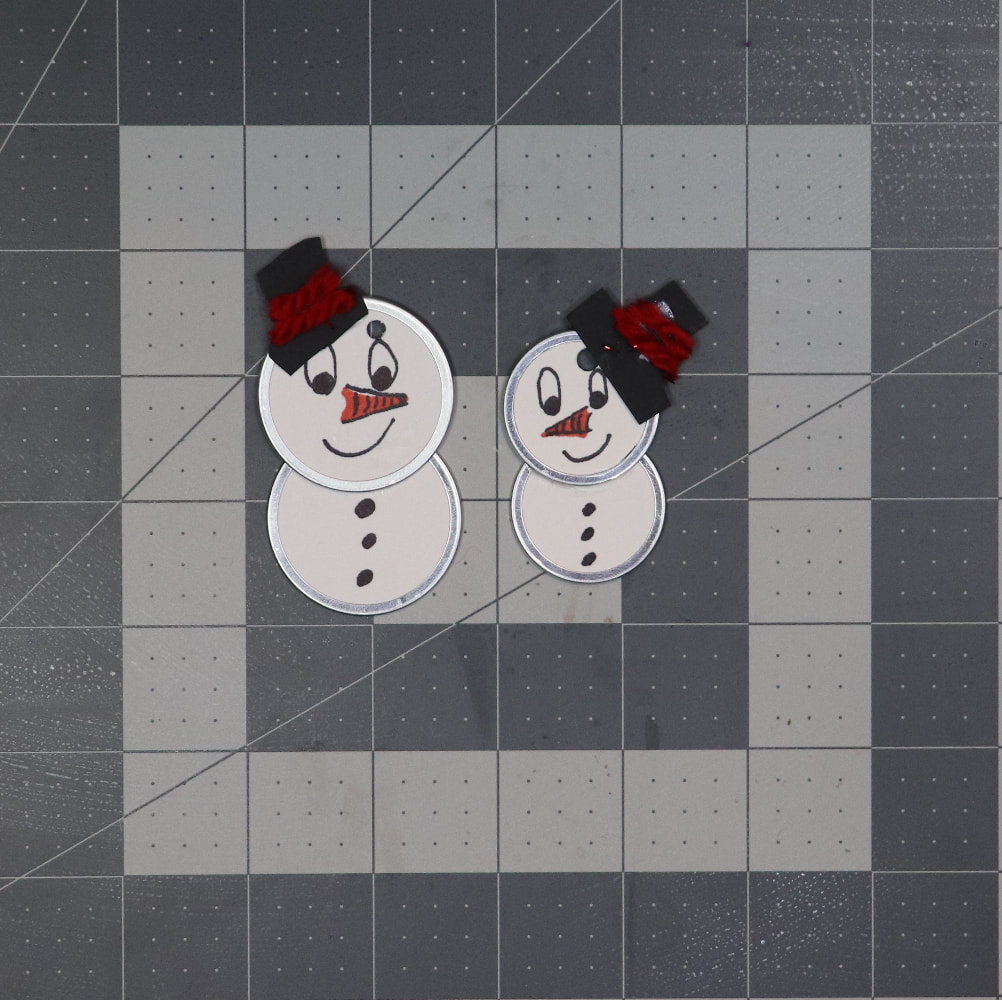
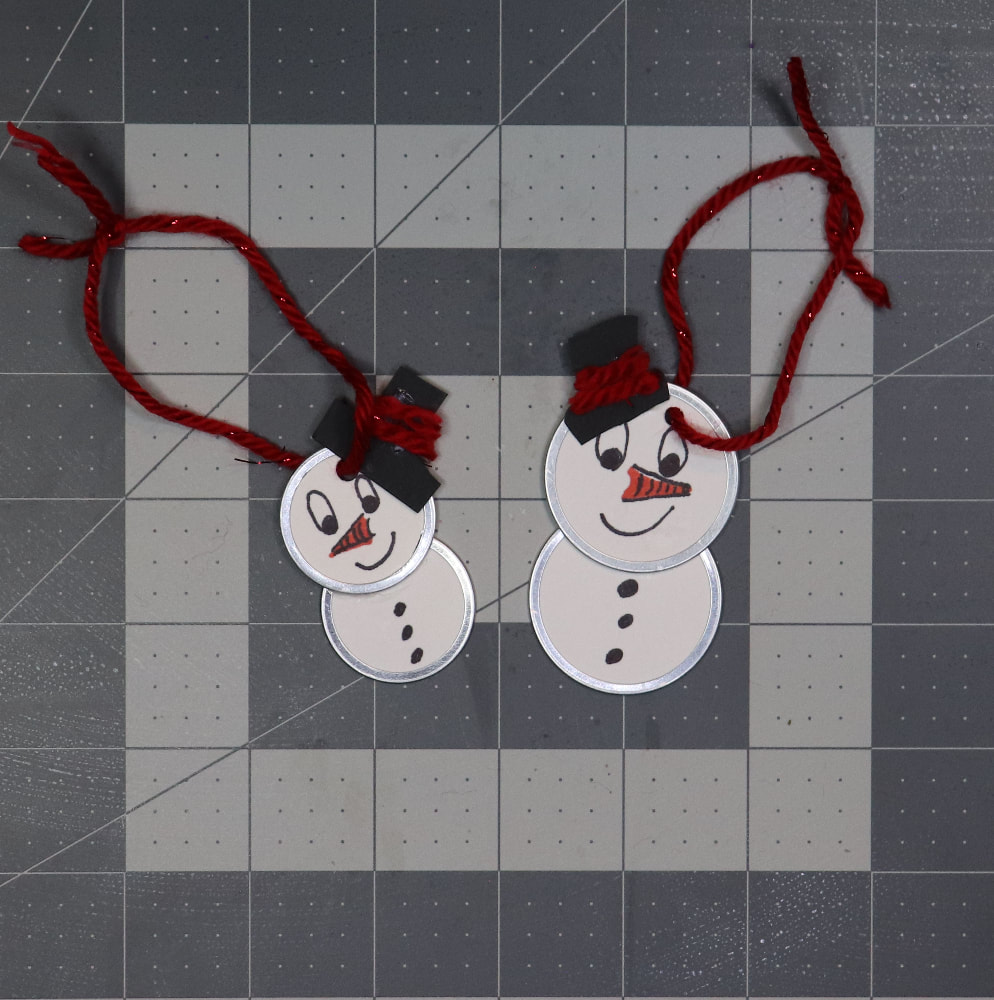
Glue the hat on (making sure to keep the hole on top open by tilting it at a jaunty angle.) Clamp and let dry. Cut two short pieces of yarn and glue onto paper as a hat band. Let dry.
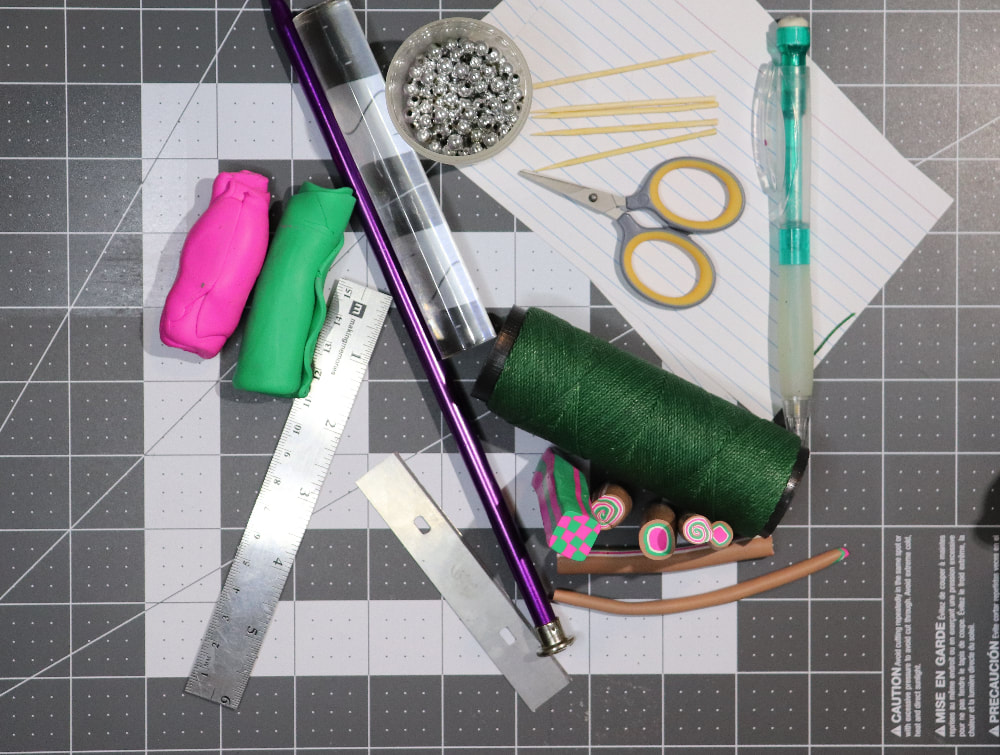
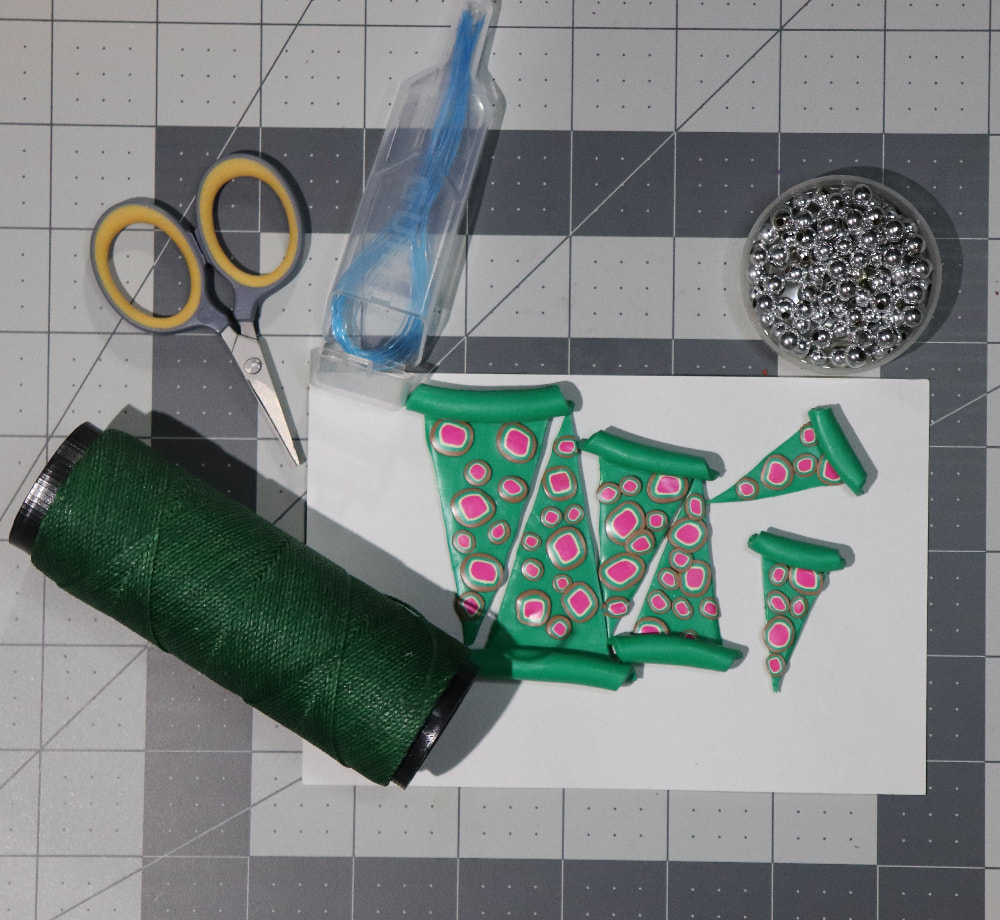
 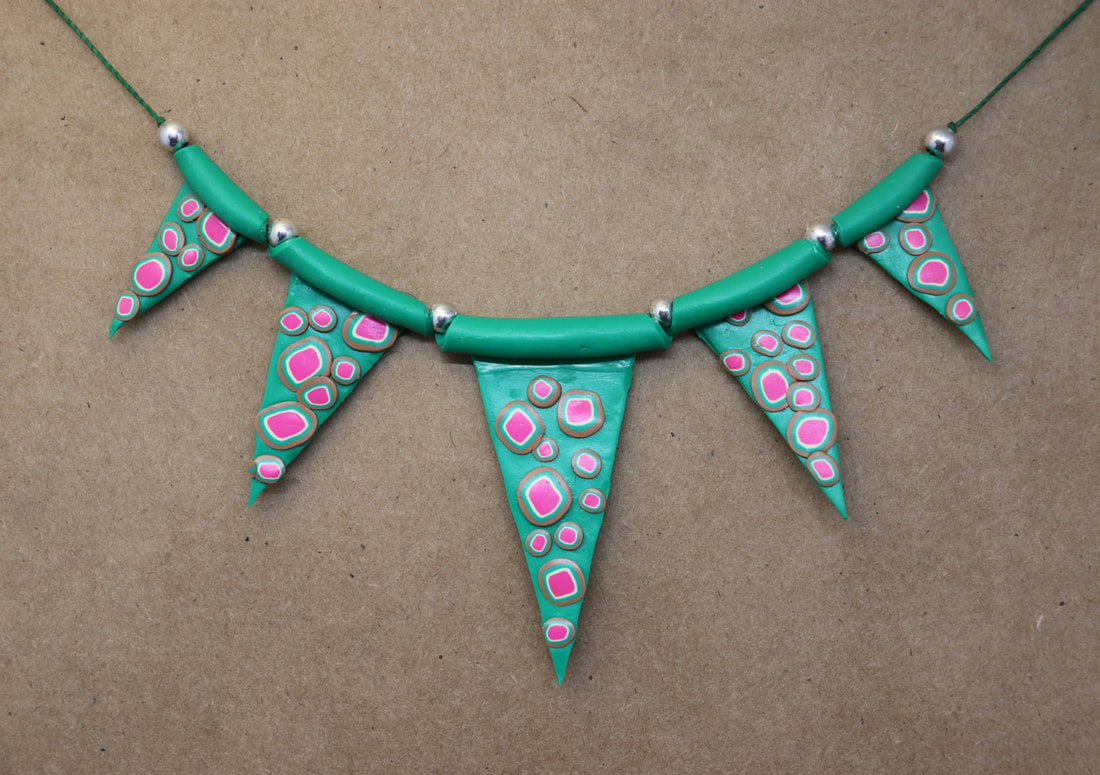 A fun little polymer clay project! You can make these in three different sizes and string them up in your dollhouse, on a shelf, or in your own unique jewelry creations! Video first, or scroll down for written instructions with pictures. Note: Video contains some sped-up footage. VIDEOMaterials
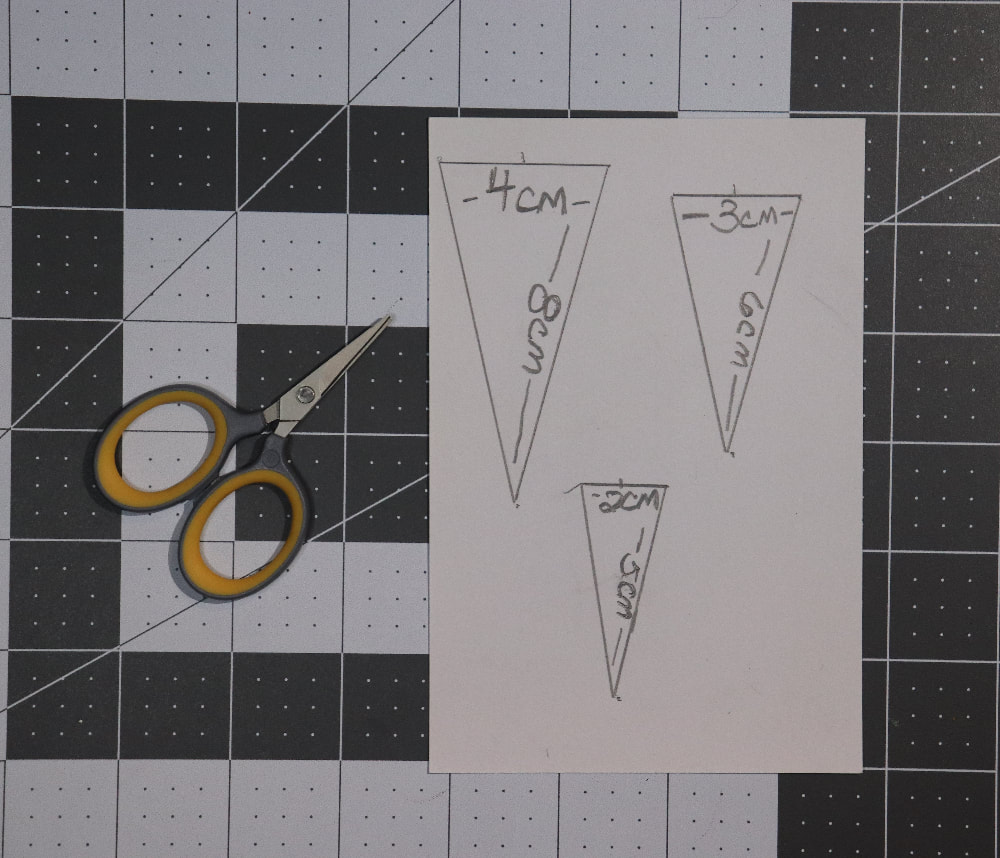
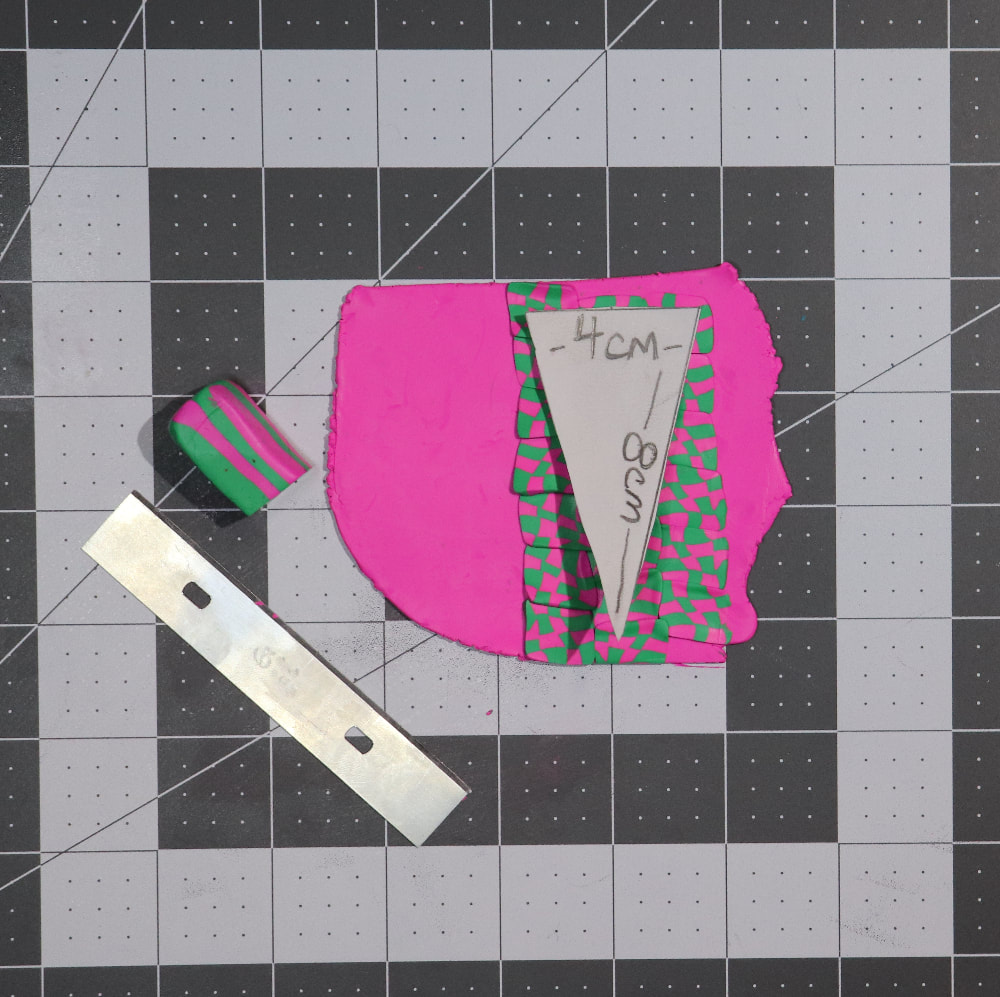
How-ToCondition clay until it is warm and pliable. Warm and reduce canes to desired size. Want to make your own canes? I have 3 instructional videos: Bullseye Cane Jellyroll Cane Checkerboard Cane Using ruler, measure and cut out three triangles from the index card to use as templates: LARGE: 4cm x 8cm x 8cm MEDIUM: 3cm x 6cm x 6cm SMALL: 2cm x 5cm x 5cm
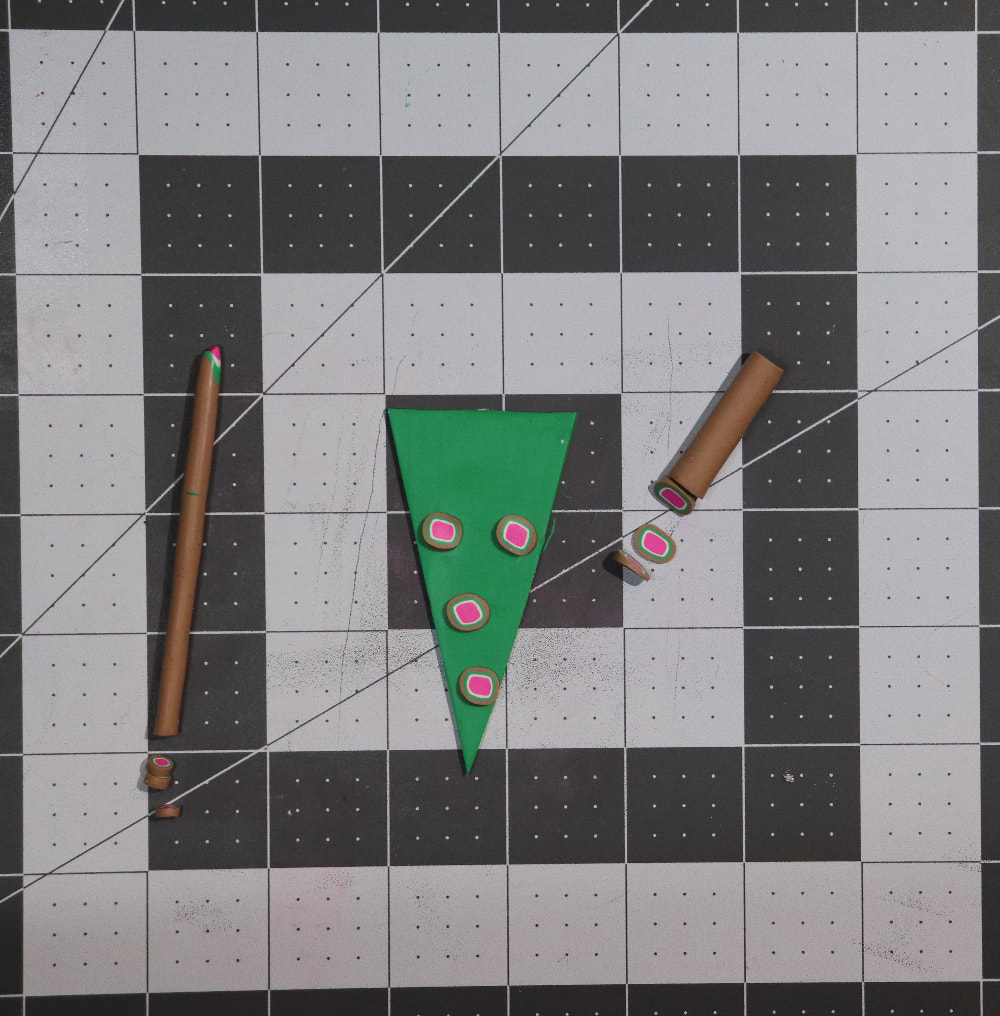
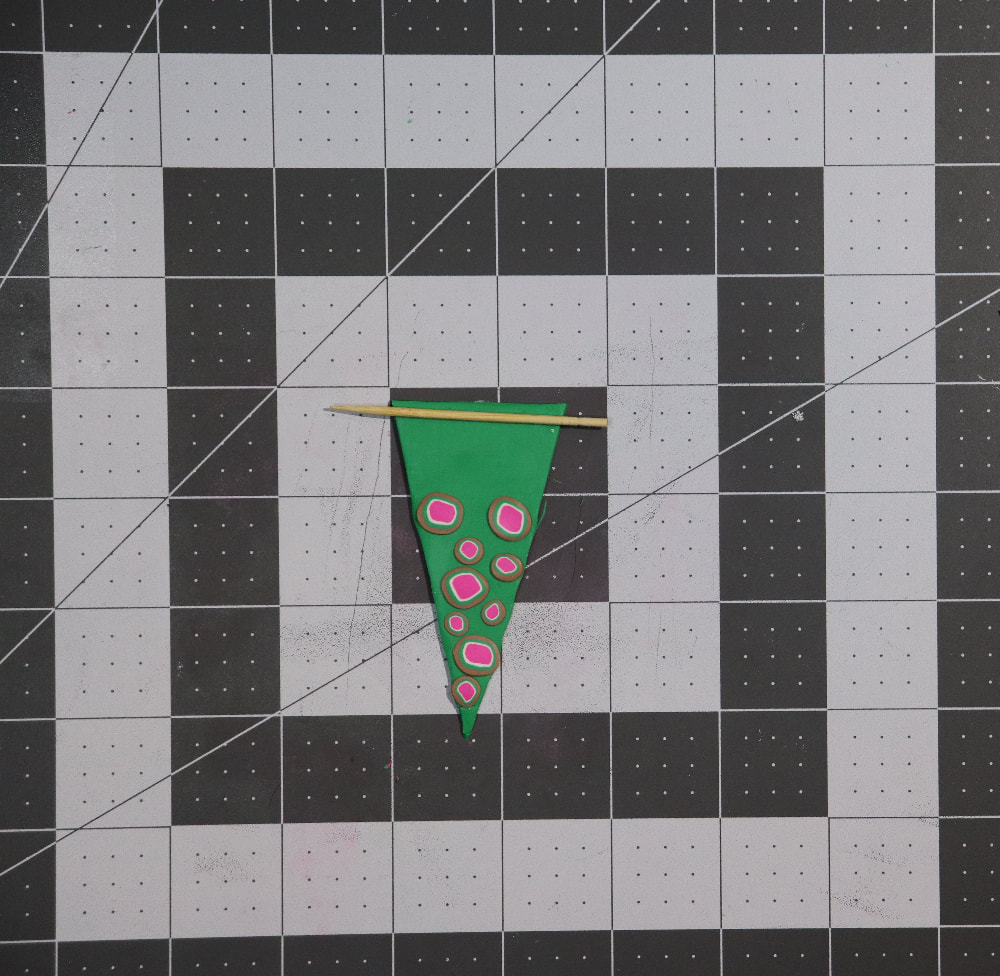
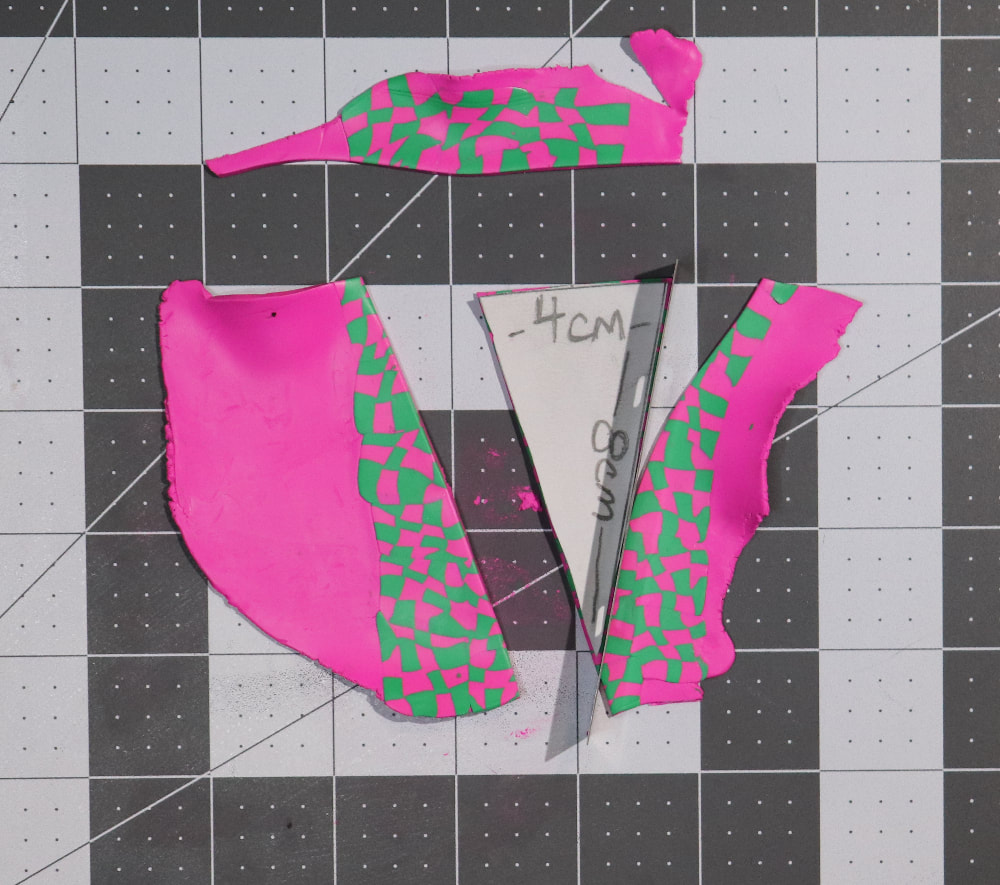
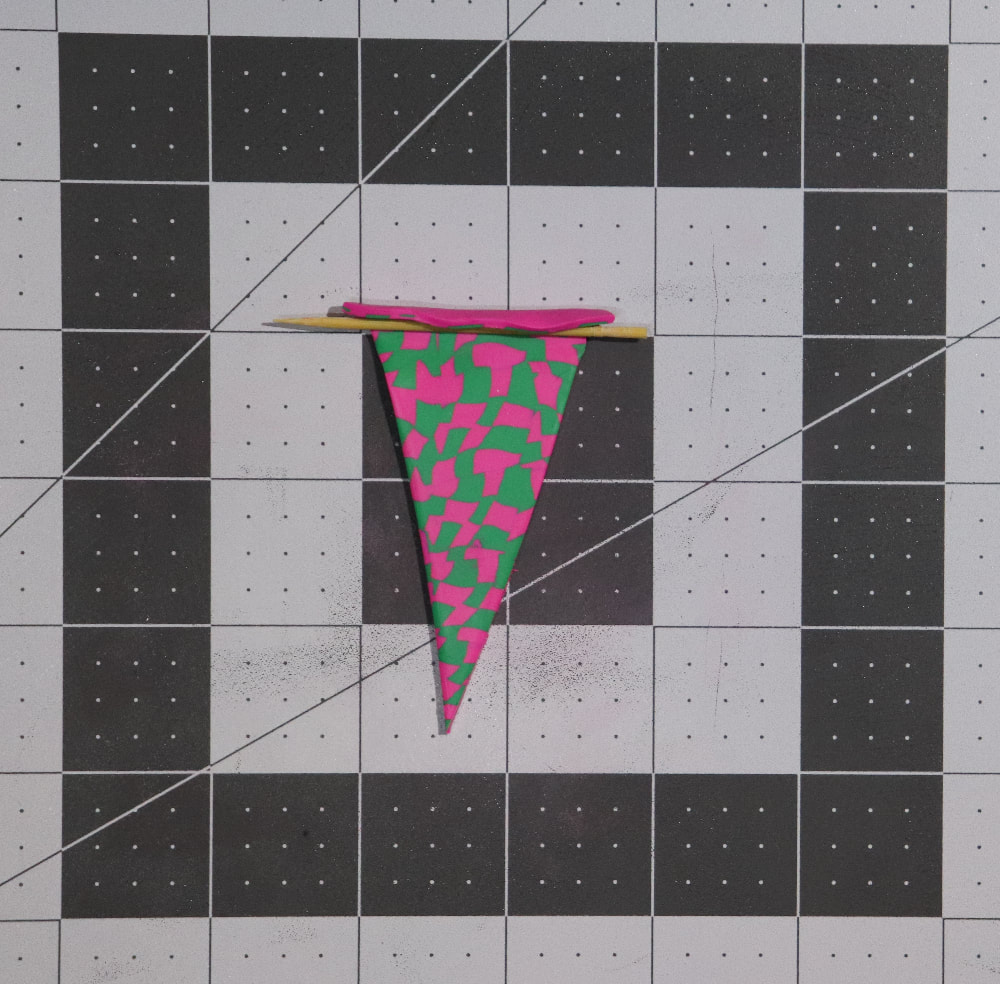
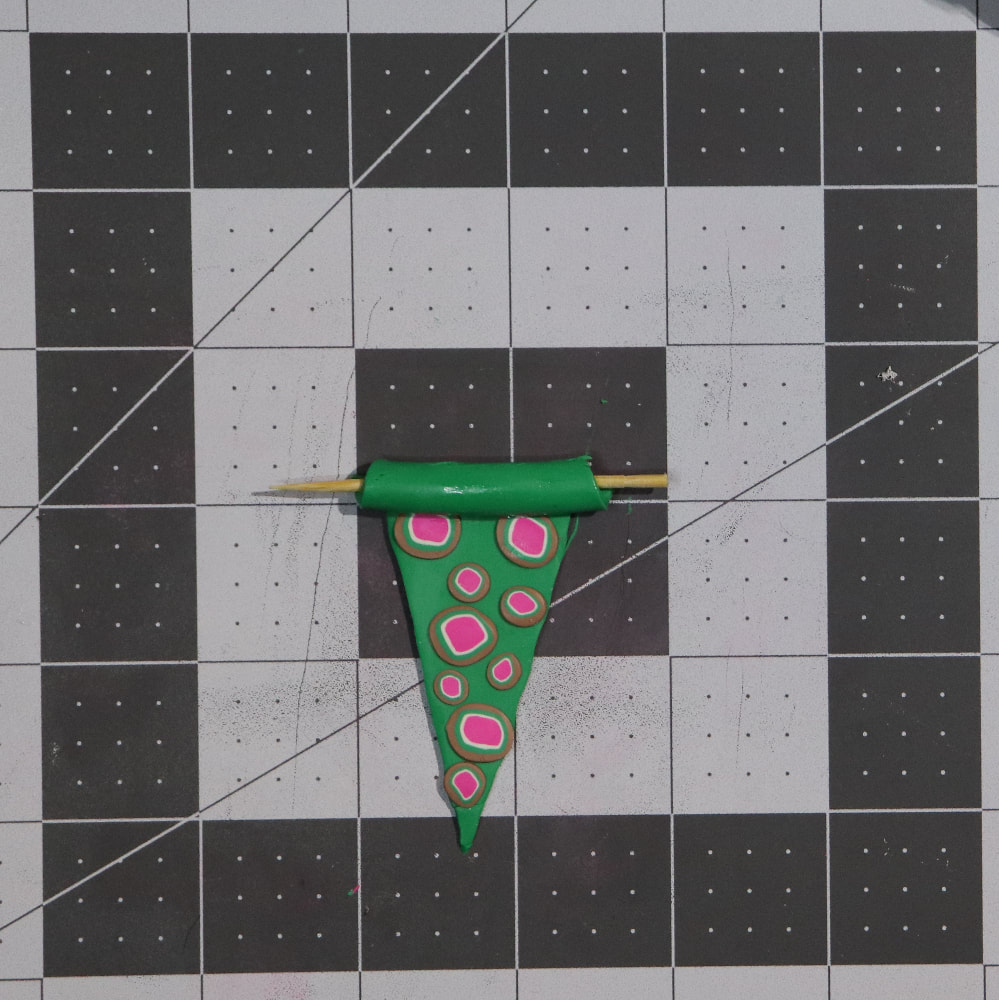
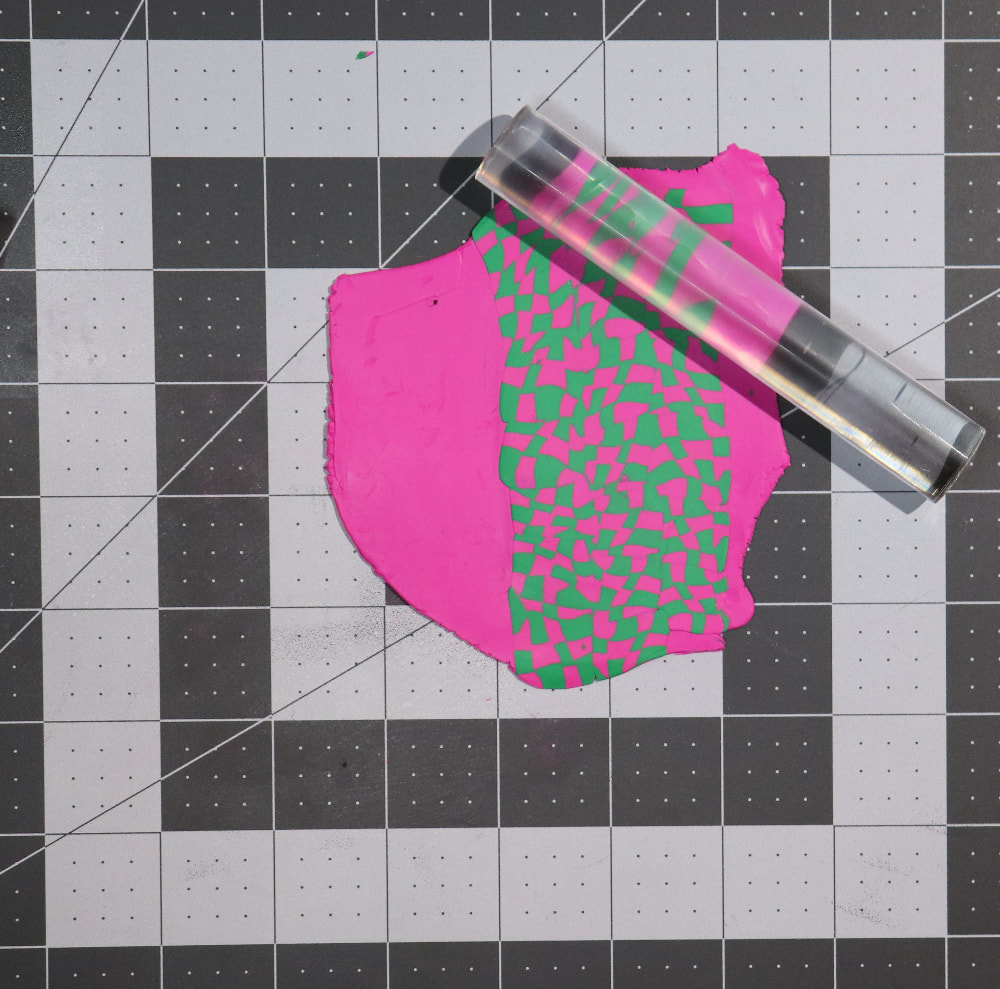
METHOD #1 Roll clay out into thin sheet (2nd thickest setting on the pasta machine, or approximately 2mm thick.) Using template as a guide, cut clay into triangles. 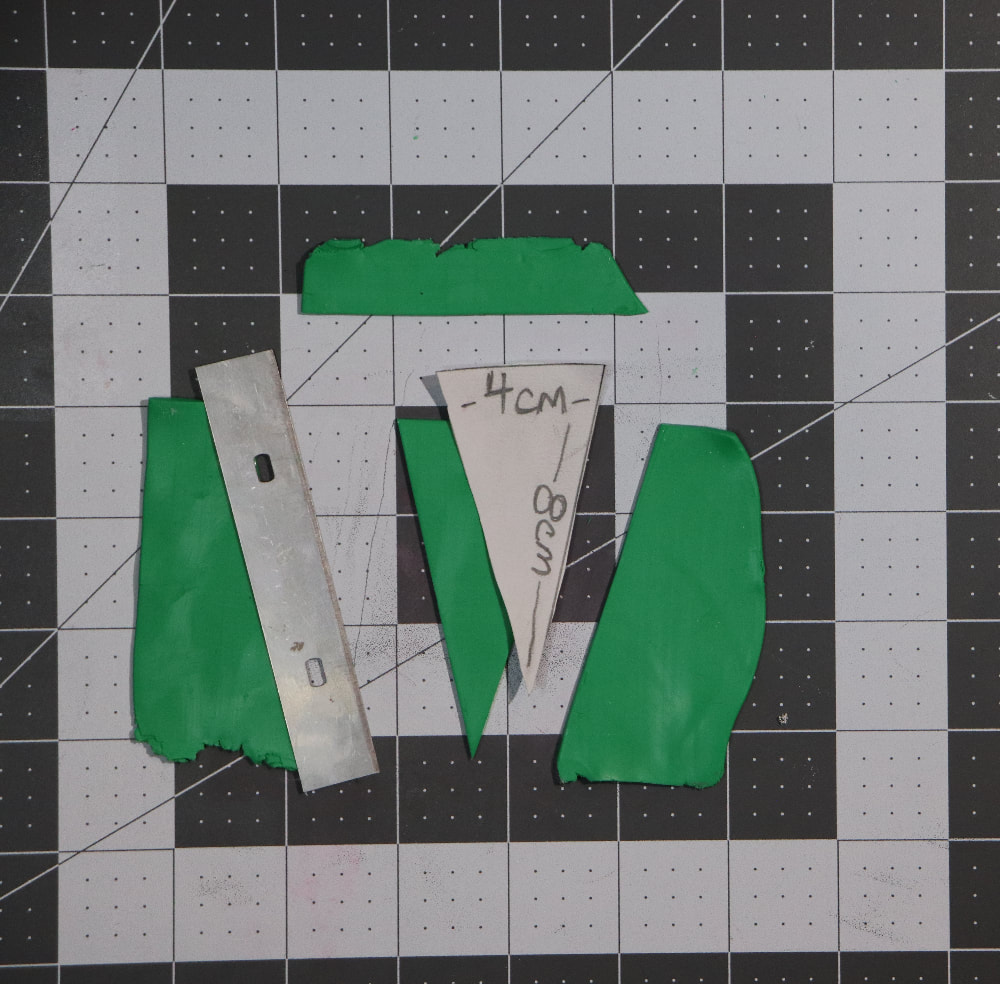 Cut cane slices and gently press onto triangle, leaving approximately the top 2 centimeters blank. Use different sizes of cane slices for interest. (For this method, leave some background space between the slices.) Use roller tool to smooth cane slice down. (Gently so you don't warp the triangle.)
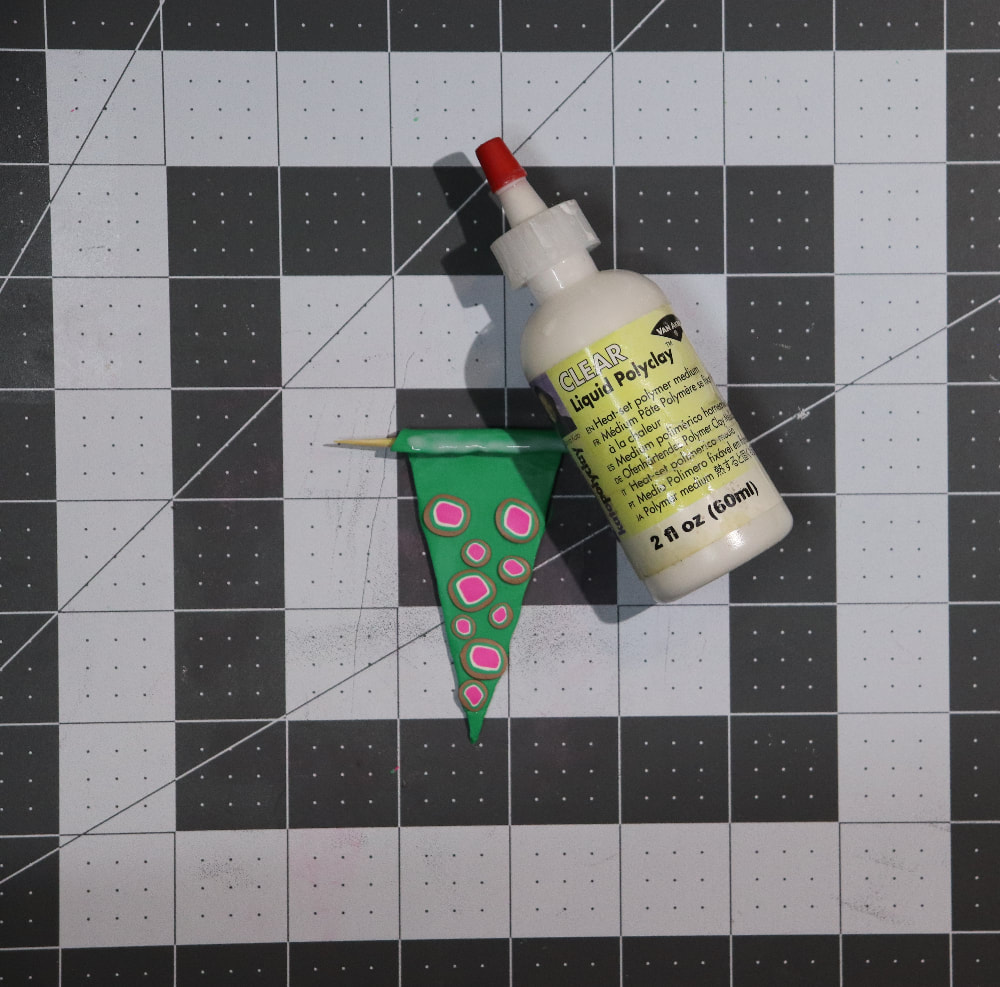
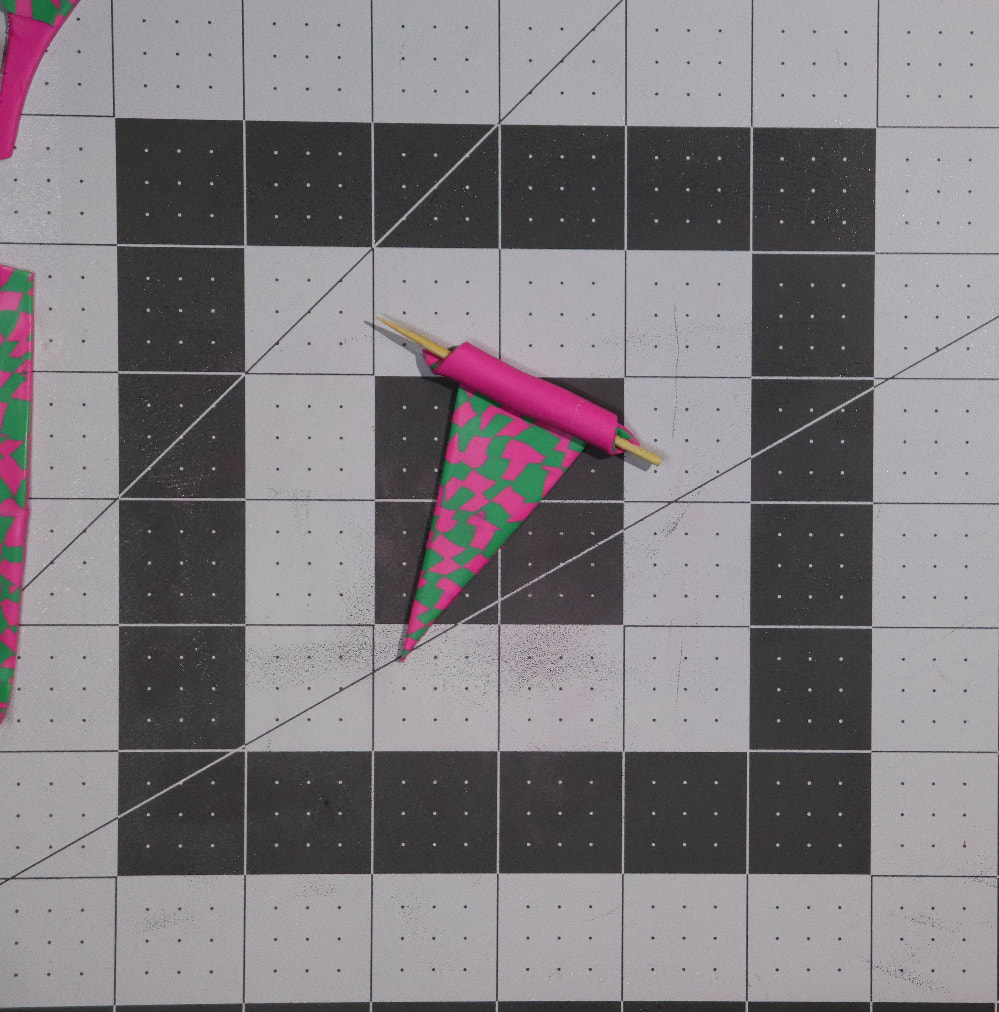
 Using toothpick, start at top and roll down to create a tube for stringing. If desired, secure with liquid clay. (recommended)
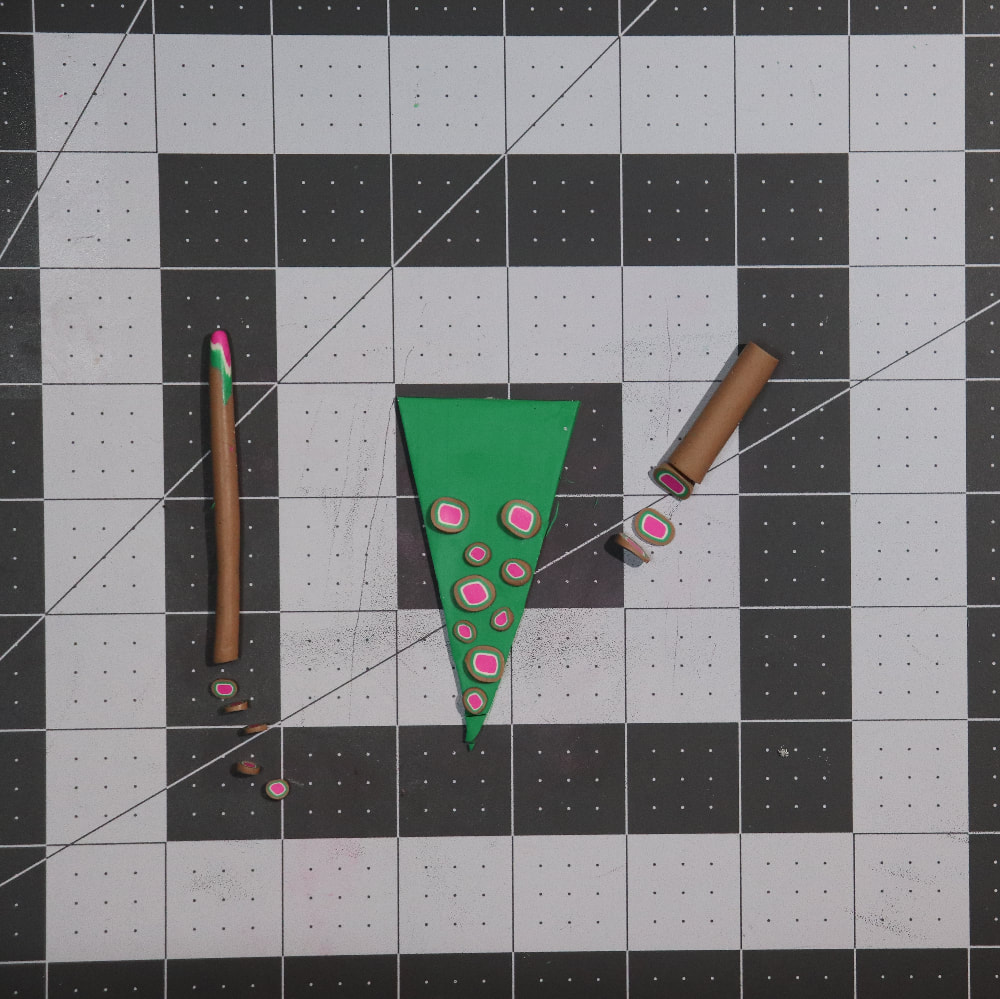
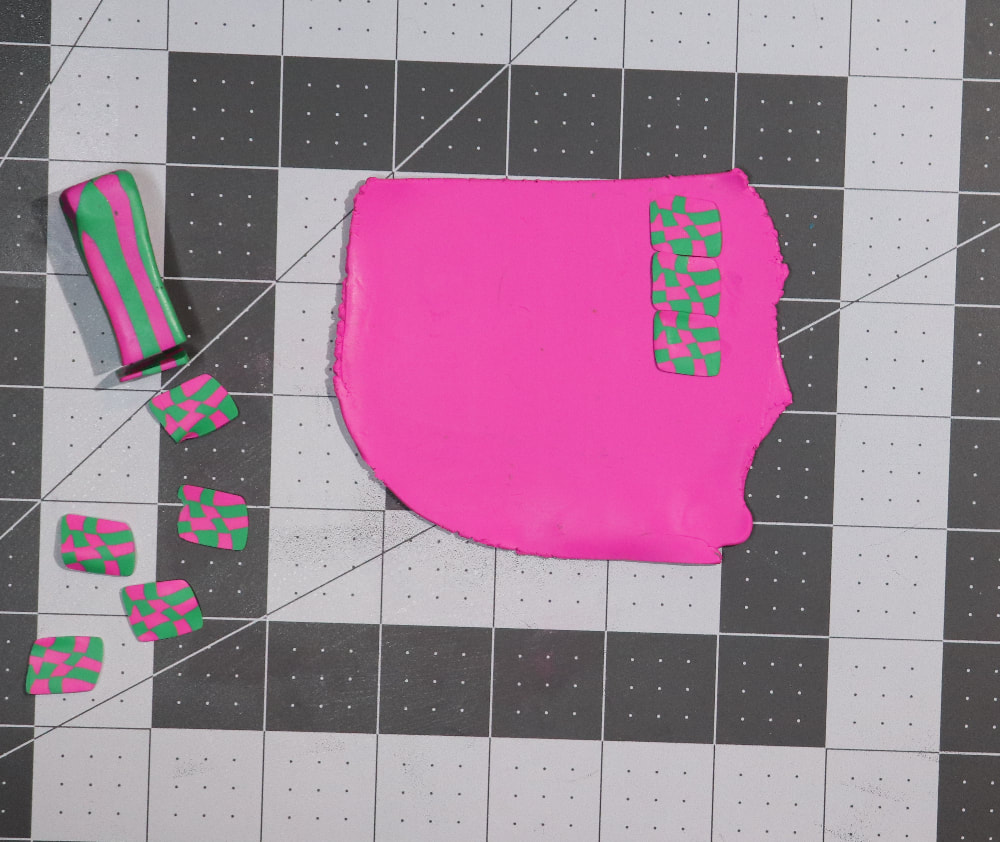
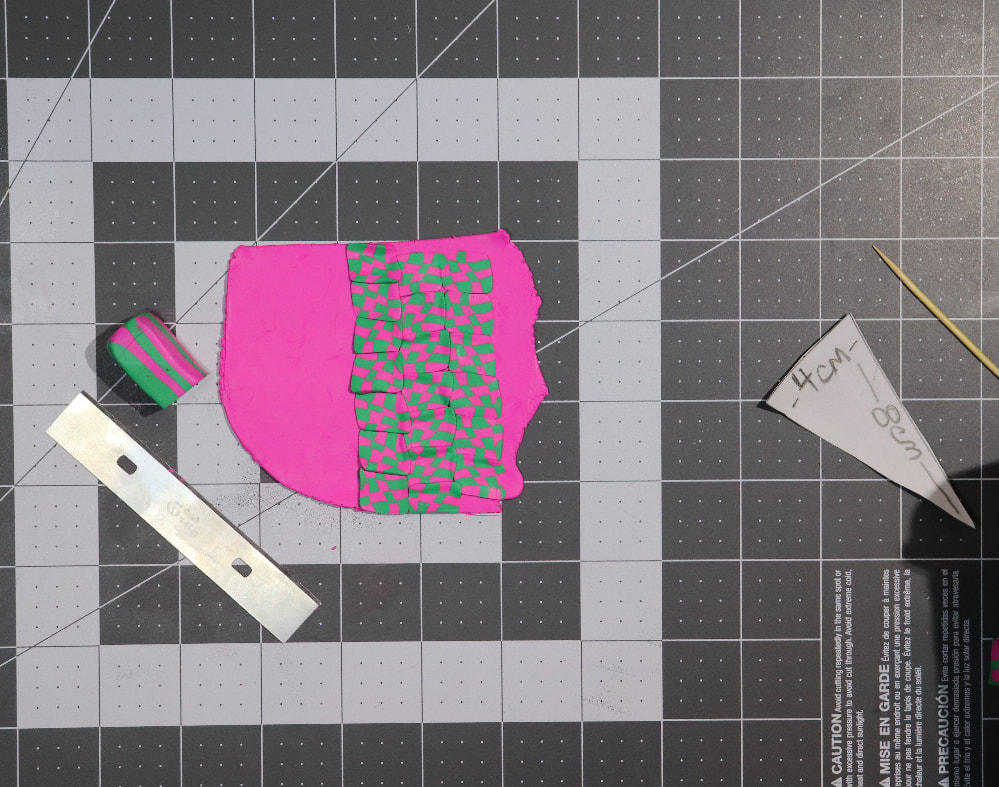
 METHOD #2 Roll out a thin sheet of clay (2nd thickest setting on the pasta machine, or about 2mm thick) Make sure it is large enough for the template you want to use, and gently press cane slices down on it. (For this method, press the edges of each slice up against each other.) Continue until you have enough covered for the size of triangle you are going to cut. Smooth with roller tool.
 Using template, trim clay into triangle.
Using toothpick, start at top and roll down to create a tube for stringing. If desired, secure with liquid clay. (recommended)
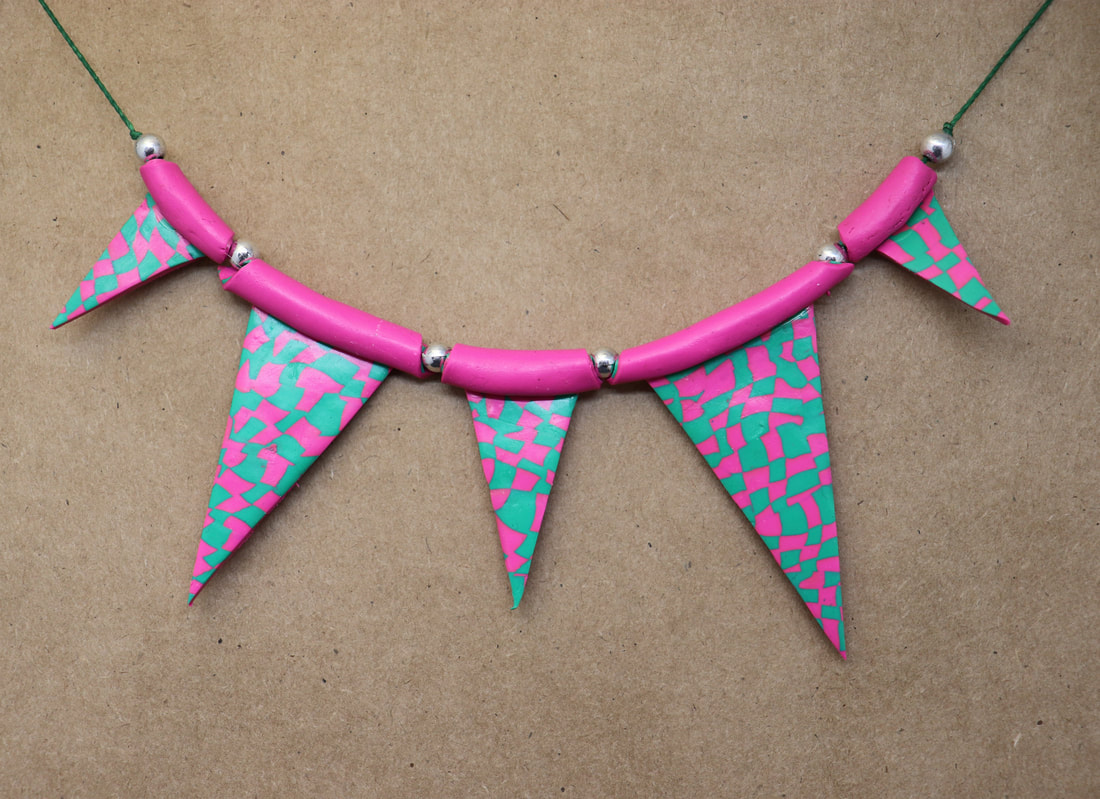
Pull out the toothpicks and gently curve the tube at the top. (Be careful not to accidentally pinch it shut!) Place triangles on cardstock or index card, and bake at the temperature indicated by the clay manufacturer. I always cover my pans with aluminum foil and bake for an hour. (Extended time is not a problem, but be careful about the temperature. An oven thermometer is always a good idea when baking polymer clay!) 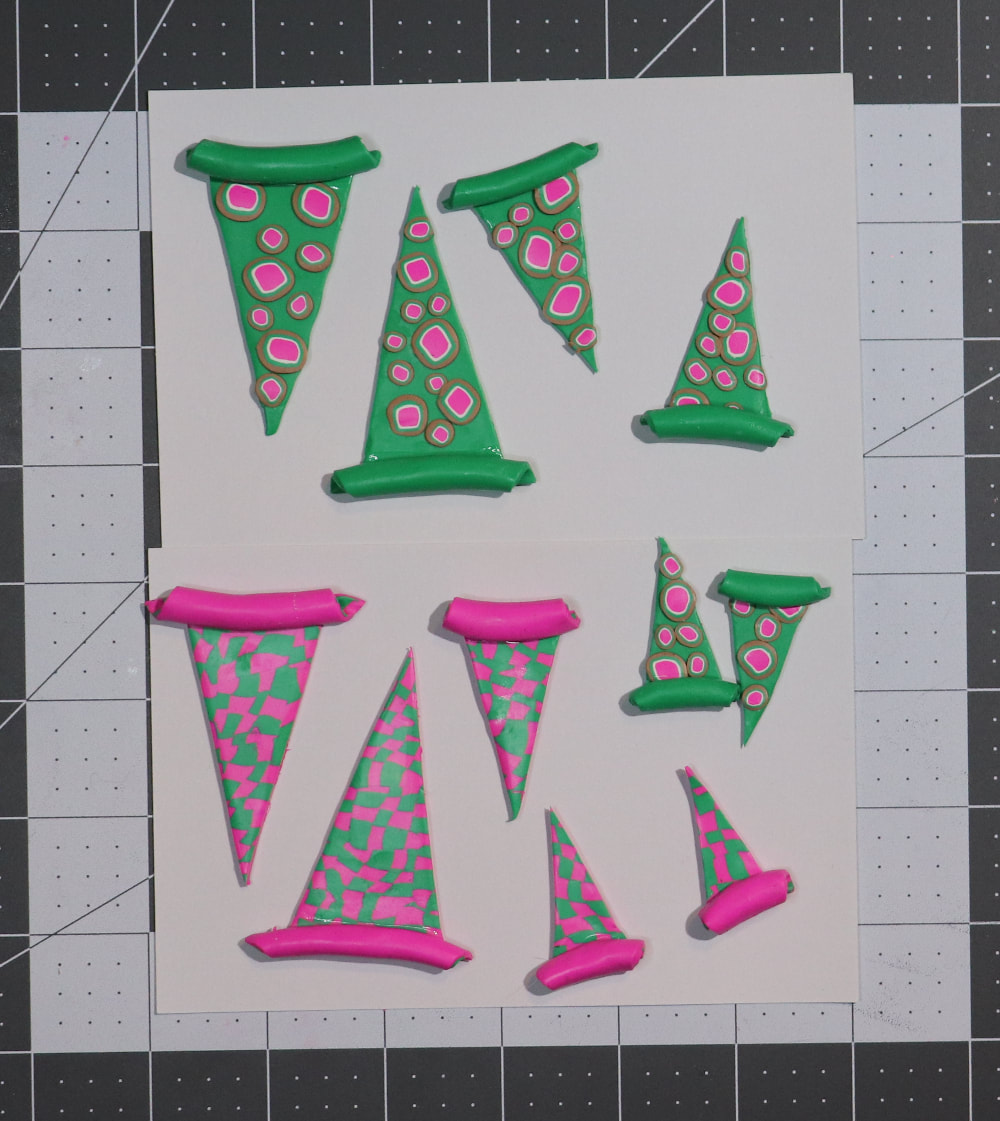 String on cord with a bead between each triangle. Floss threaders from the toothbrush aisle make good inexpensive, flexible needles. Now you can hang it up in your dollhouse, add a cute accent to a small shelf, or use them in your own unique jewelry creations!
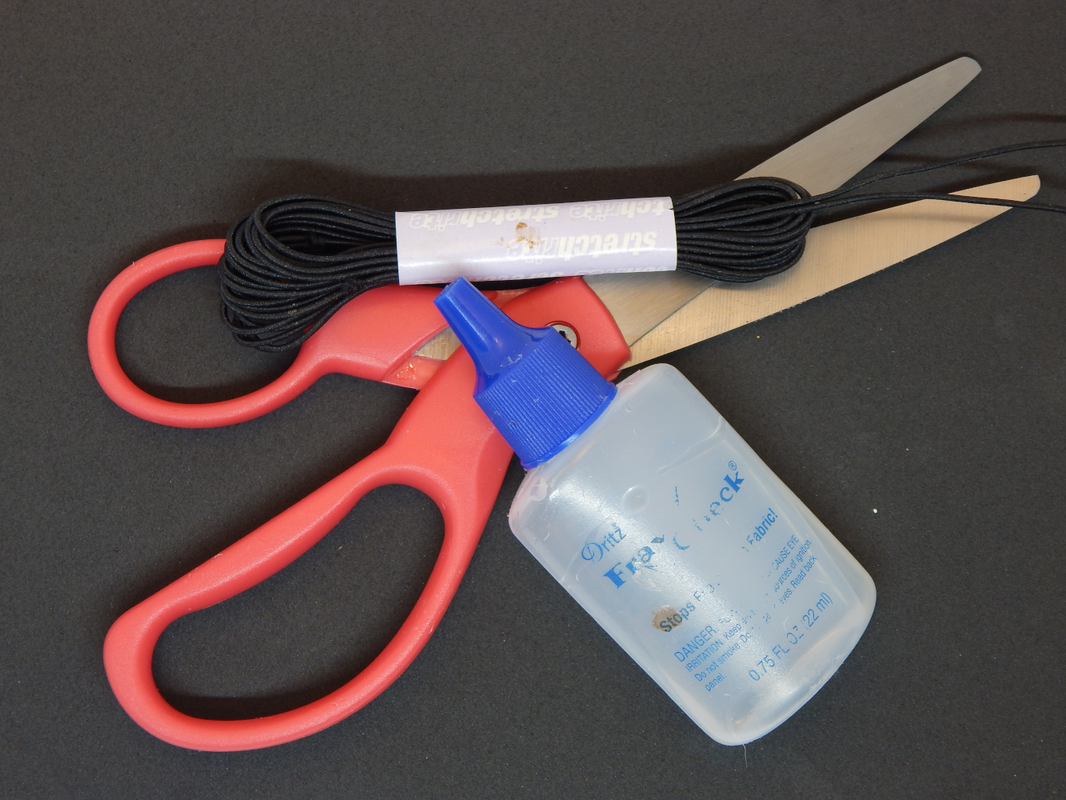
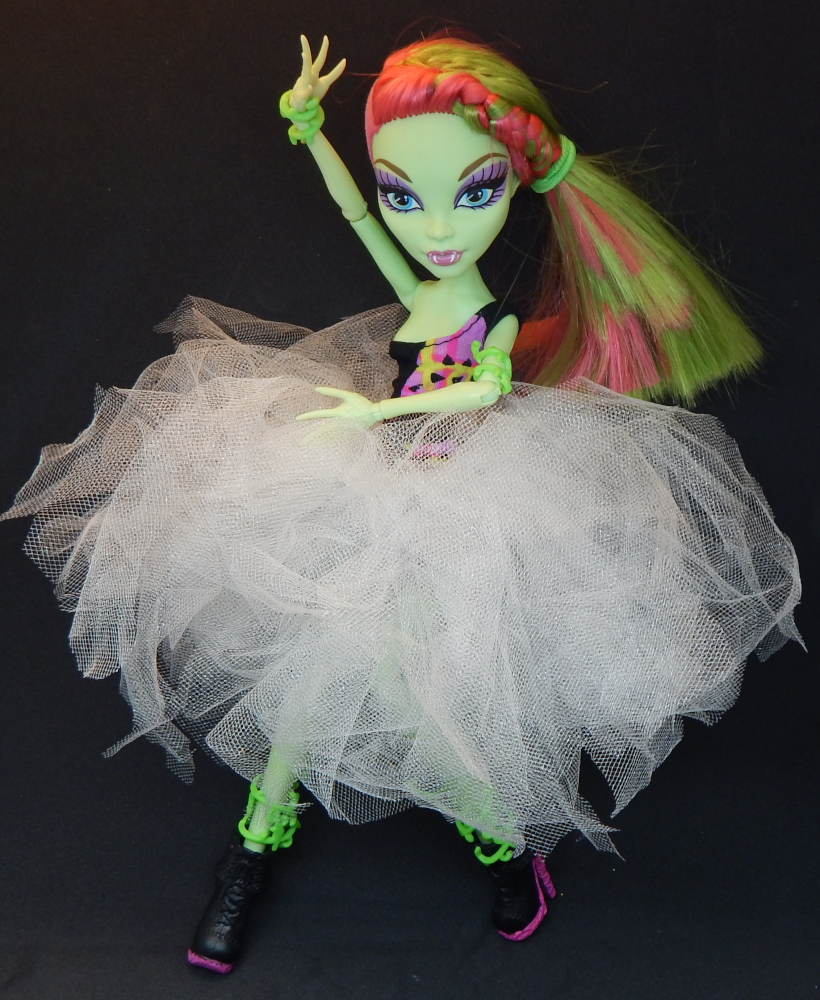
 A fairly simple cane as you are learning to work with polymer clay! I prefer Kato PolyClay for caning http://Prairiecraft.com I use wallpaper scraper replacement blades to cut the clay. I grab them at the Sherwin Williams across the street from my house, but you can usually find them at any hardware store. My roller is an acrylic roller that I ordered online specifically for working with polymer clay, but fondant rollers also work quite nicely if that's easier to find. (Only use it for clay, don't switch back to using it with food.) MUSIC Reverie (small theme) by _ghost (c) copyright 2010 Licensed under a Creative Commons Attribution (3.0) license. http://dig.ccmixter.org/files/_ghost/25389 Ft: Pitx The Long Goodbye by John Pazdan (c) copyright 2008 Licensed under a Creative Commons Attribution license. http://dig.ccmixter.org/files/flatwound/14476 Jellyroll Cane A fairly simple cane as you are learning to work with polymer clay! I prefer Kato PolyClay for caning http://Prairiecraft.com I use wallpaper scraper replacement blades to cut the clay. I grab them at the Sherwin Williams across the street from my house, but you can usually find them at any hardware store. My roller is an acrylic roller that I ordered online specifically for working with polymer clay, but fondant rollers also work quite nicely if that's easier to find. (Only use it for clay, don't switch back to using it with food.) MUSIC Reverie (small theme) by _ghost (c) copyright 2010 Licensed under a Creative Commons Attribution (3.0) license. http://dig.ccmixter.org/files/_ghost/25389 Ft: Pitx reCreation by airtone (c) copyright 2019 Licensed under a Creative Commons Attribution (3.0) license. http://dig.ccmixter.org/files/airtone/59721 Bullseye Cane A fairly simple cane as you are learning to work with polymer clay! I prefer Kato PolyClay for caning http://Prairiecraft.com I use wallpaper scraper replacement blades to cut the clay. I grab them at the Sherwin Williams across the street from my house, but you can usually find them at any hardware store. My roller is an acrylic roller that I ordered online specifically for working with polymer clay, but fondant rollers also work quite nicely if that's easier to find. (Only use it for clay, don't switch back to using it with food.) MUSIC Reverie (small theme) by _ghost(c) copyright 2010 Licensed under a Creative Commons Attribution (3.0) license. http://dig.ccmixter.org/files/_ghost/25389 Ft: Pitx preamble by airtone (c) copyright 2020 Licensed under a Creative Commons Attribution (3.0) license. http://dig.ccmixter.org/files/airtone/61579 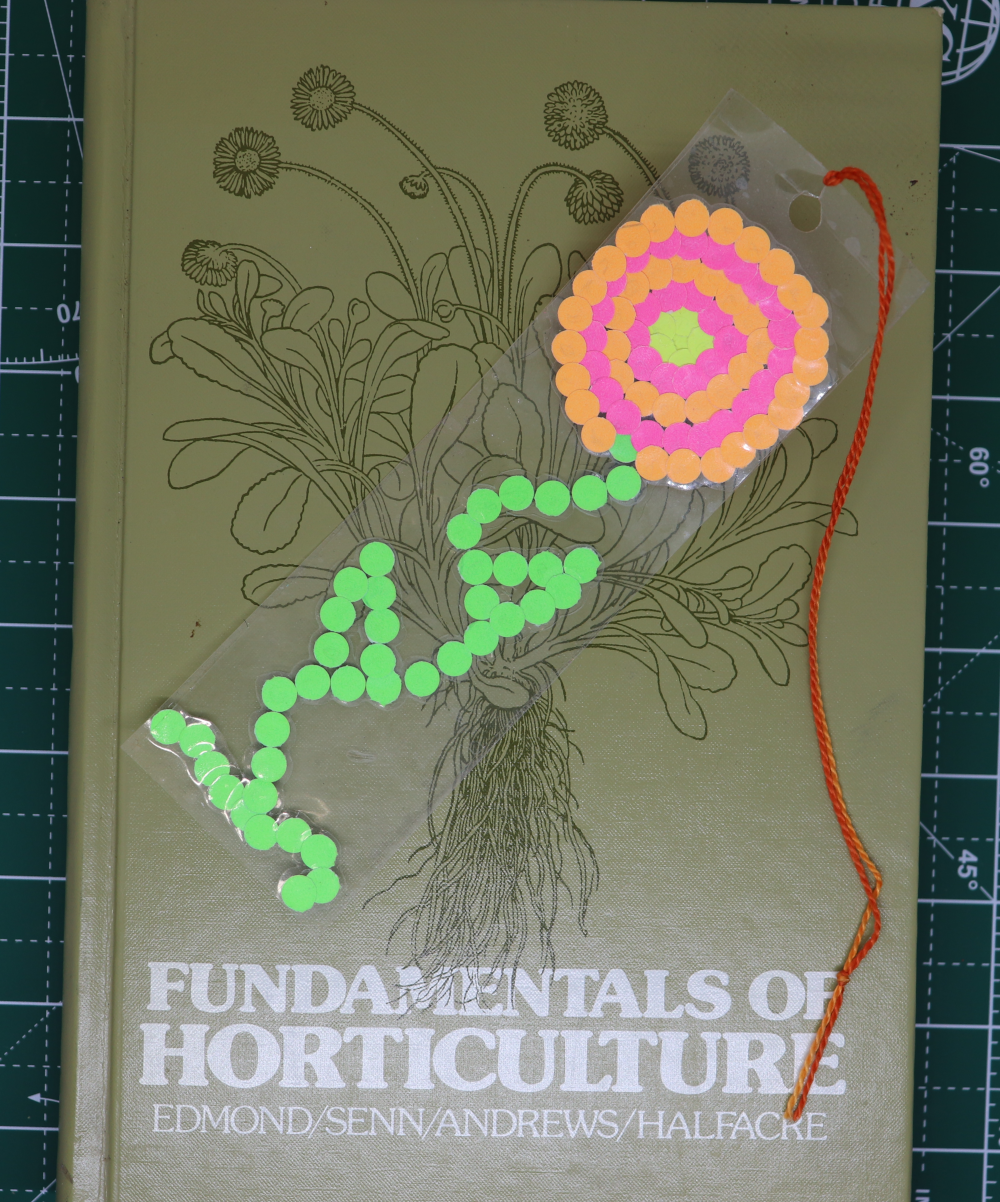 A cute little bookmark for you to make! The materials are mostly just office supplies, and the most important skill is a bit of patience! First the video version, or scroll down a bit for the still pictures and words version. Have fun! Supplies You will need: Card stock weight colored paper (I just used index cards) Packing Tape Hole Punch Scissors Tweezers Embroidery floss or ribbon (if desired) How-To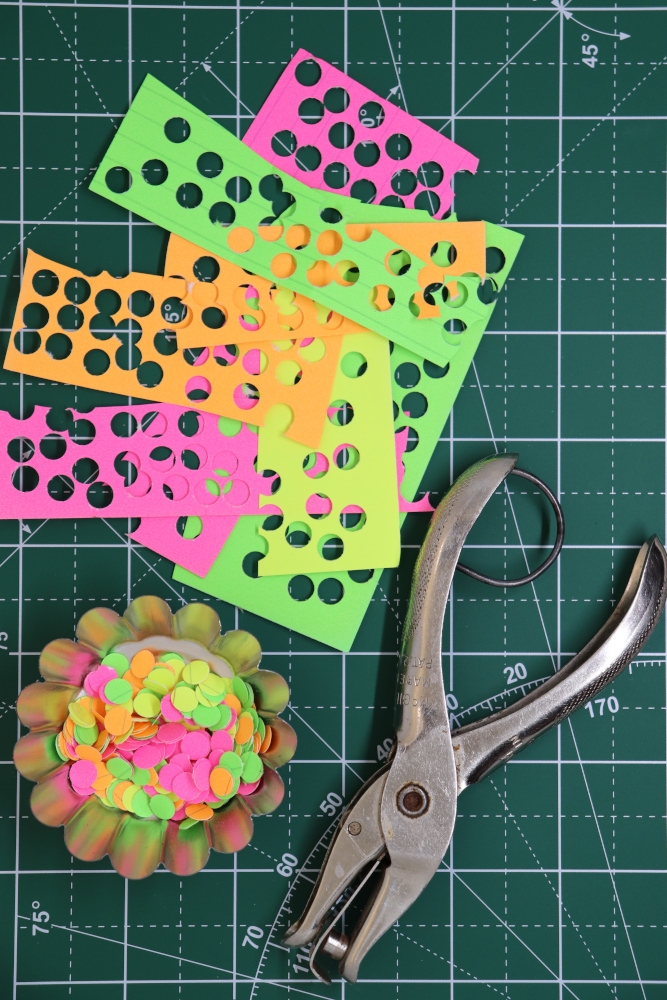 Grab your paper and punch a bunch of holes! It's easiest if you have a little container to catch the dots. 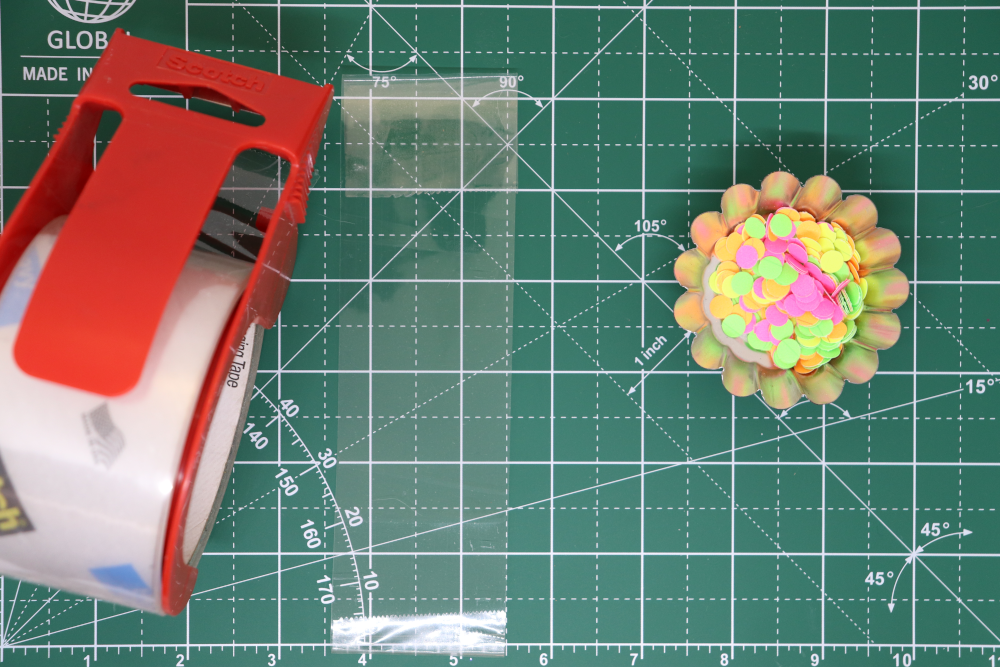 Tear or cut a piece of packing tape, a little longer than about six inches. Or so. It's your bookmark, you can make it as long or short as you want! Place it on your work surface, sticky side up. Fold a bit of the sticky side down to secure it. 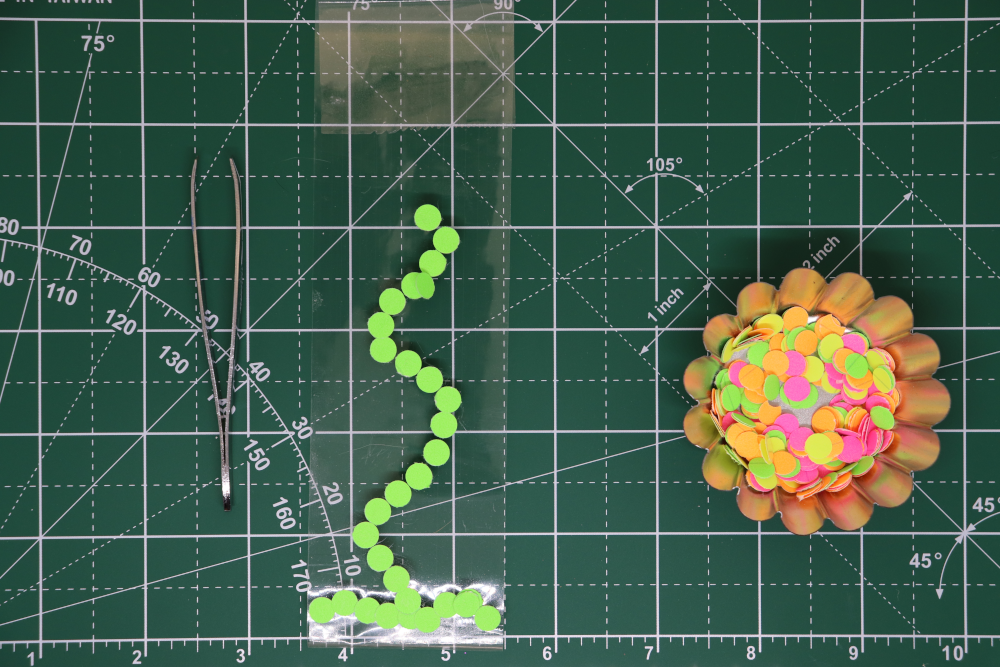 Using the tweezers, place the paper dots on the tape to make the grass and stem. 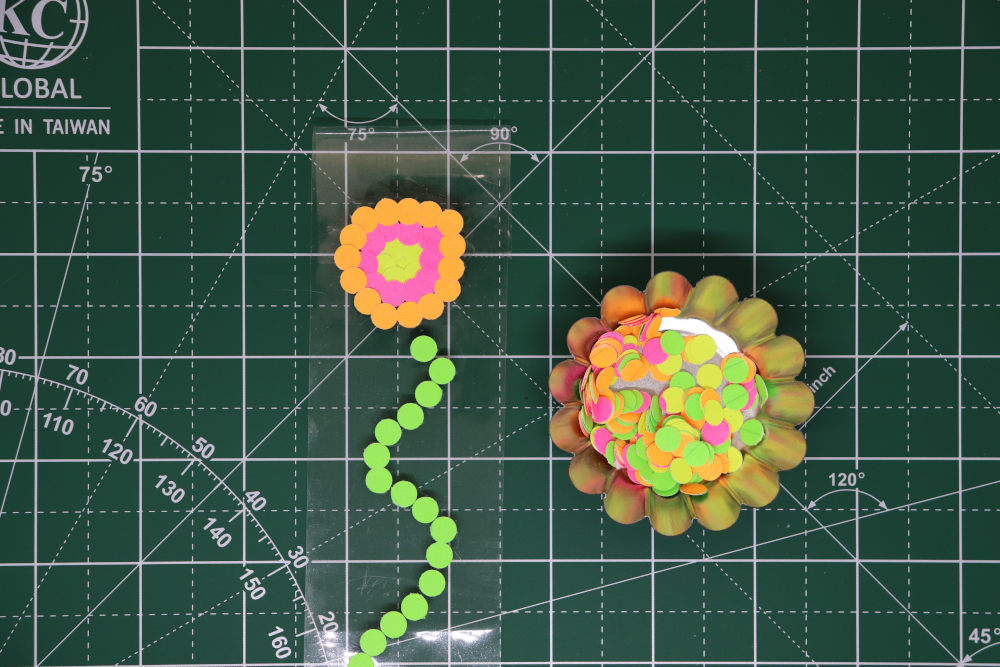 Now start making the flower! Start with the center, and then place the dots in circles around it 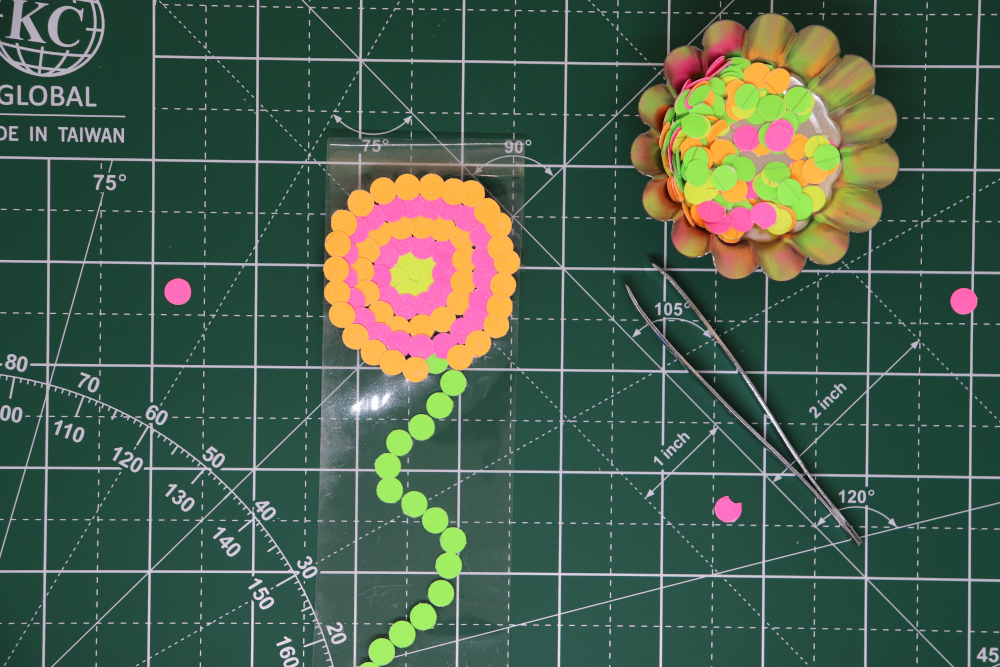 Continue adding dots in alternating colors. 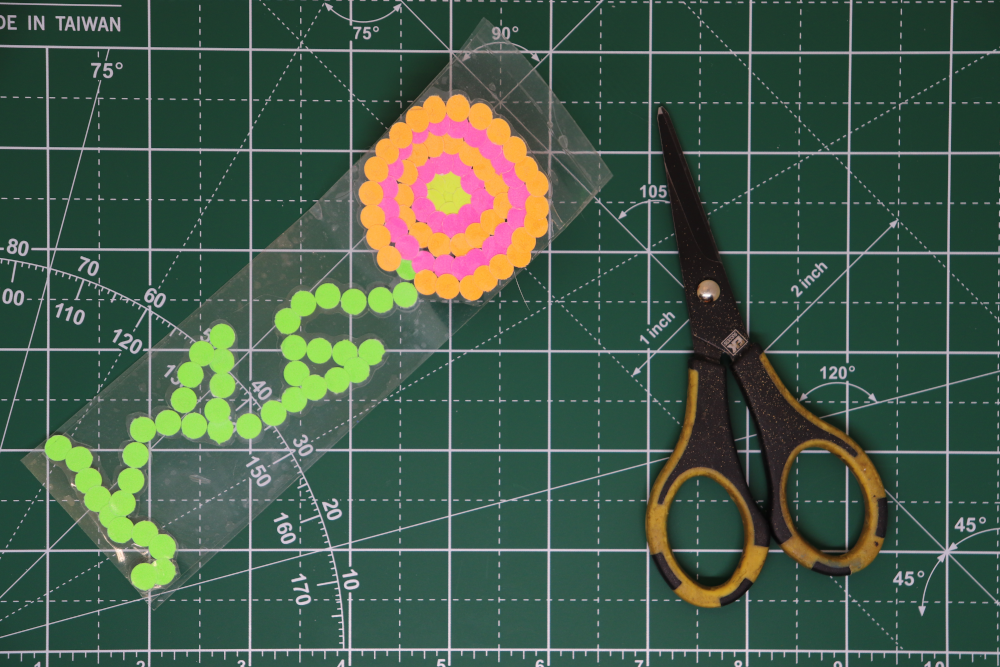 Use green dots to add leaves. Cut another piece of packing tape and press it down on your flower and smooth it out. (I find it works best if you cut it a little bit longer than your base piece, and then try to match up the sides as close as you can manage. Pull up from your work surface and trim the top and bottom. 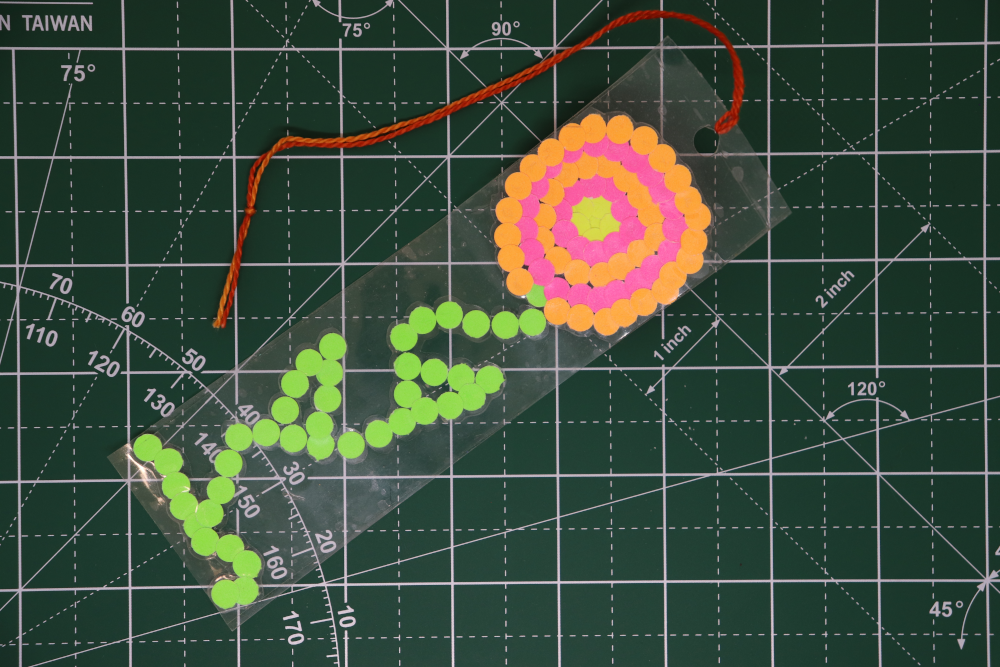 Punch a hole in the top and add a ribbon or other cord with a lark's head knot. All finished! Now go find a good book to read so you can use your new bookmark! My current favorites are the Newsflesh Trilogy by Mira Grant, The Hollow Ones and A Wizard's Guide to Defensive Baking by T. Kingfisher, Space Opera by Cat Valente, and the Brothers Sinister series by Courtney Milan. I've also revisited Mind of my Mind by Octavia Butler recently, and am planning to start in on Parable of the Sower soon! 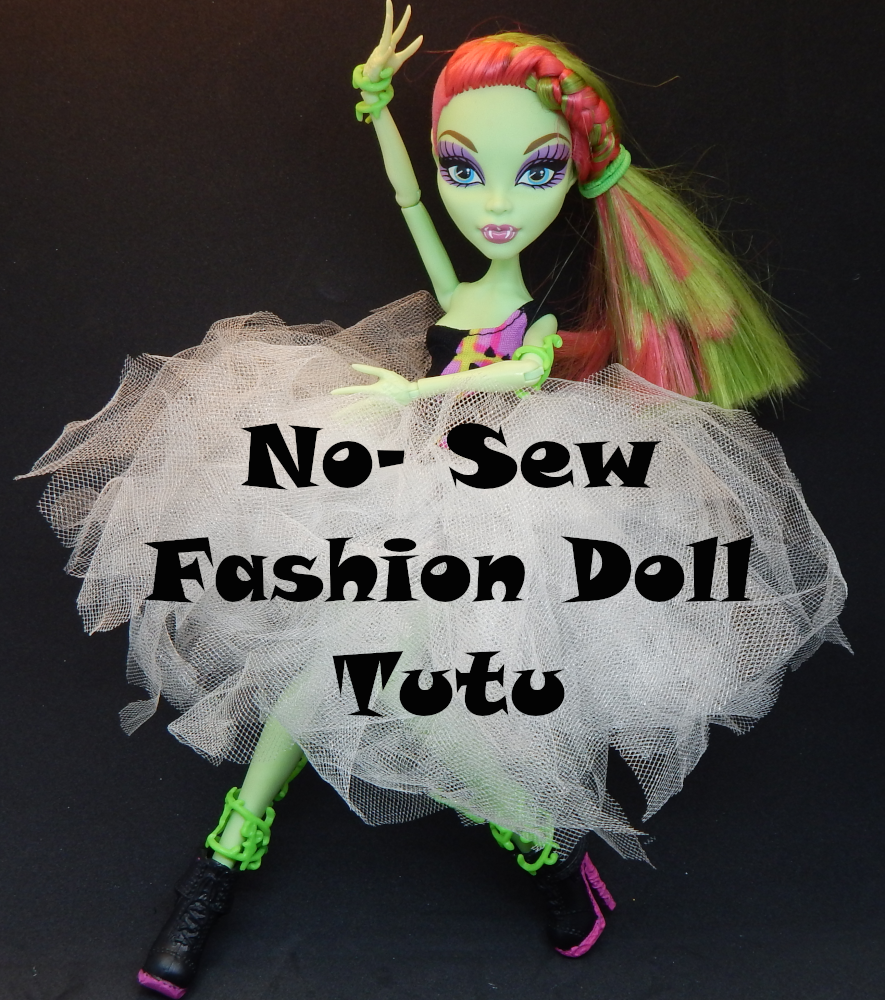 How to make a fun tutu for your fashion dolls! You can easily adjust it to the doll, so this will work for different types and sizes! Video tutorial first, or scroll down for the still pictures with words version. Supplies
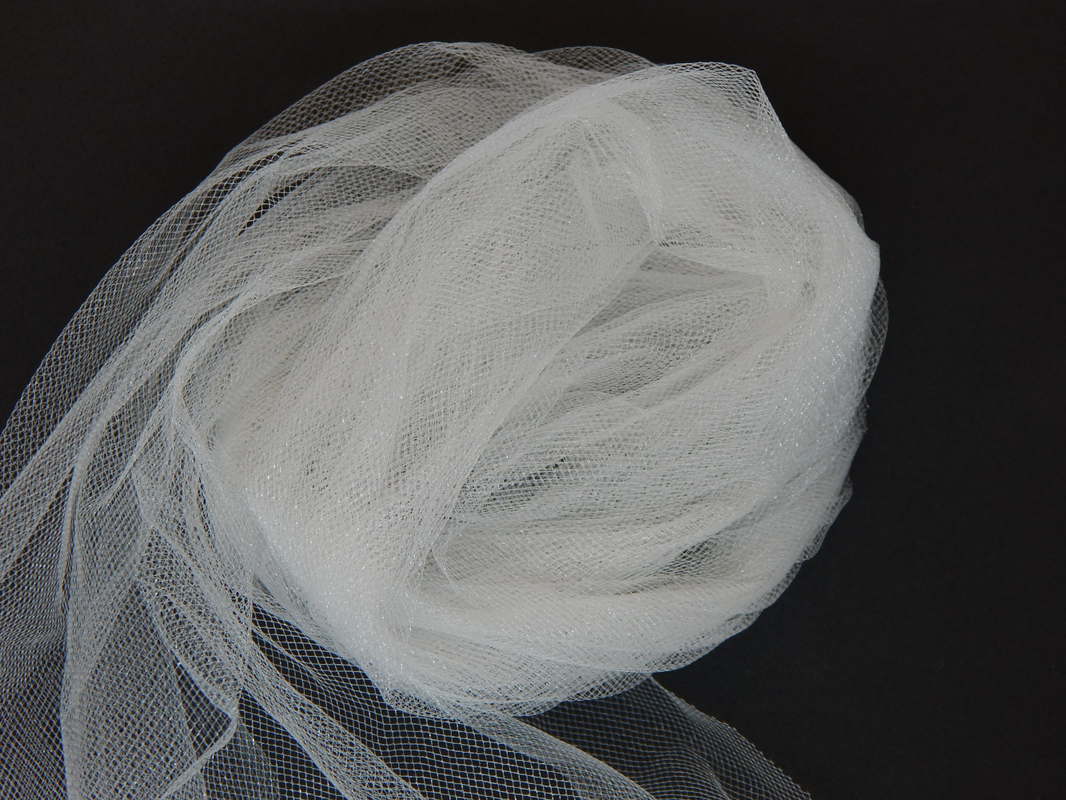
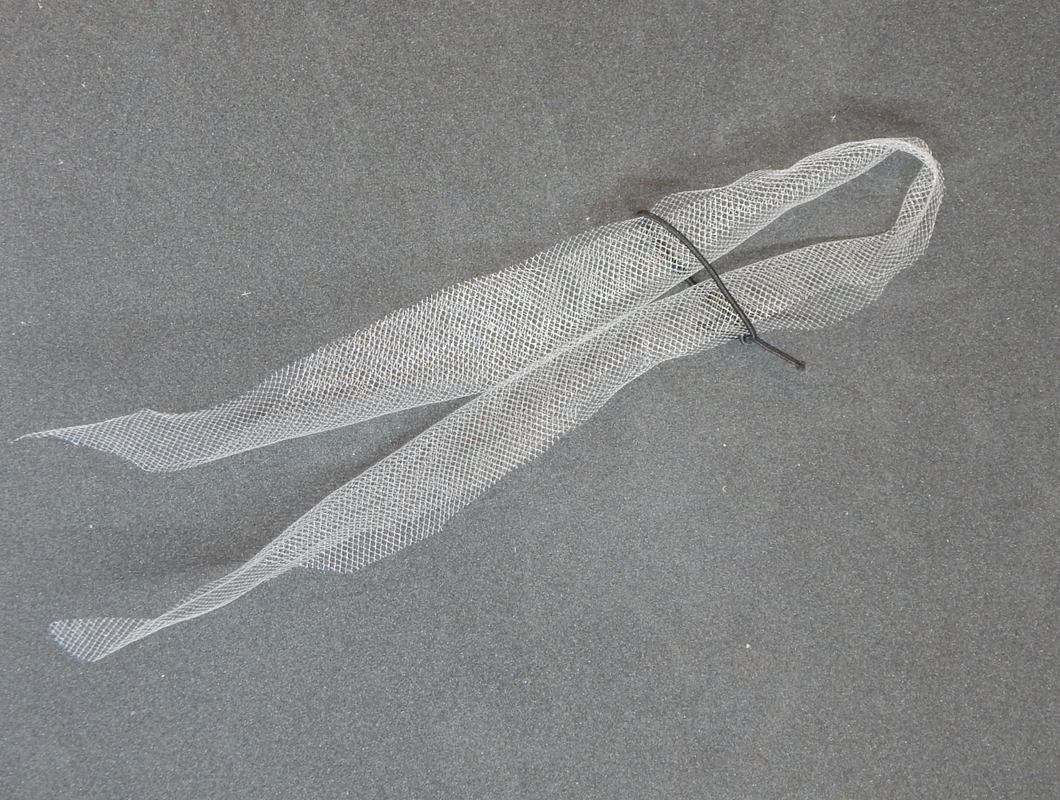
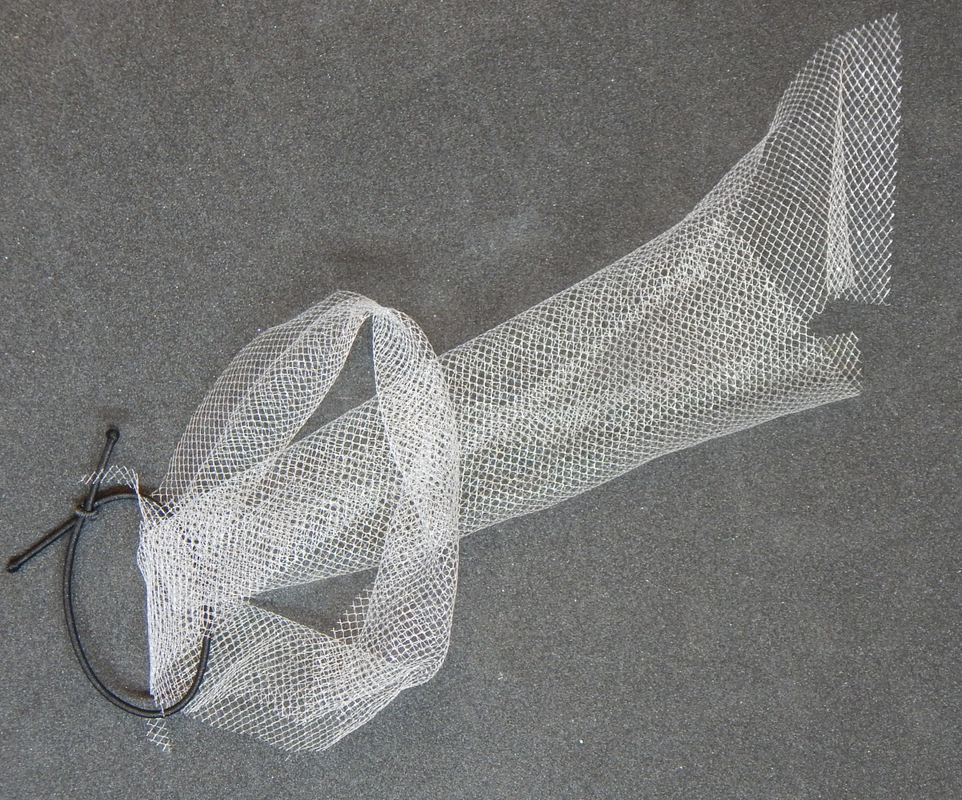
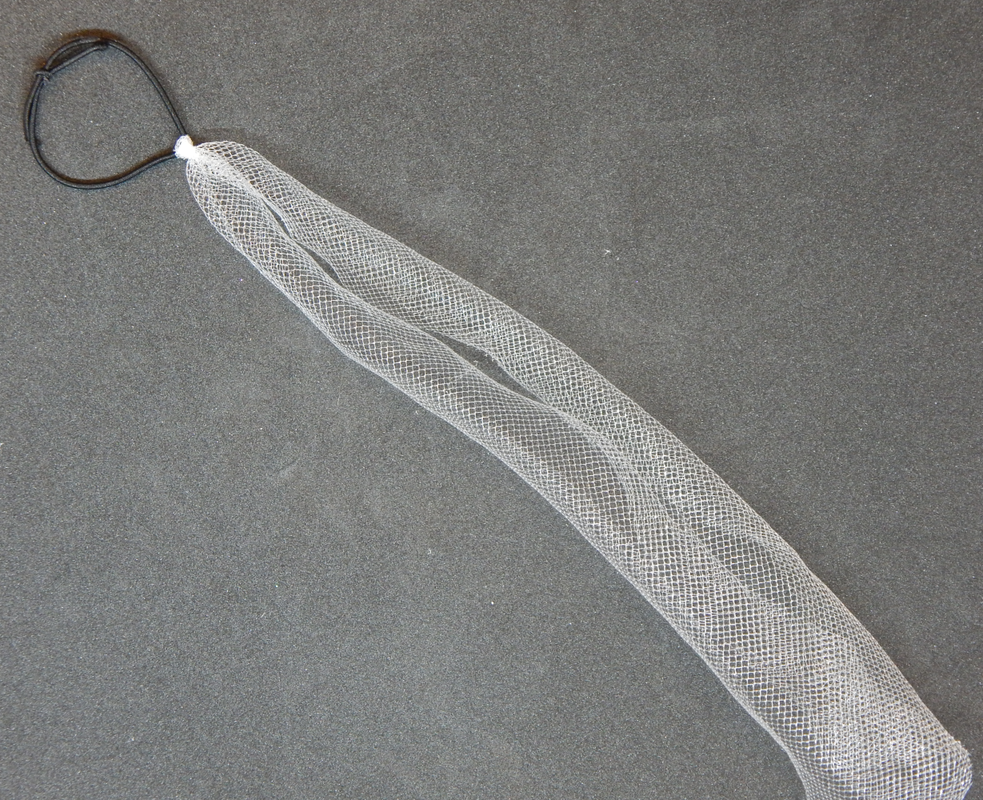
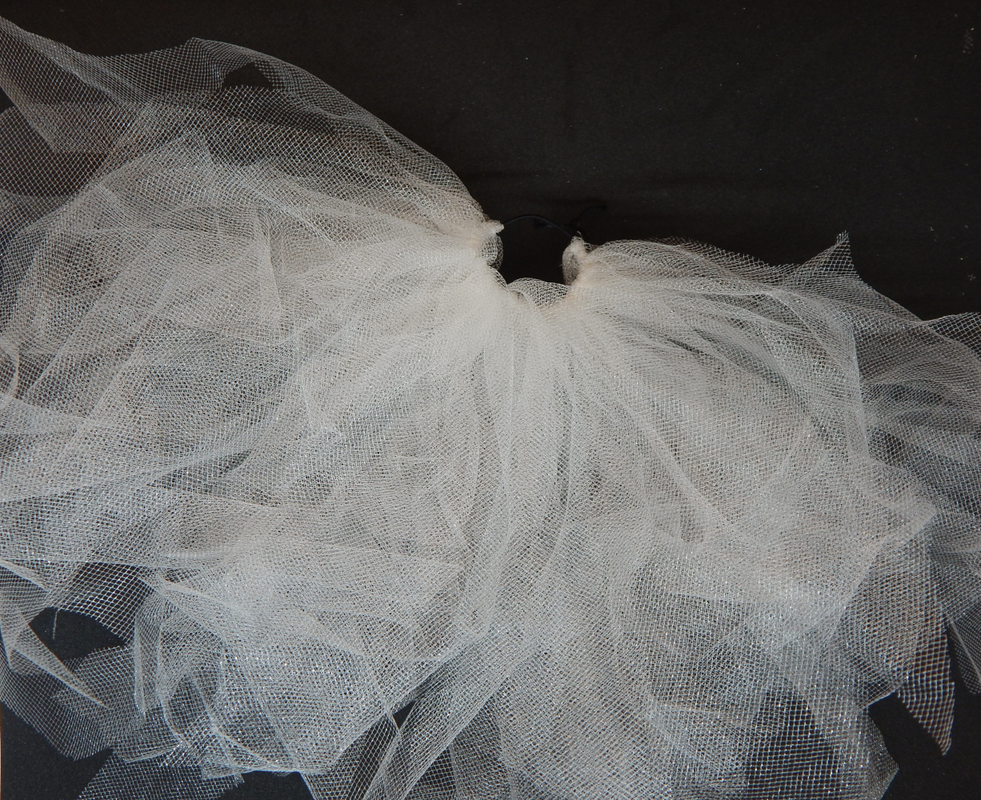
How-ToStep One: Cut a piece of elastic and tie it around the doll's waist in a loop with a square knot. Make sure it fits the doll snugly, but you can still take it off and put it on the doll. Put a dot of Fray Check or clear nail polish on the knot to secure it. Step Two: Cut a bunch of strips of the tulle, about one inch wide. The length will depend on the length of the tutu you want and also the height of the doll. You want them about the right length for the tutu when folded in half. The amount of strips you need will also depend on the size of the doll, and how floofy you want the tutu to be! These do not have to be uniform in size, making them a bit different adds interest and texture to the tutu! (And you will be trimming them up in the last step, so it's better to make them a bit too long and then cut them shorter.) 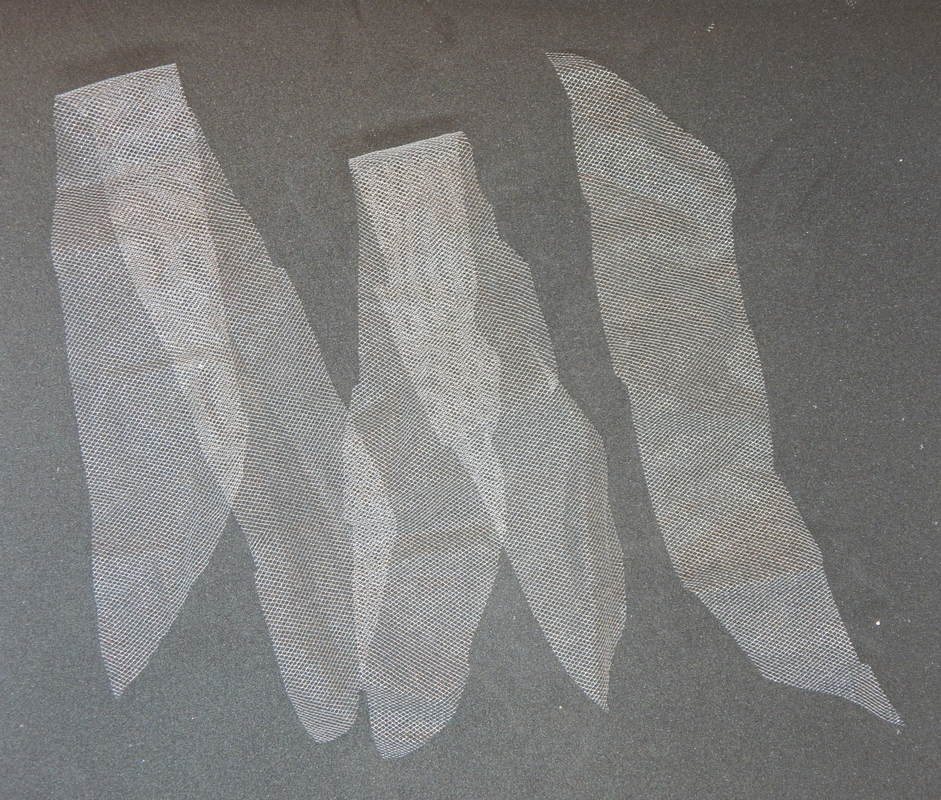 Step Three: Tie the tulle strips to the elastic waist band using a lark's head knot.
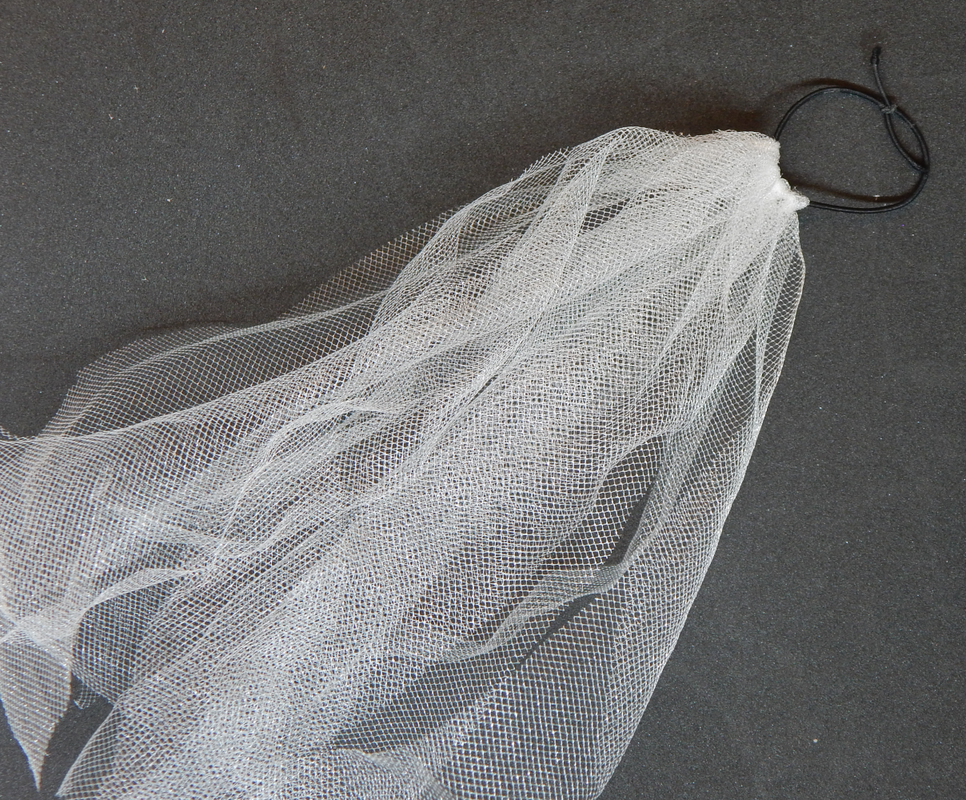
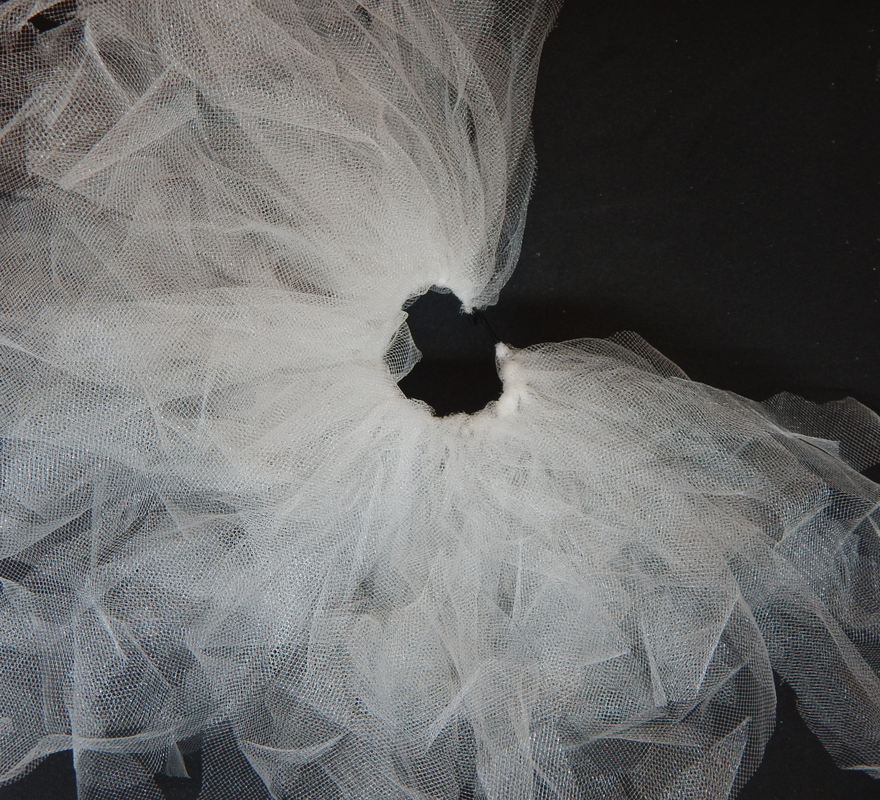
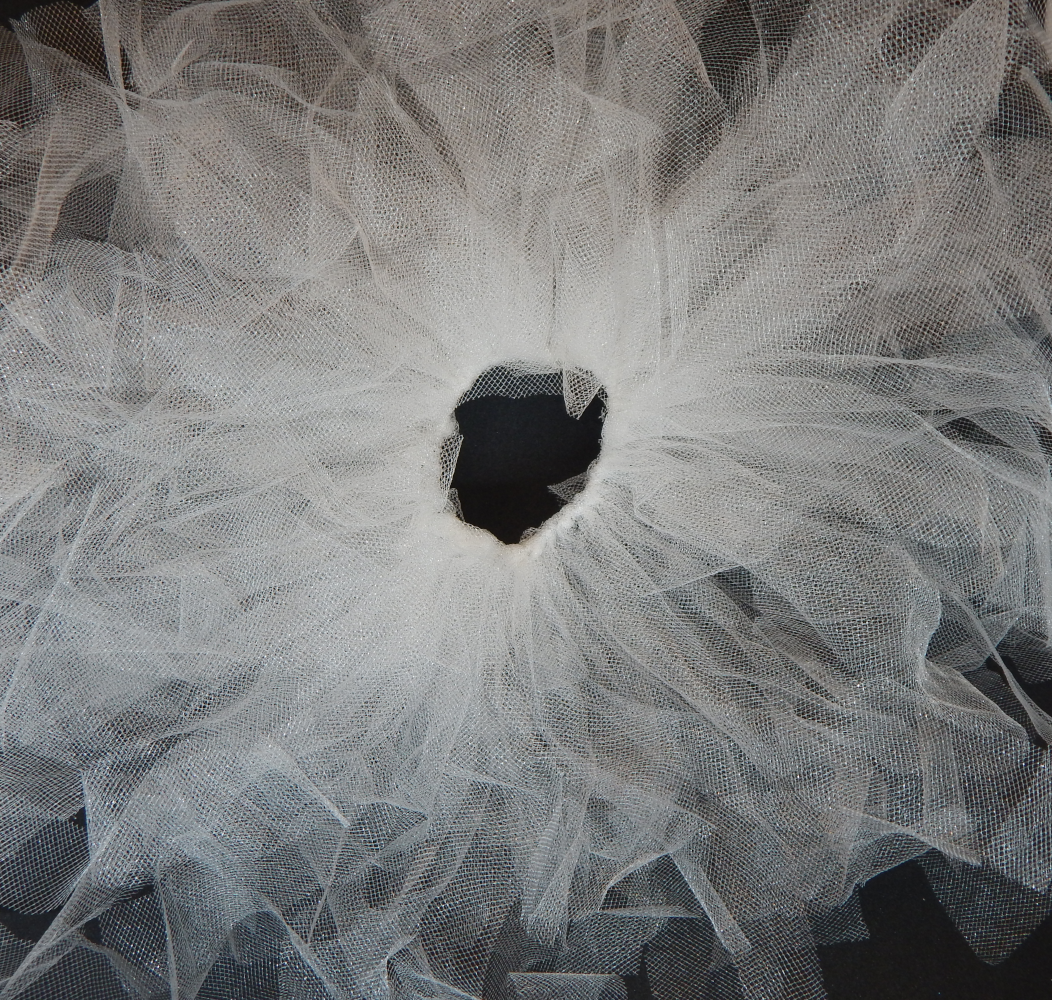
Step Four: Continue tying tulle strips around elastic band until it is covered.
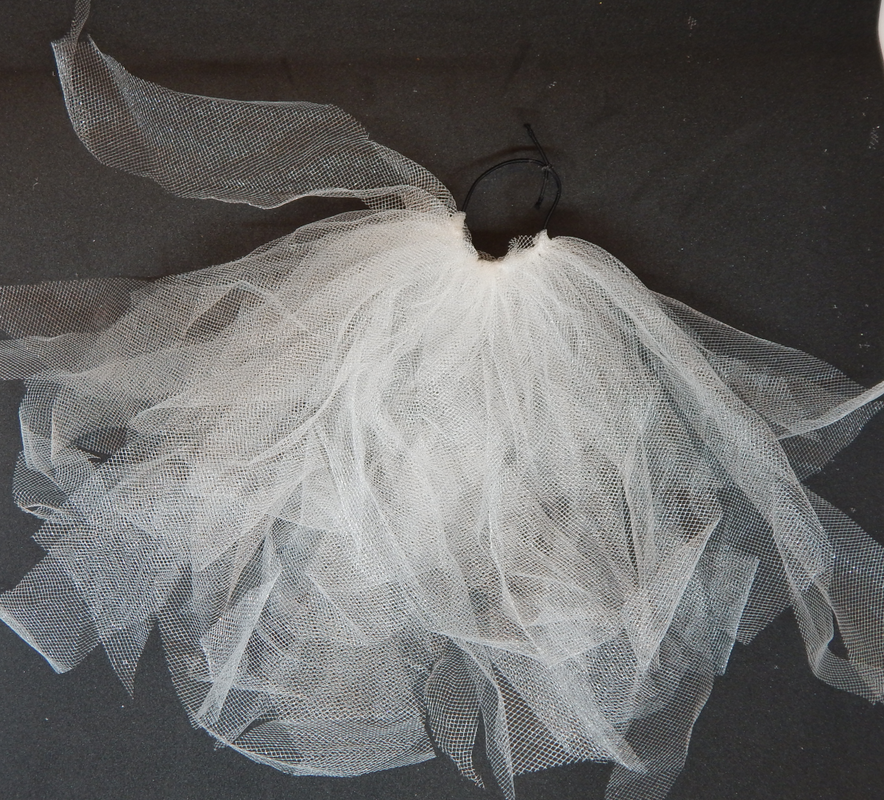
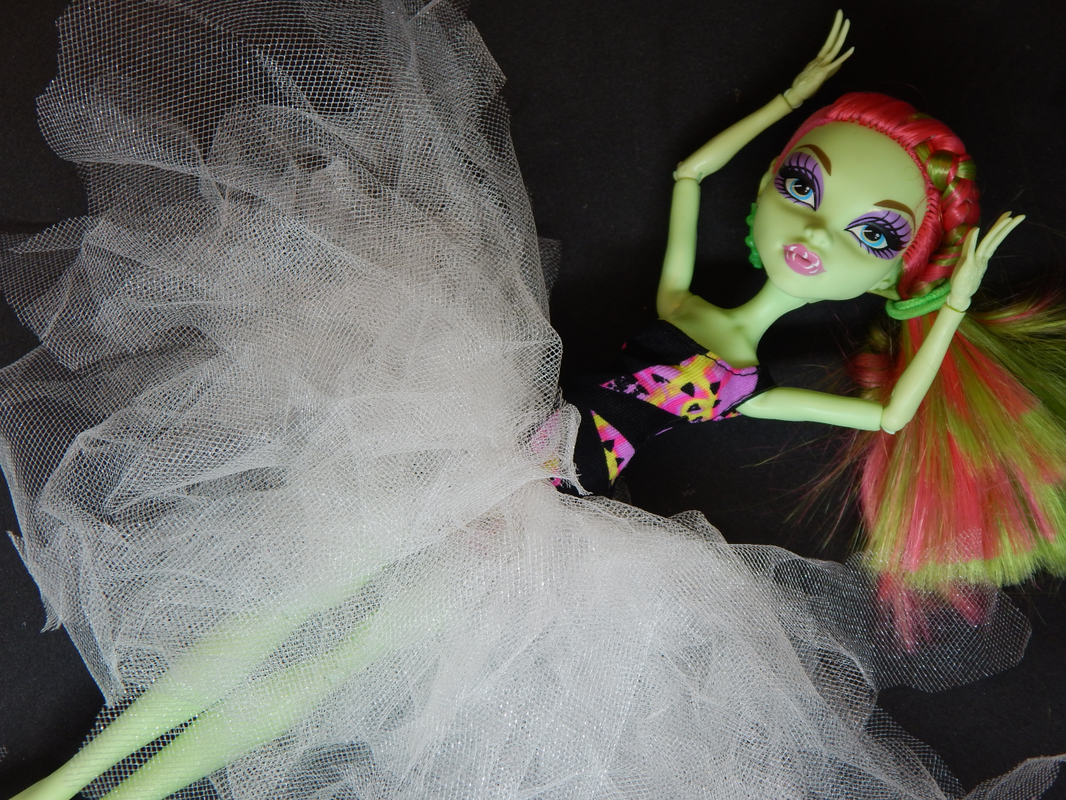
Step Five: Put tutu on the doll, trim and scrunch it until you are happy with the shape!
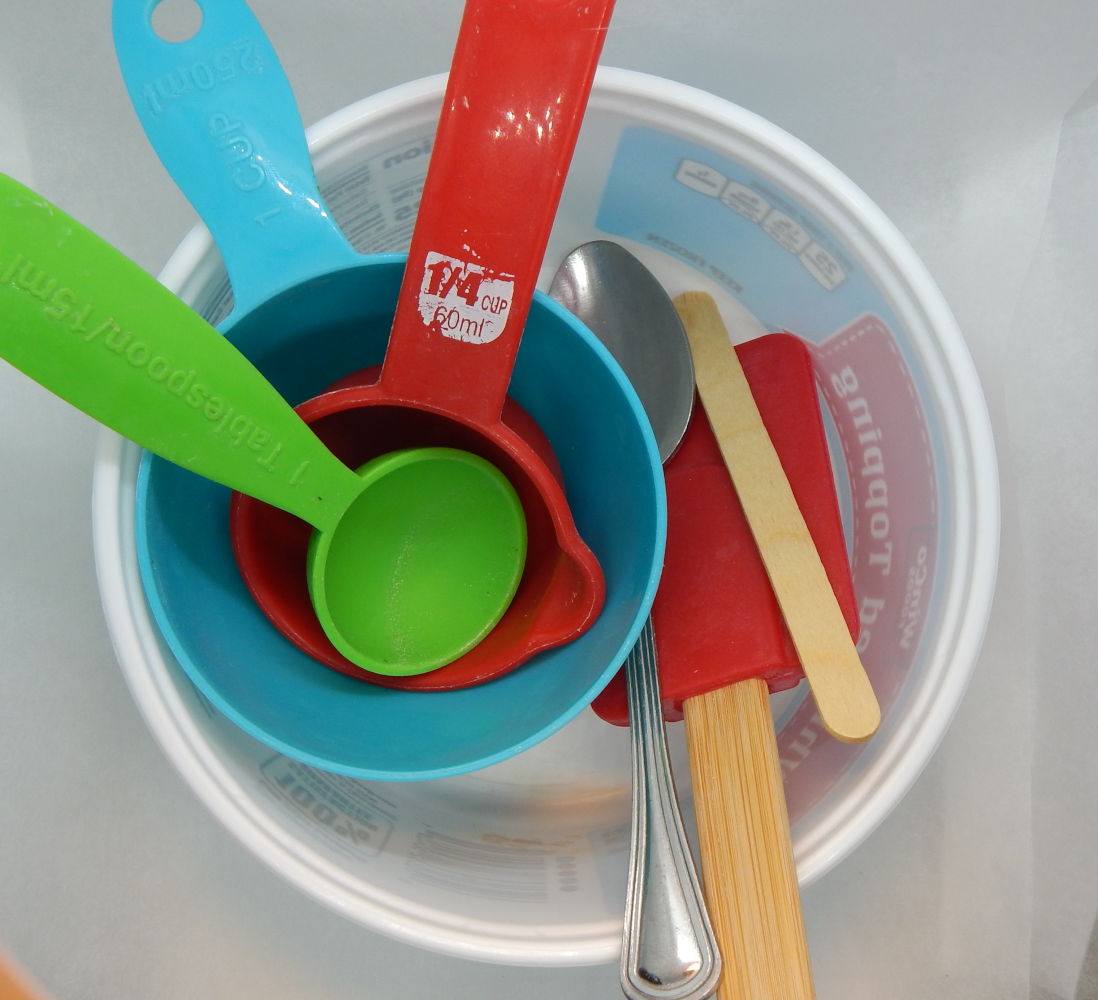
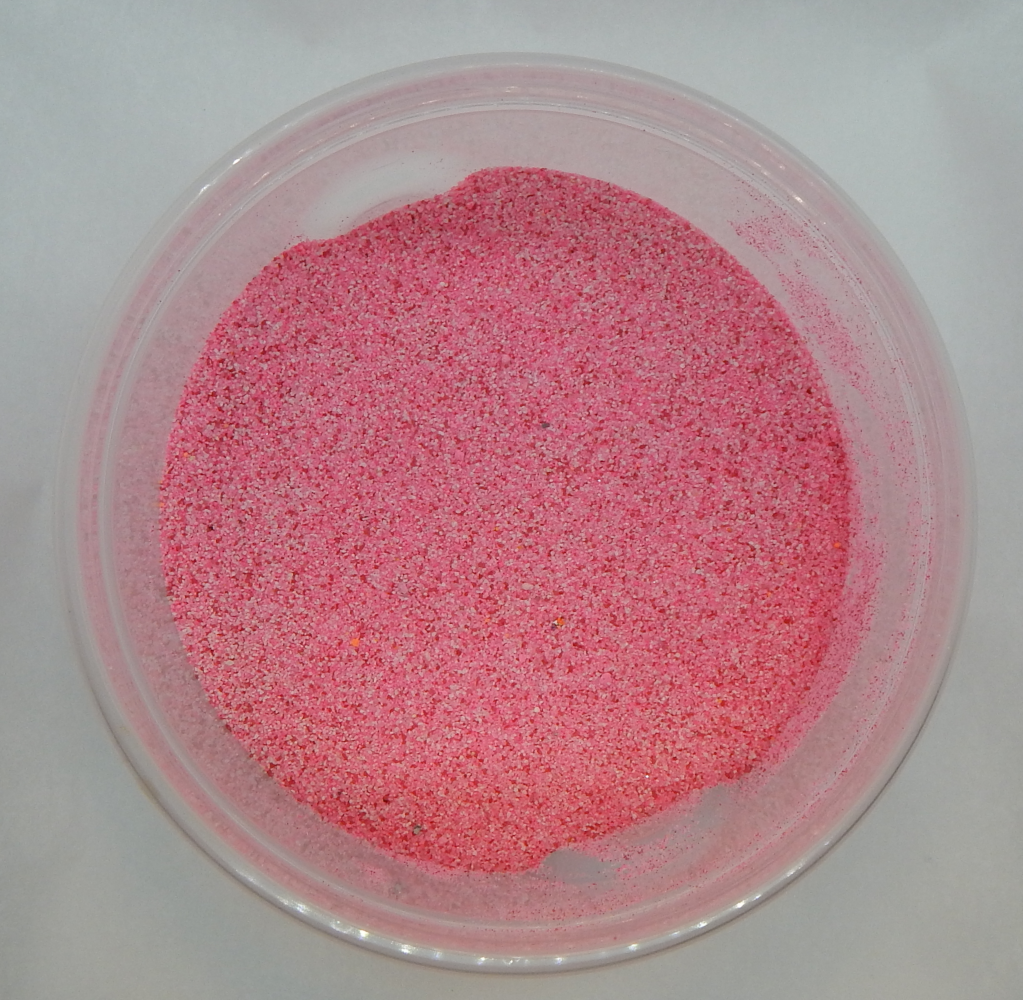
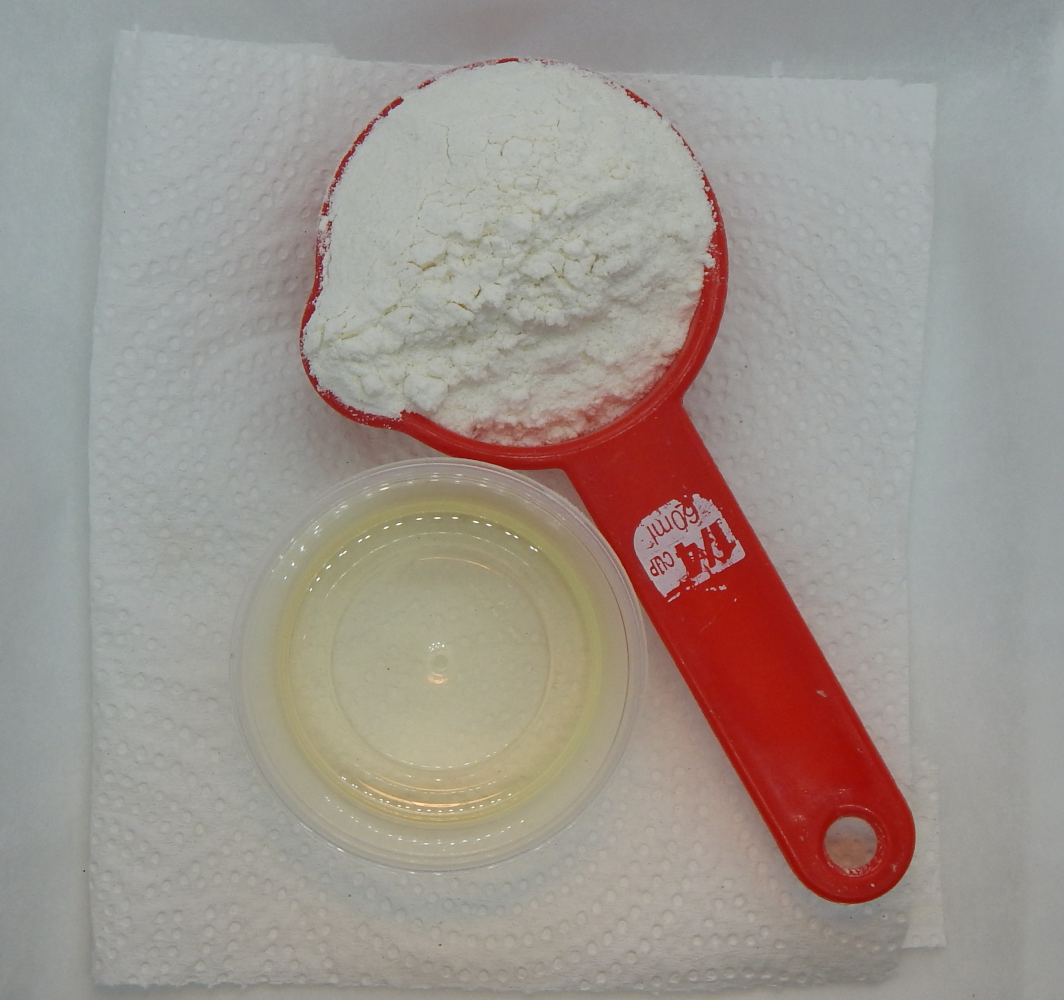
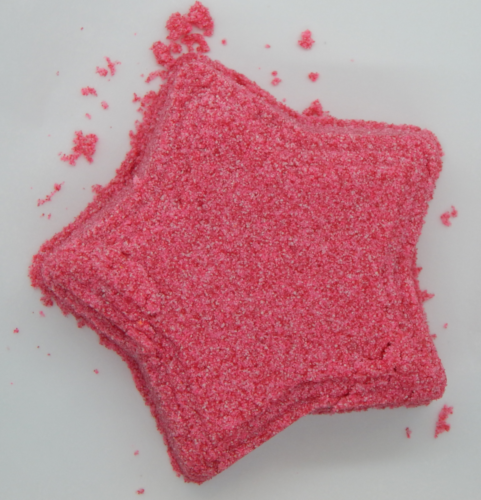 Squish and squoosh and squeeze! Make some fun homemade kinetic sand! Video tutorial first, scroll down for the still pictures and words version. Supplies
How-ToDump ingredients in bowl, stir until well mixed. Add more oil a little bit at a time if needed. This recipe can easily scaled up or down if you want more or less, it's basically one part flour to four parts sand, add oil a little at a time until you are happy with the texture and how much it holds together. Happy squishing! |
|||||||||||||||||||||||||||||||||||||||||||||||||||||||||||